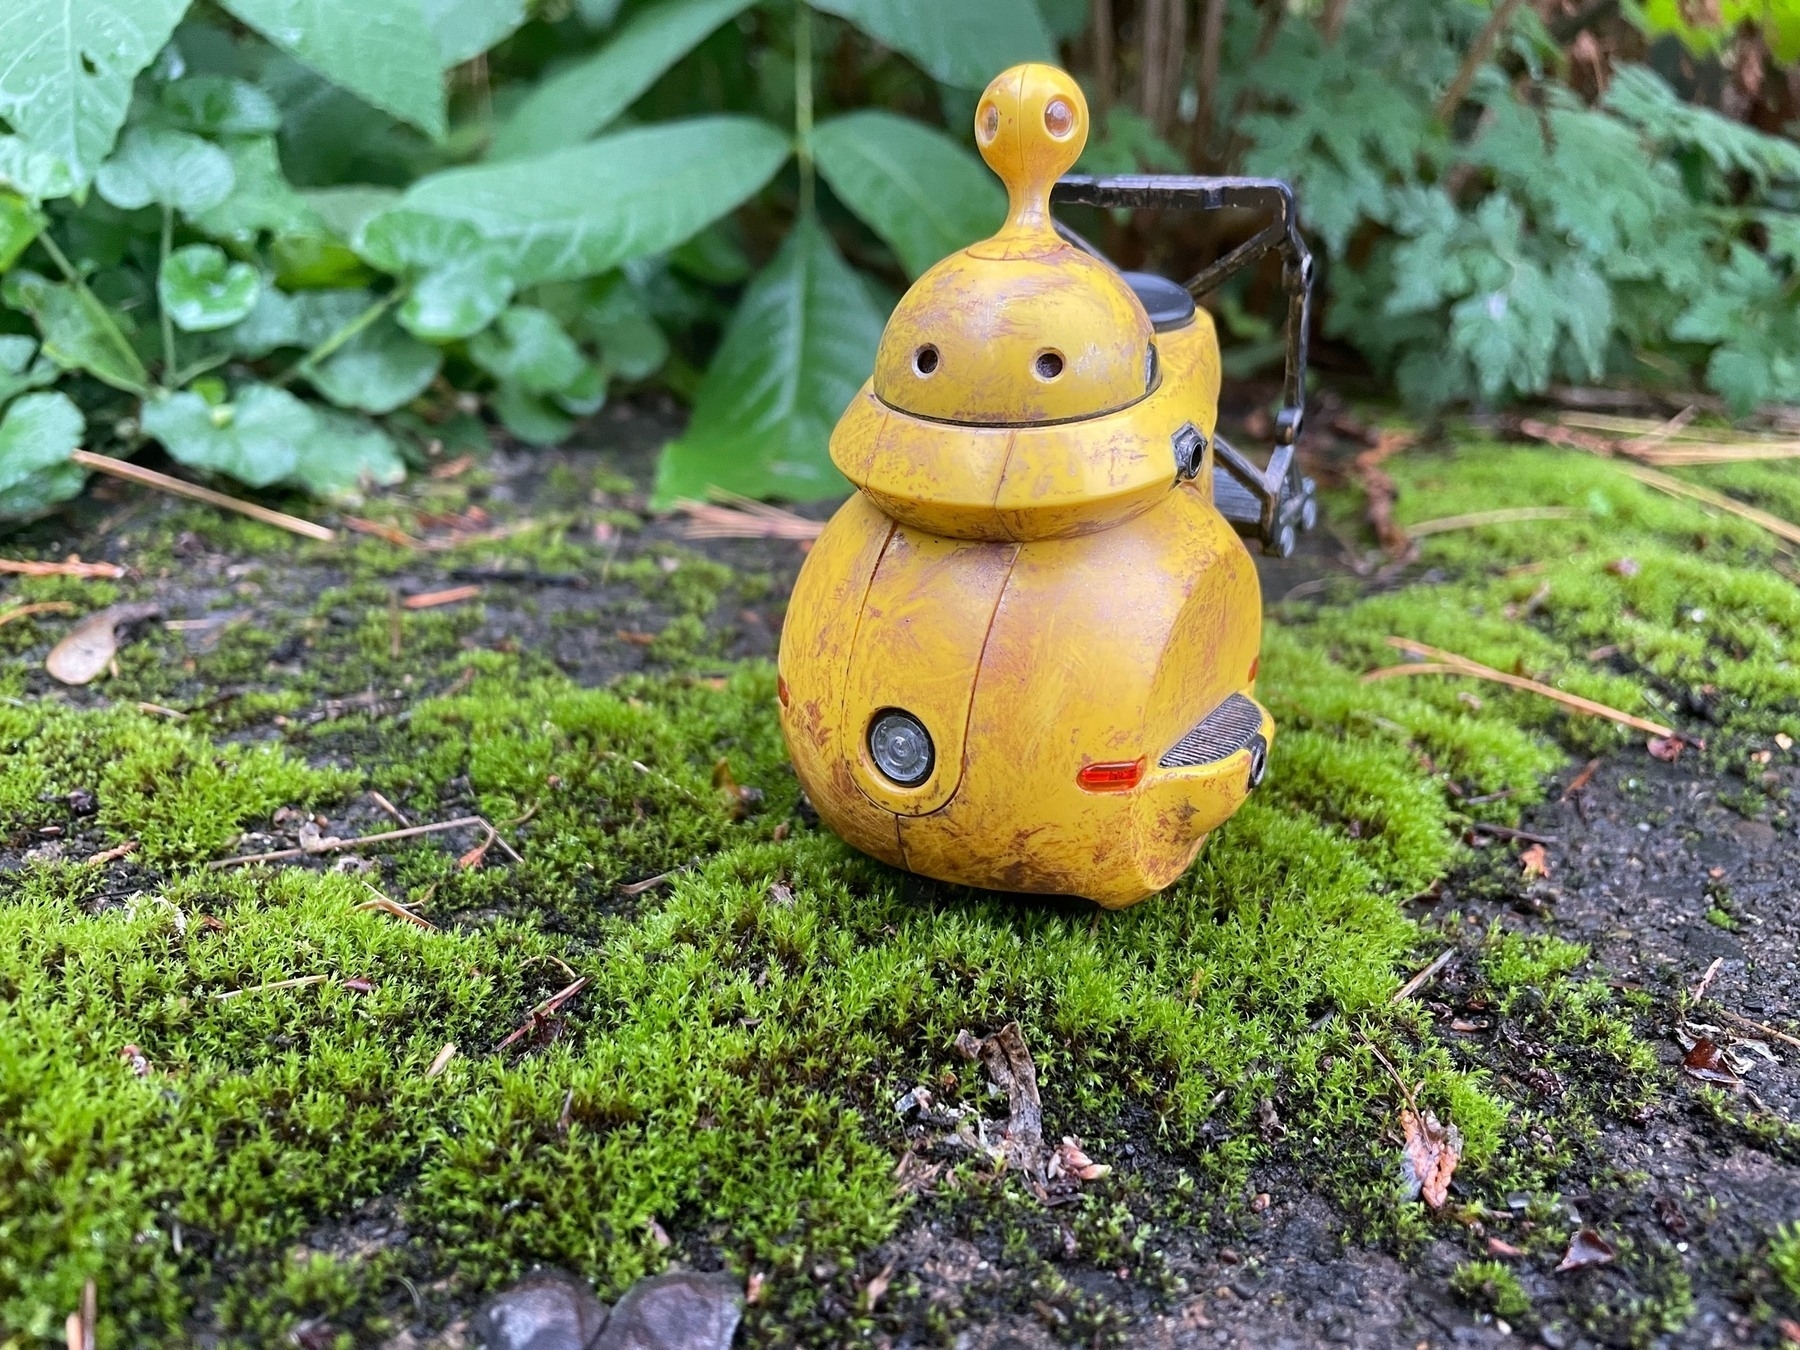
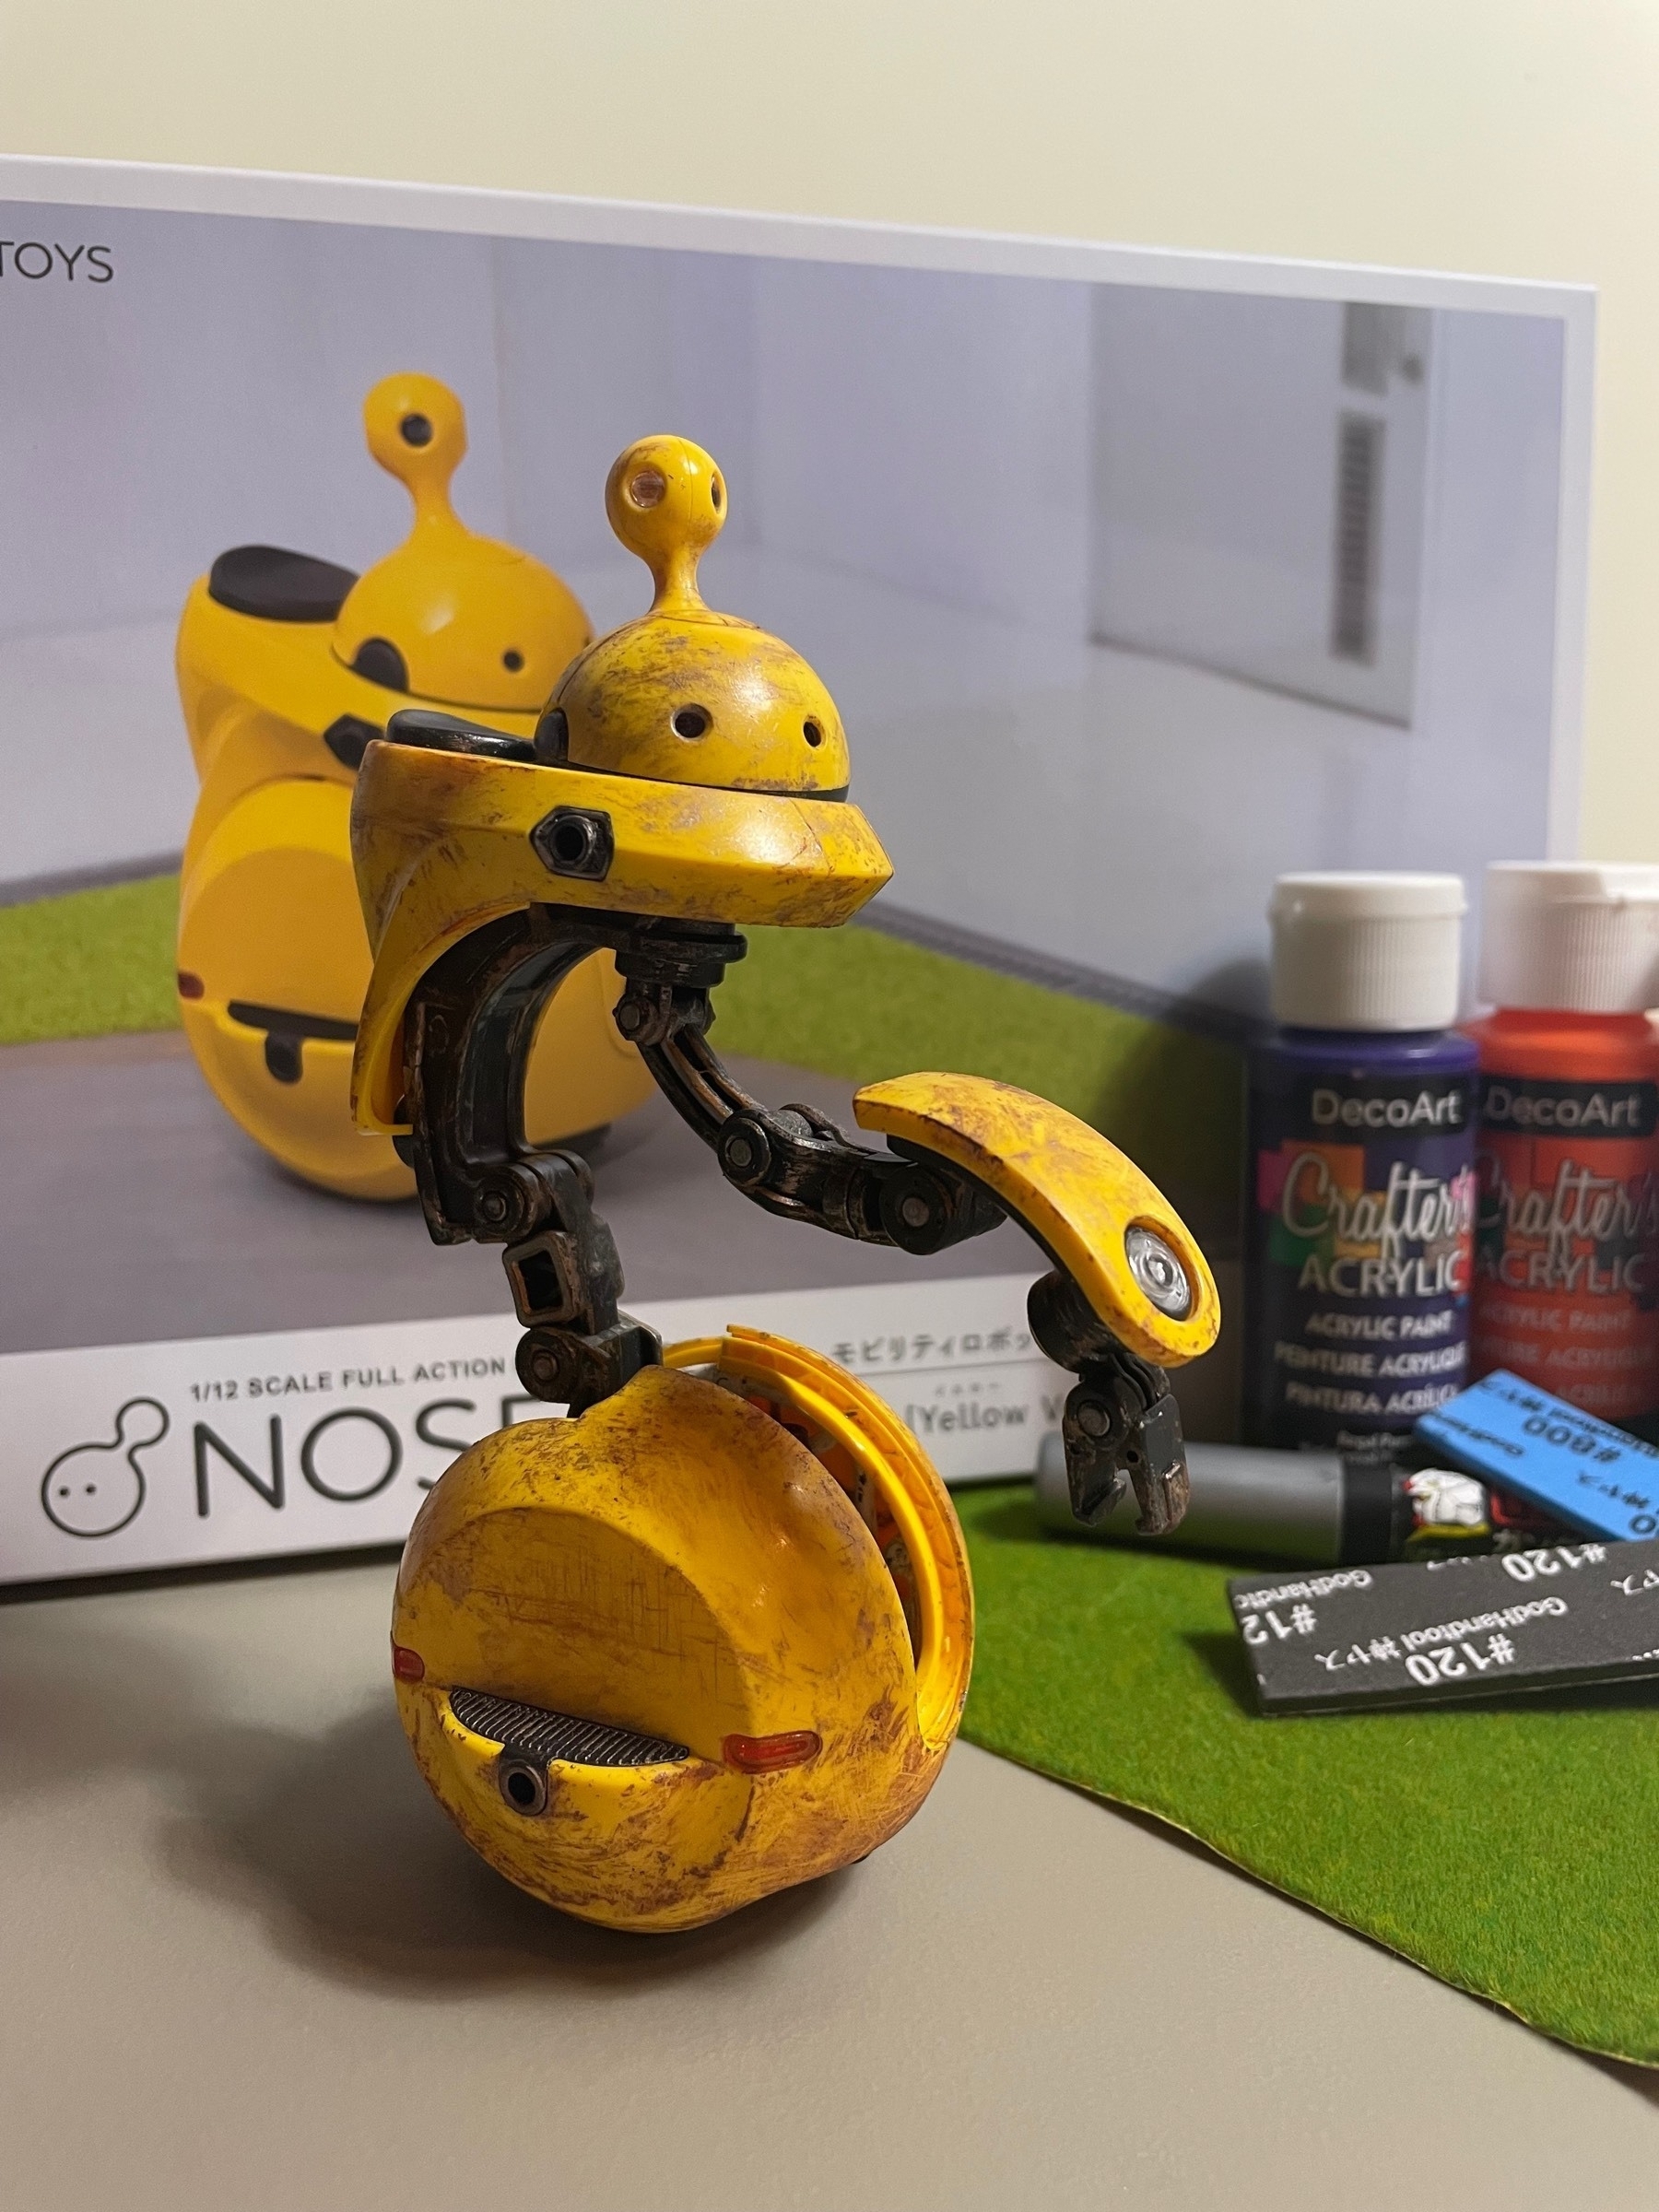
Hello internet! Over the next few months, I hope to actually use this blog I’ve been paying for for over a year! For this first actual post, I will document my weathering process of a Kotobukiya Maruttoys Noseru (Yellow Ver.) kit.
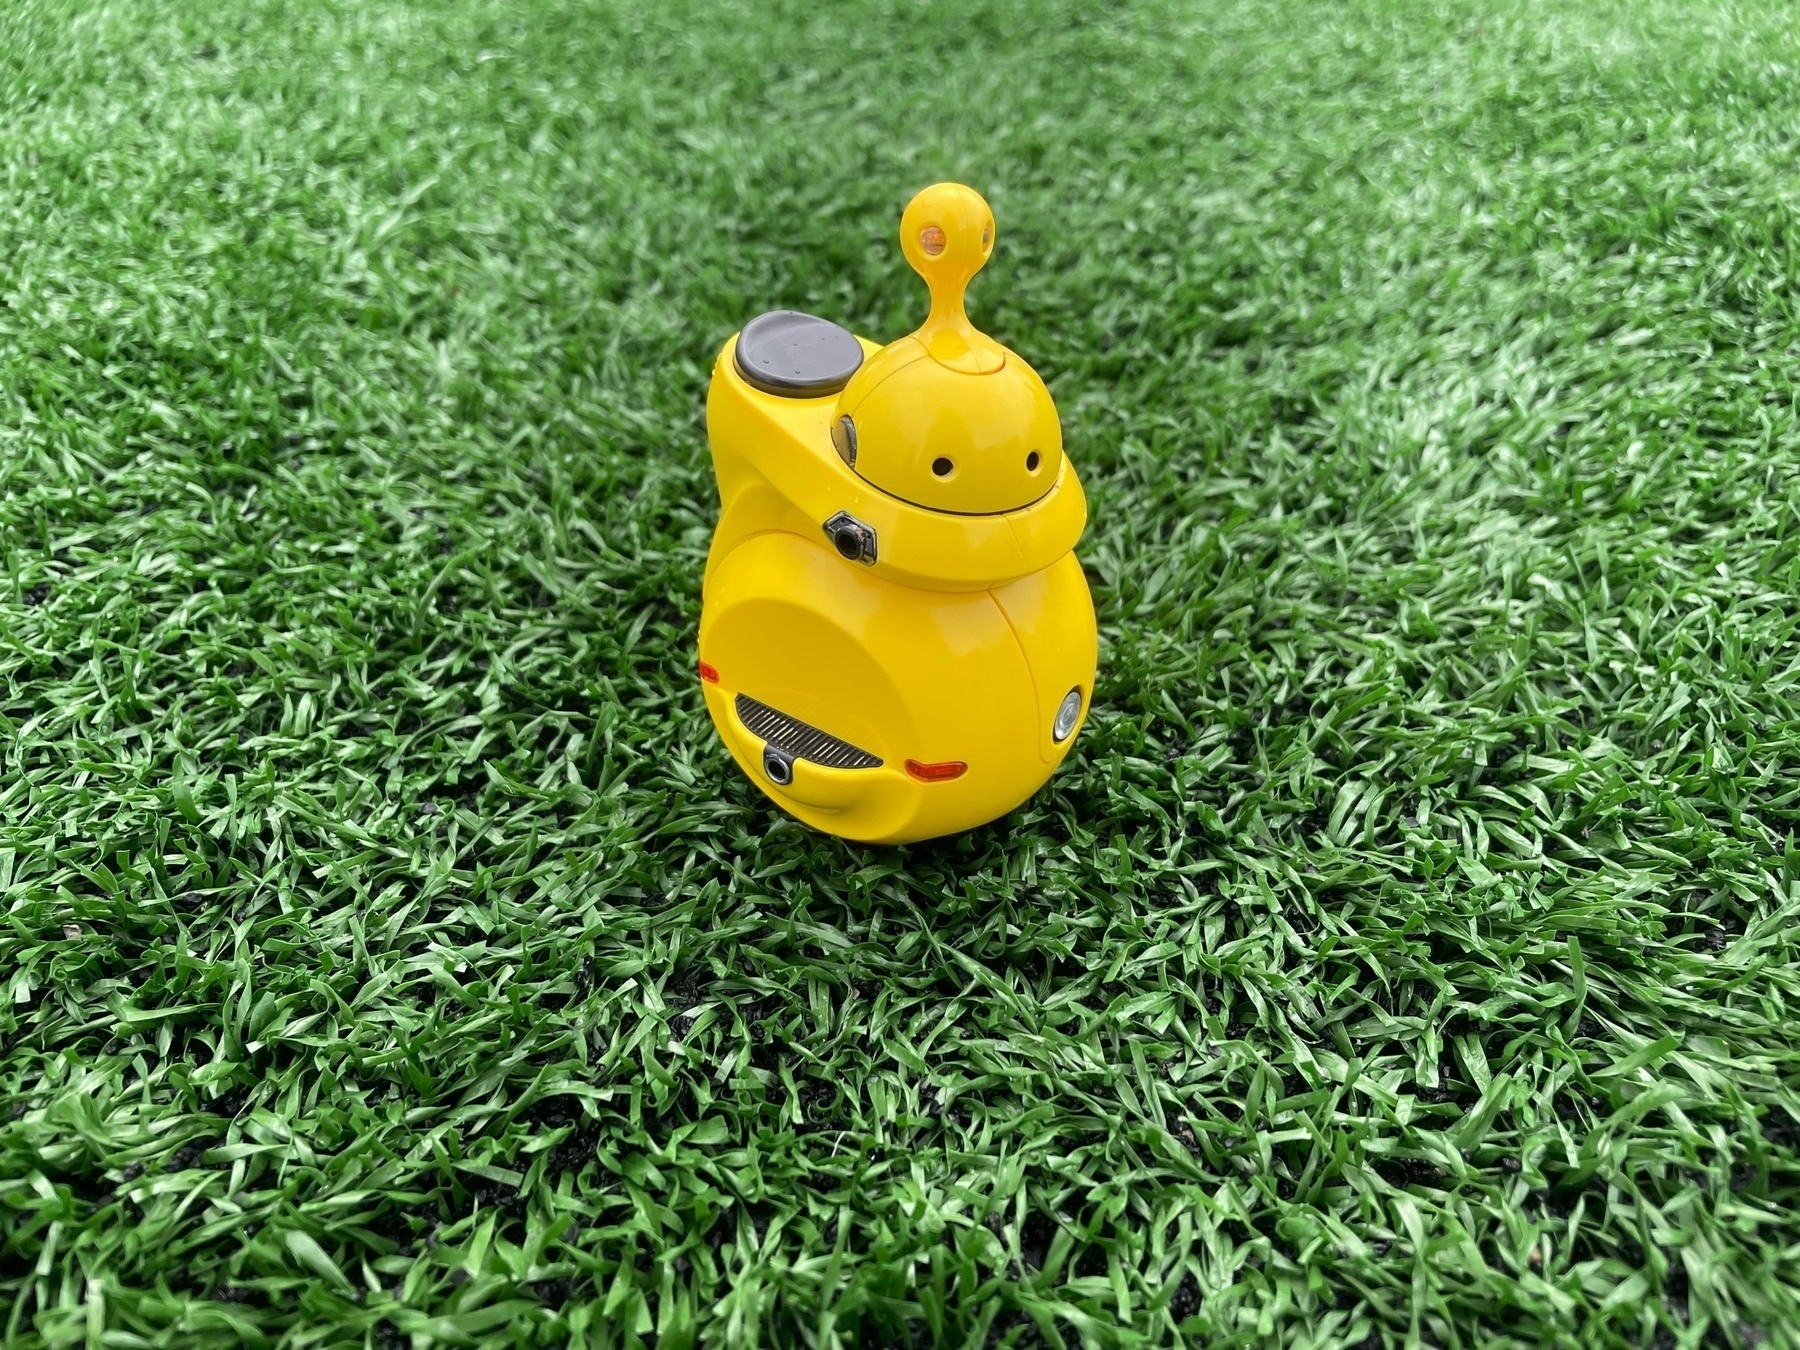
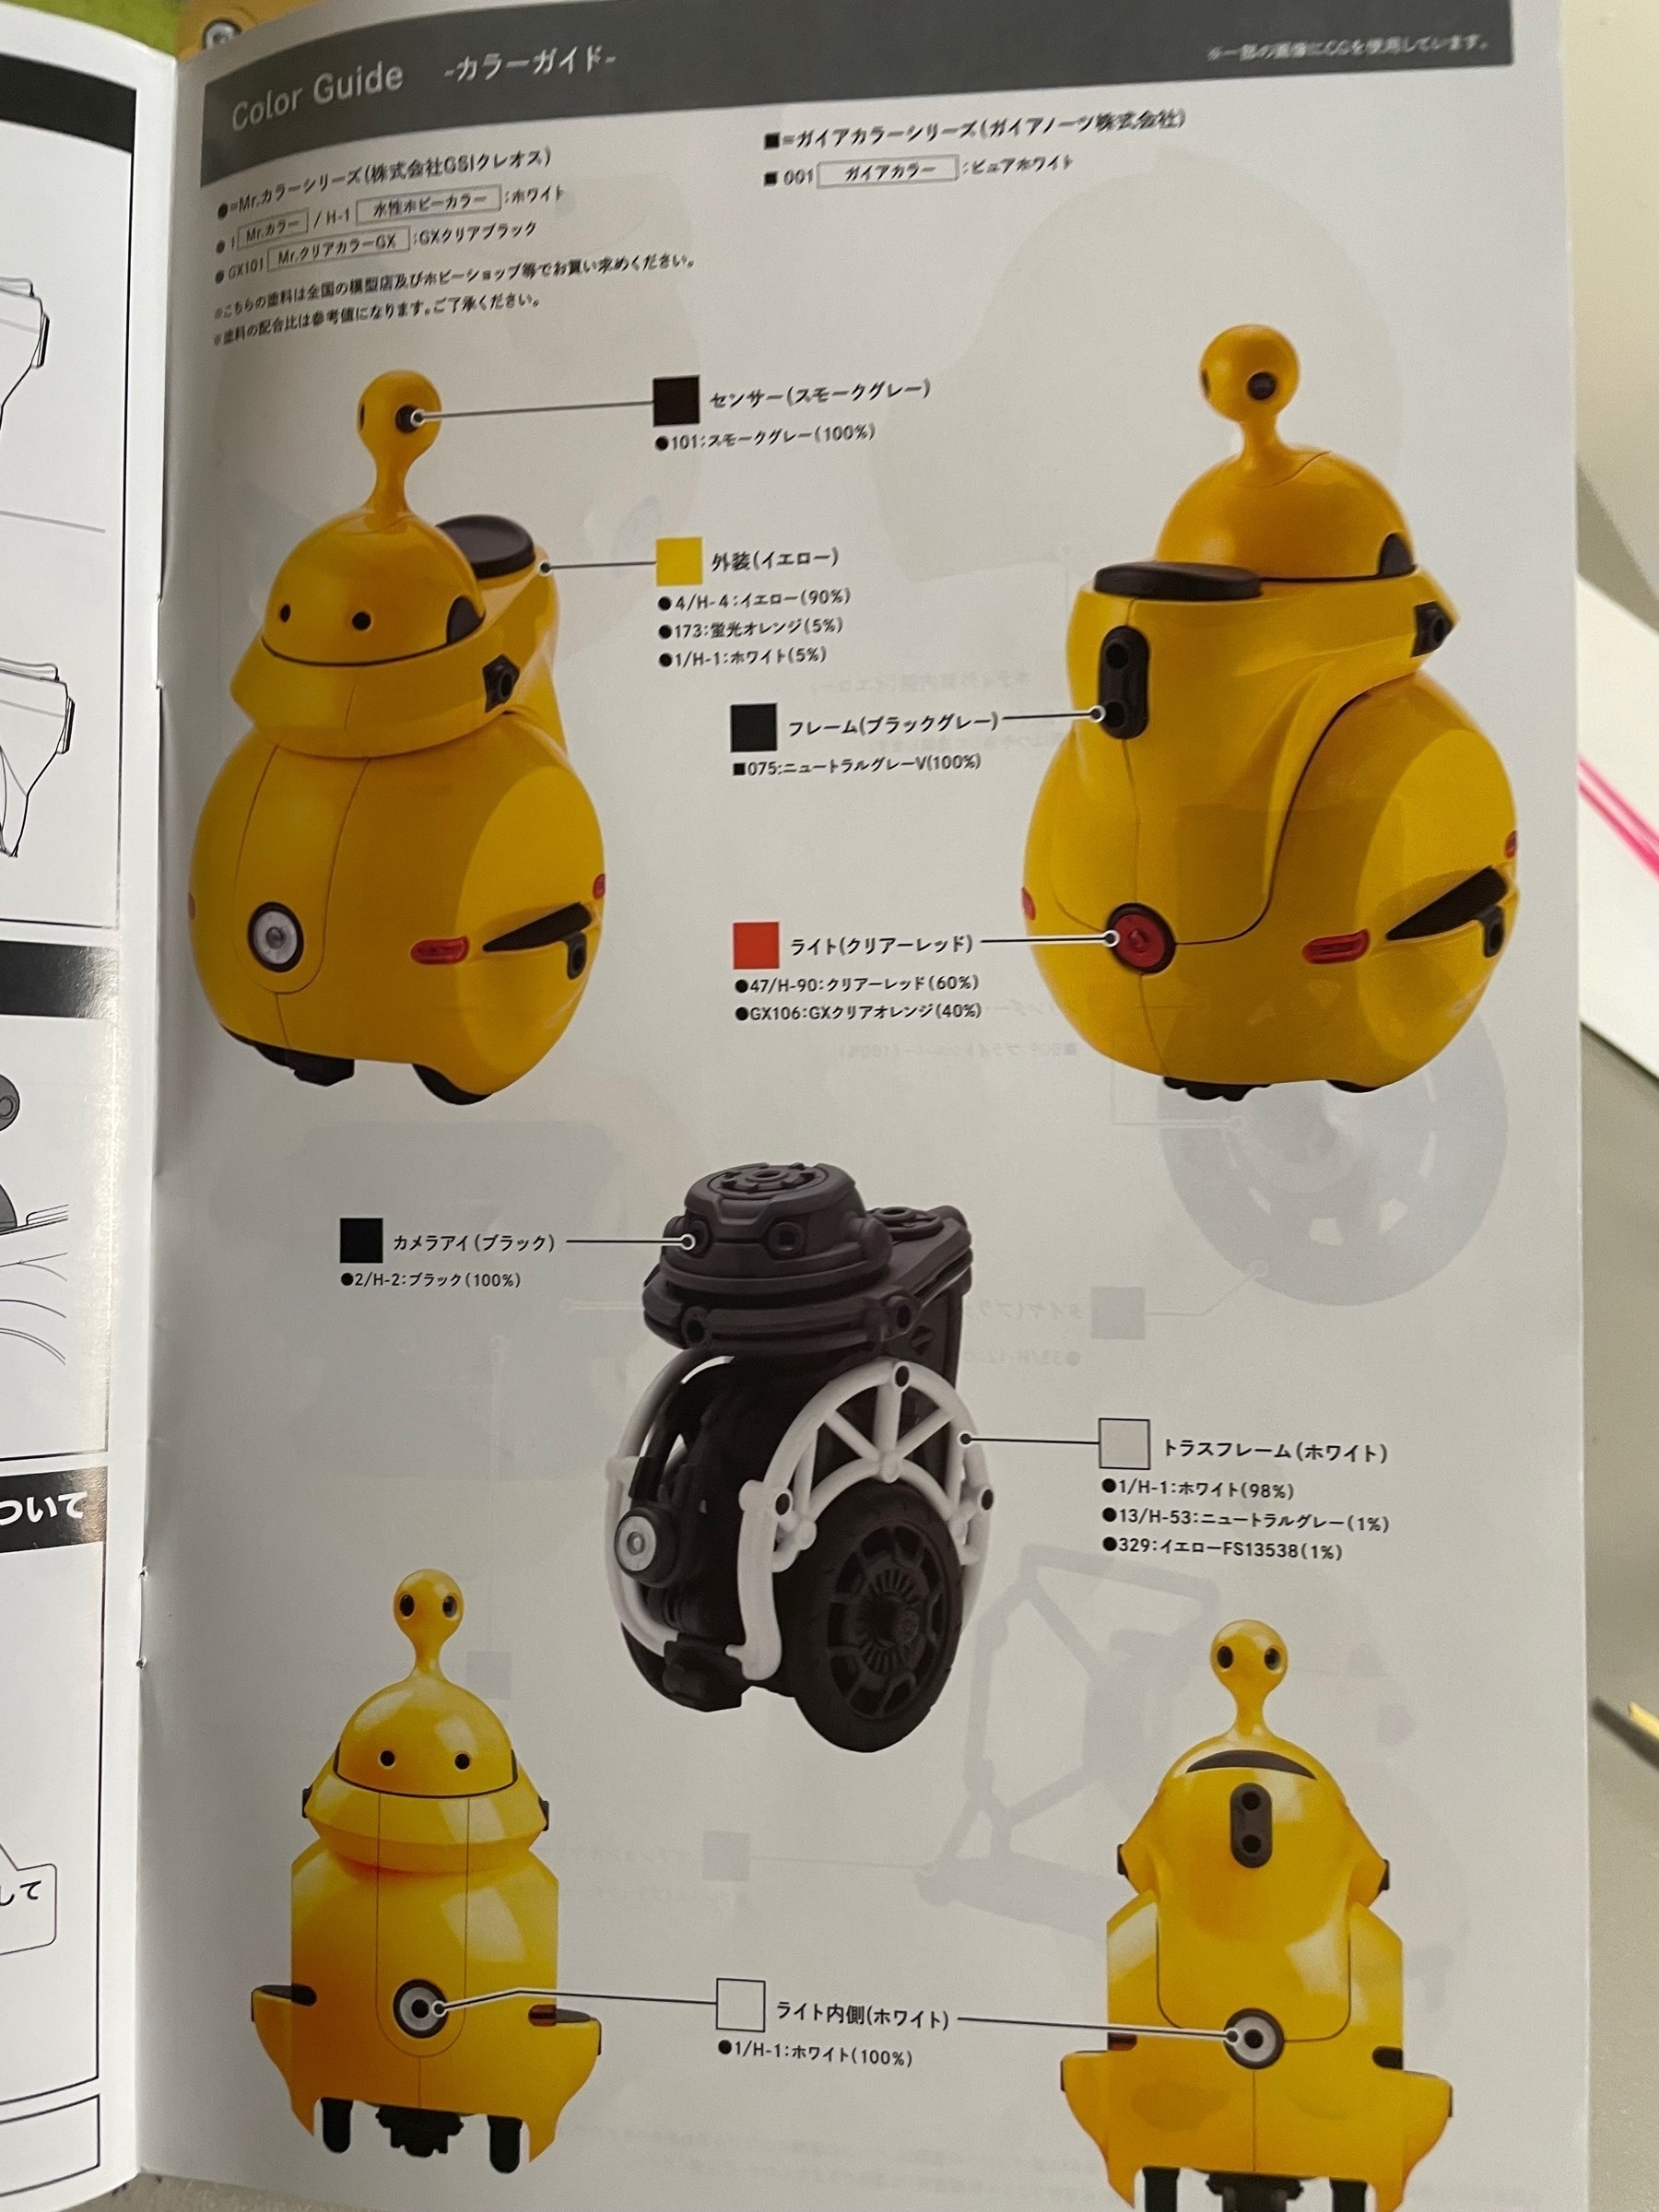
The base kit itself is quite solid; the yellow armor parts have a nice glossy finish, while the dark gray frame parts feature some lovely detail. Unfortunately, the main piping, tires on the wheels, and some silver bolts all need painting to be fully accurate to the manual. The other main complaint I have with the kit is that several joints are very tight, and need to be sanded to avoid breakage. Other than that, Noseru is a premium-feeling kit, and the photography on the box only adds to this feeling.
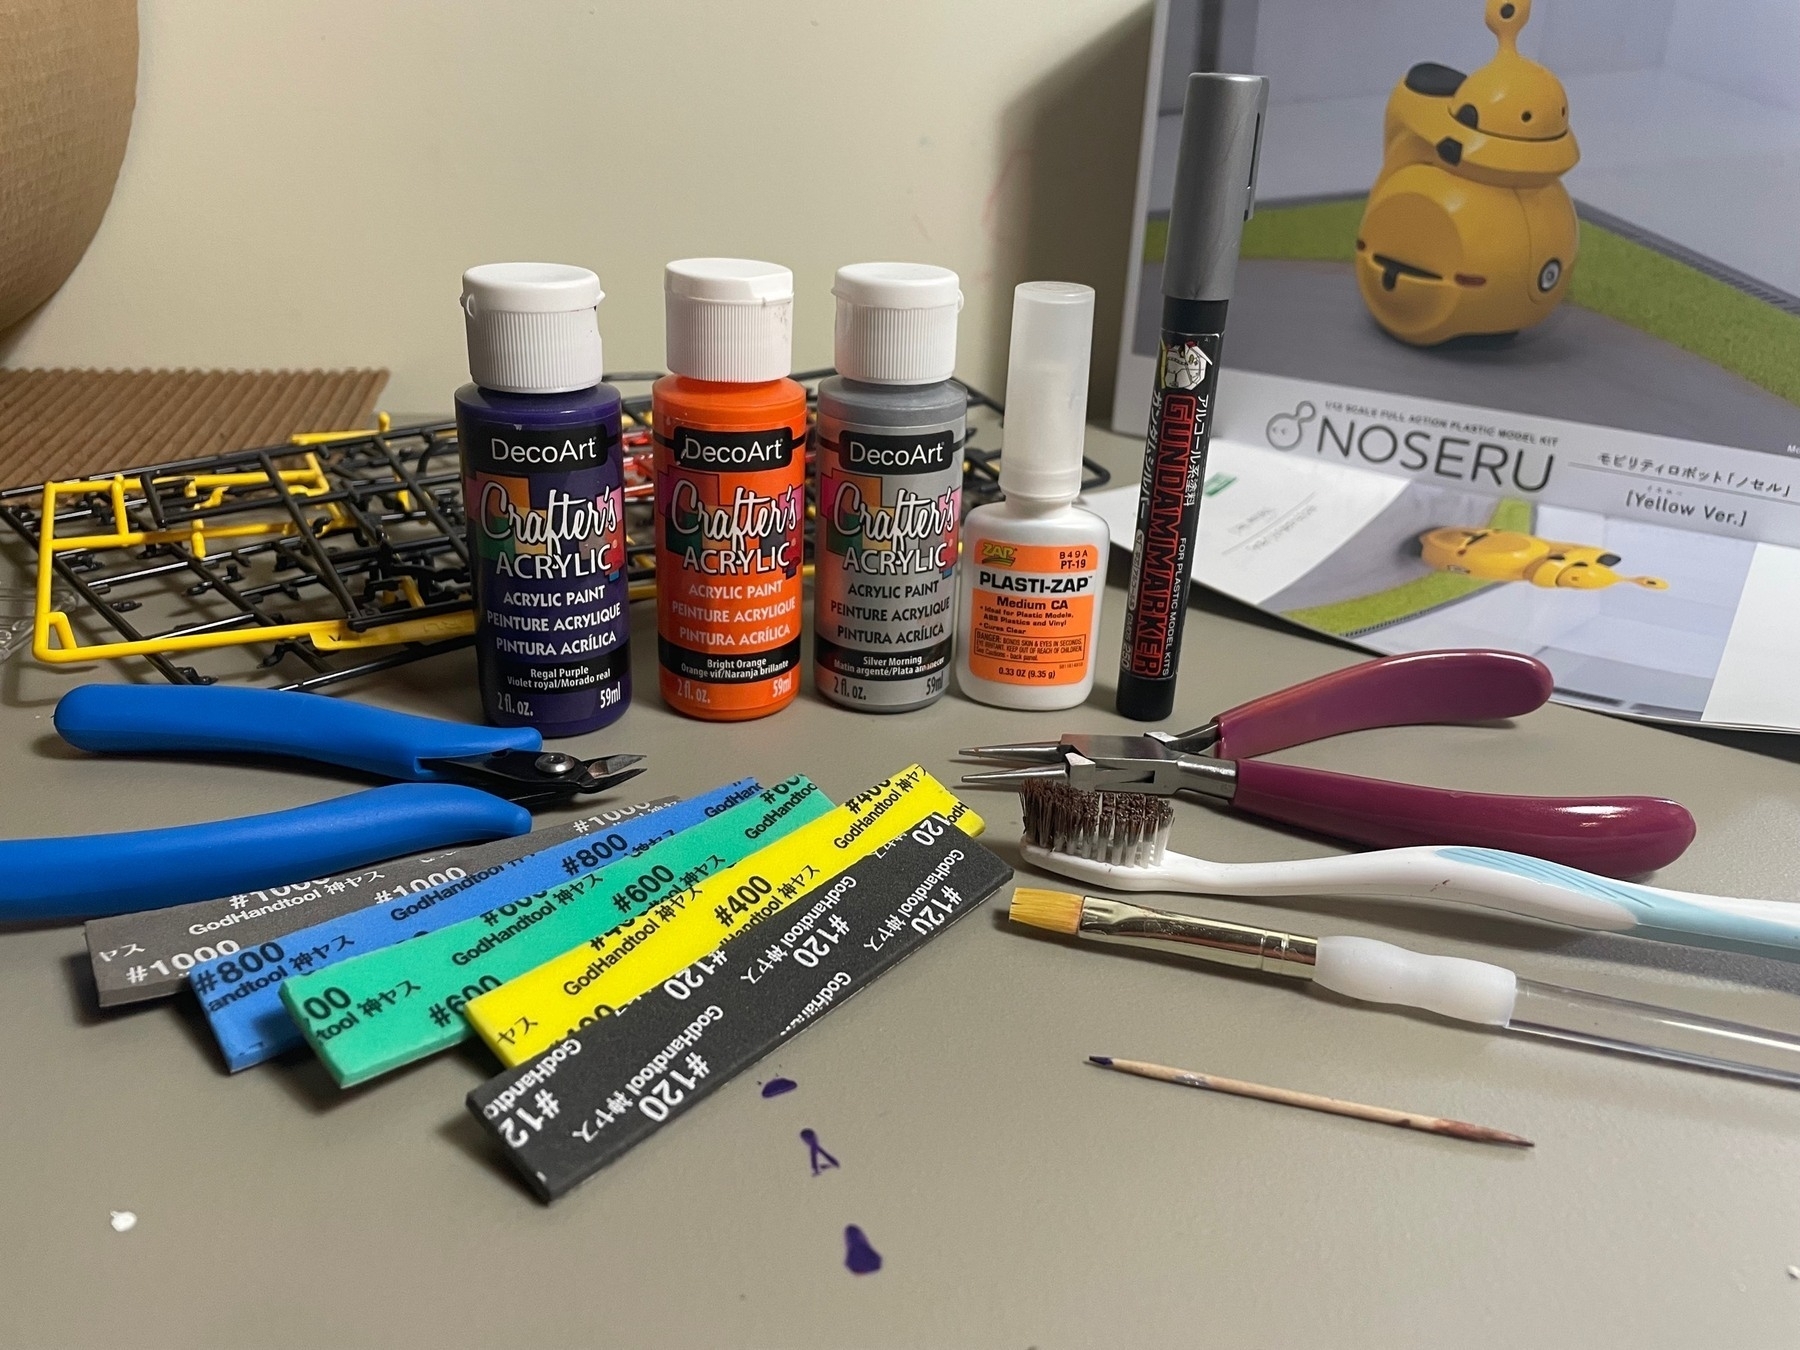
I used some simple techniques, mainly drybrushing, to get Noseru looking dirty and dinged up. Drybrushing is one of the simplest model kit weathering techniques, as all it requires is some scrap paper, an old brush or toothbrush, and some paint; I used some cheap acrylic paints.
Mini-Tutorial 1: How to drybrush
Choose your brush and paints. For me, this was an old toothbrush and some DecoArt acrylic paint in Bright Orange, Silver Morning, and Regal Purple. (I mixed all three to get the brown I used on the armor.)
Apply paint to the brush, then wipe most of it off on a piece of scrap paper. With the paint remaining on the brush, lightly go over the corners of the model several times until the desired effect is achieved.
The rest is really up to you! I dry brushed the entirety of the armor with the rusty brown I mixed together, and used silver and silver+orange on the frame. I then sprayed the entire model (minus the clear parts) with a matte topcoat.