-
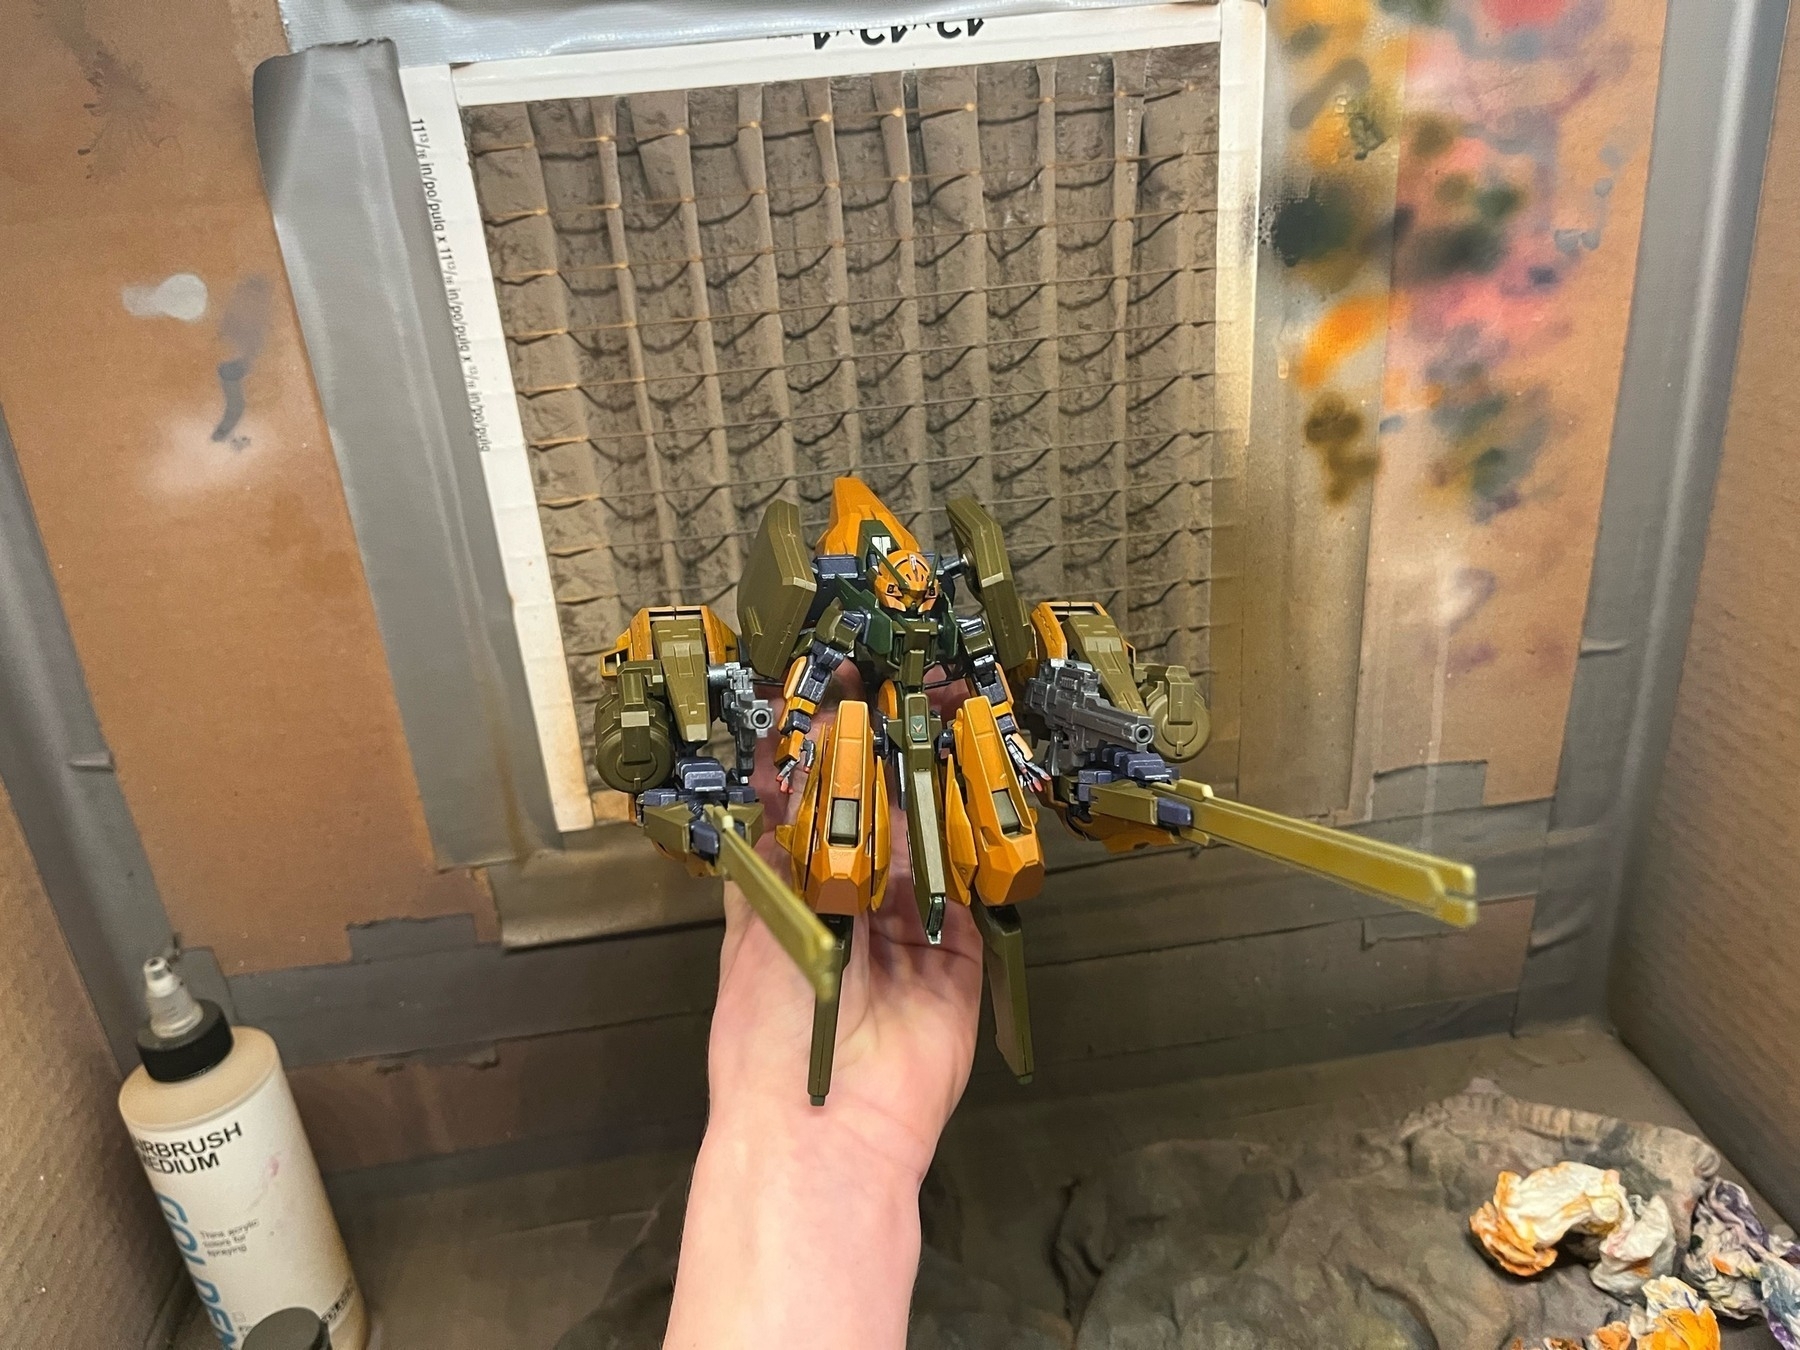
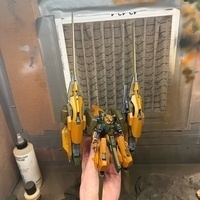
Pumpkin Princess Hazel ii
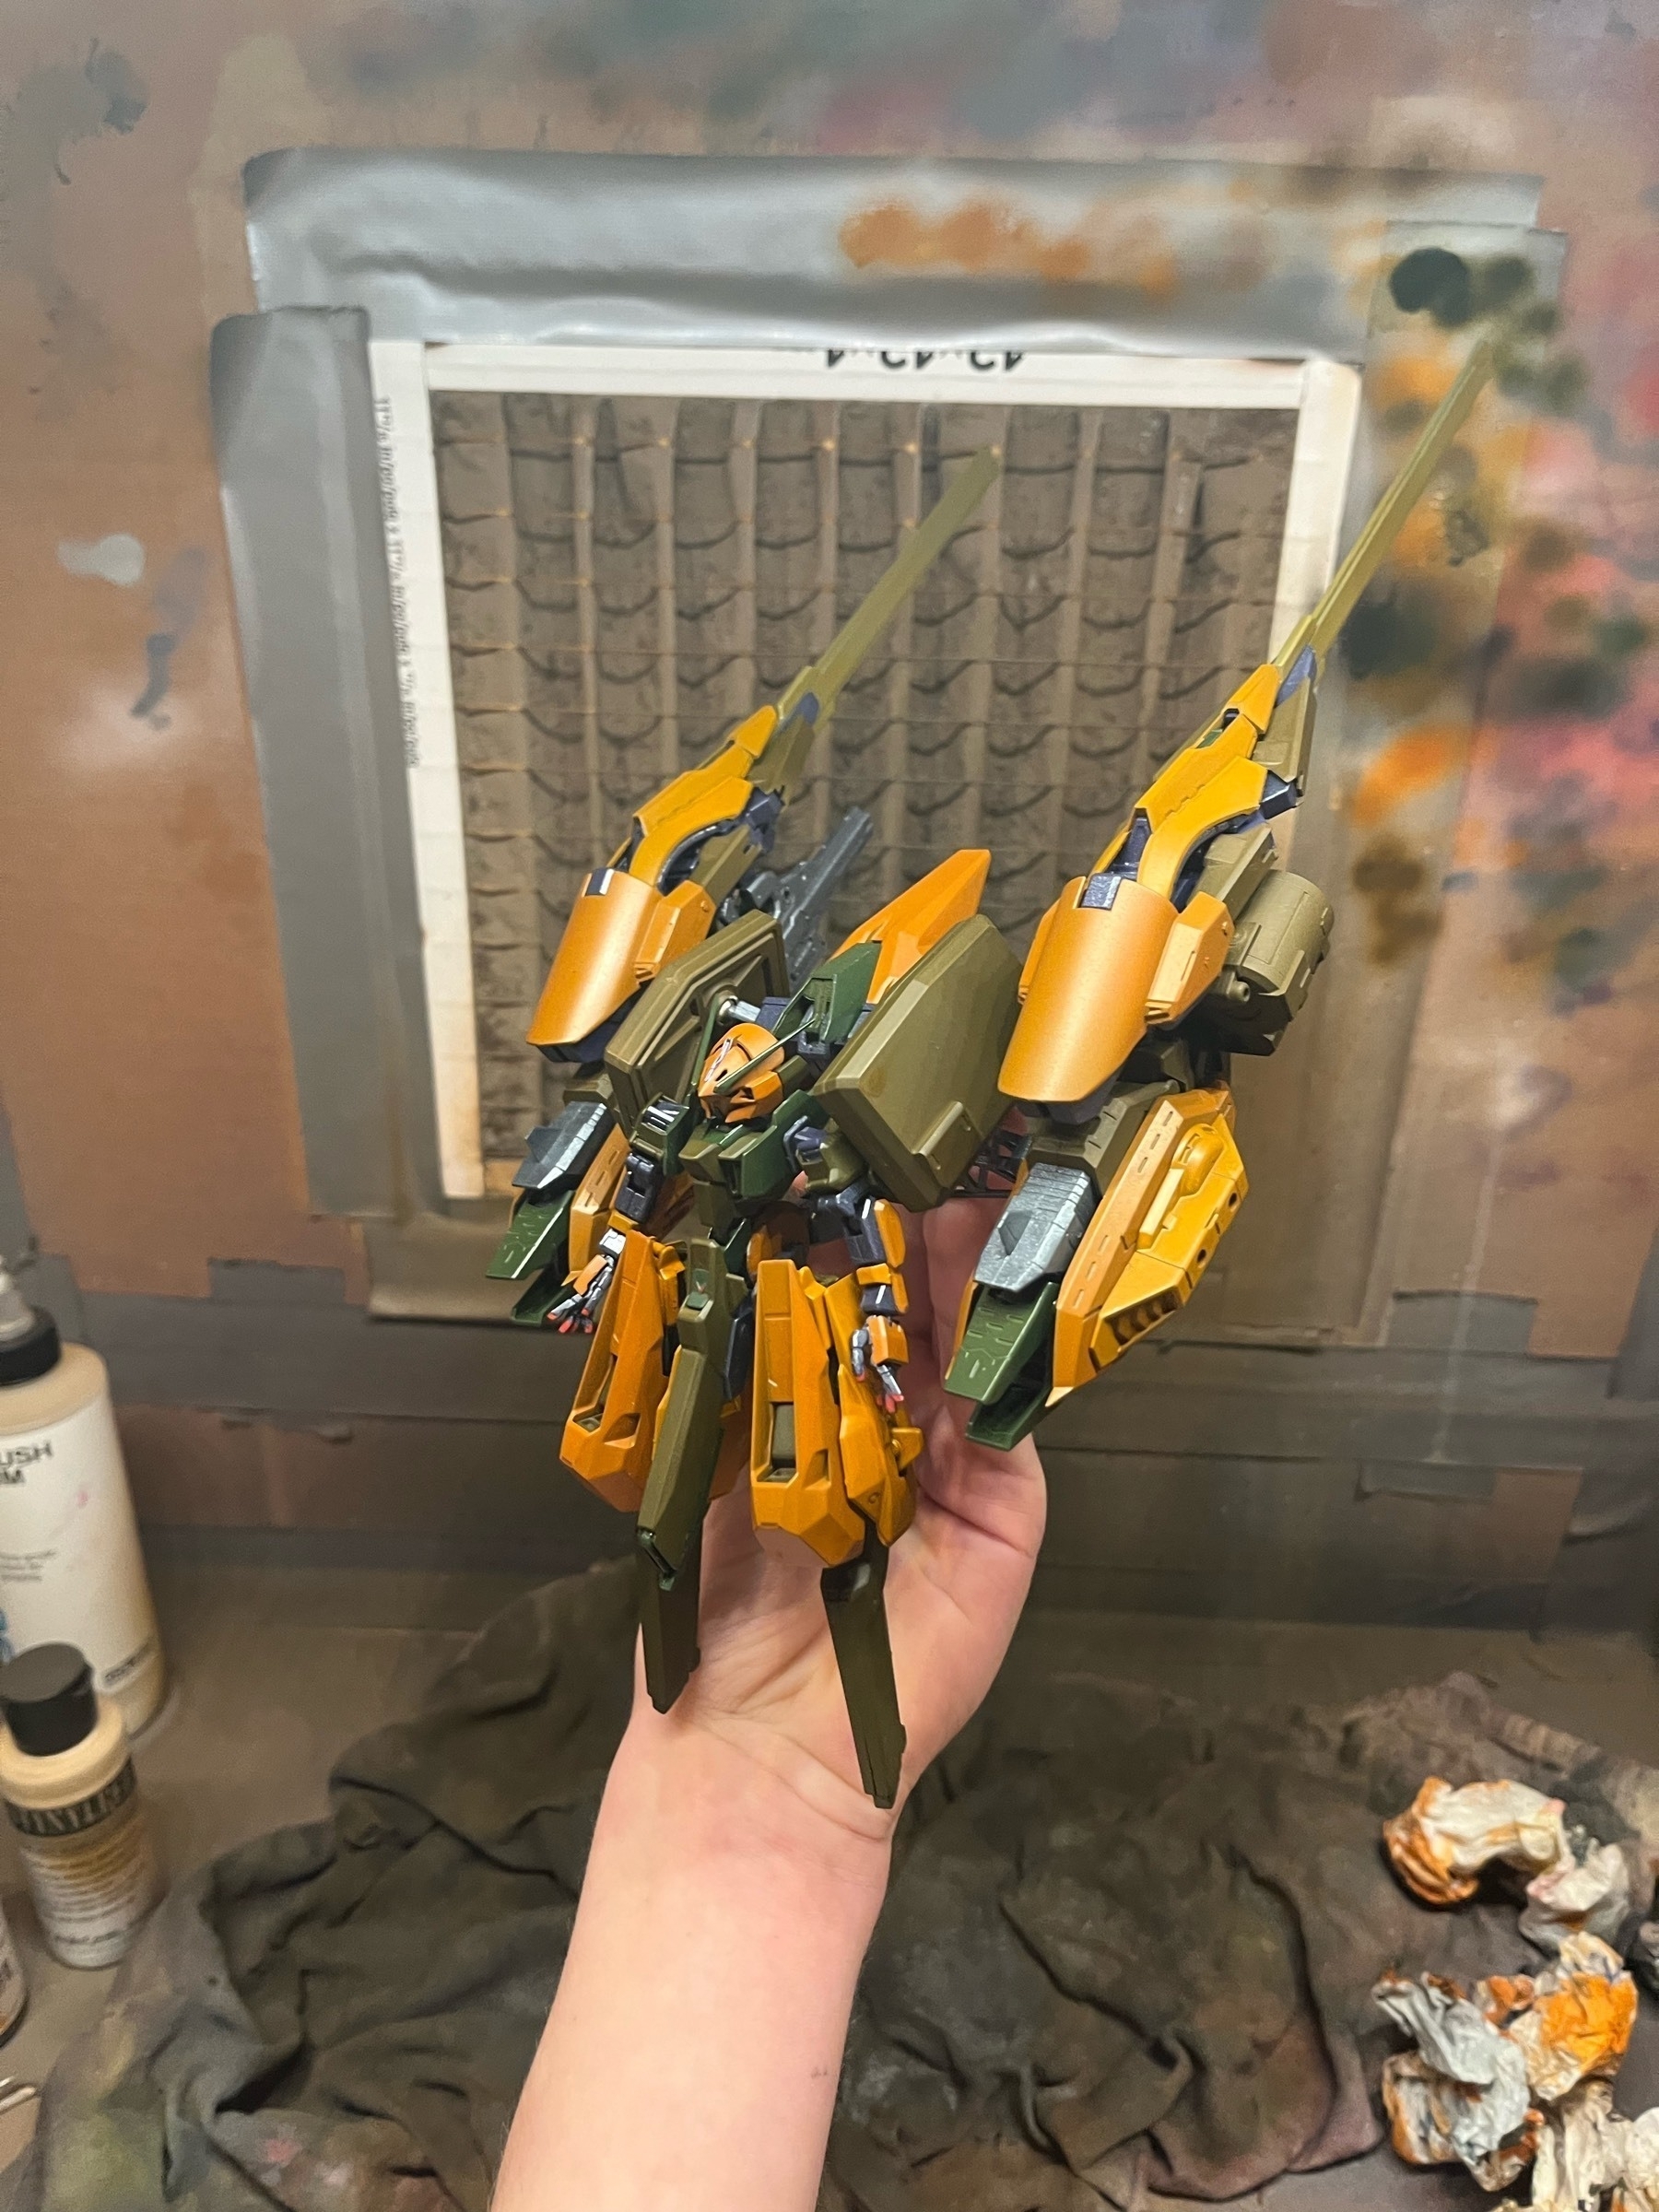
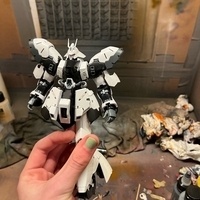
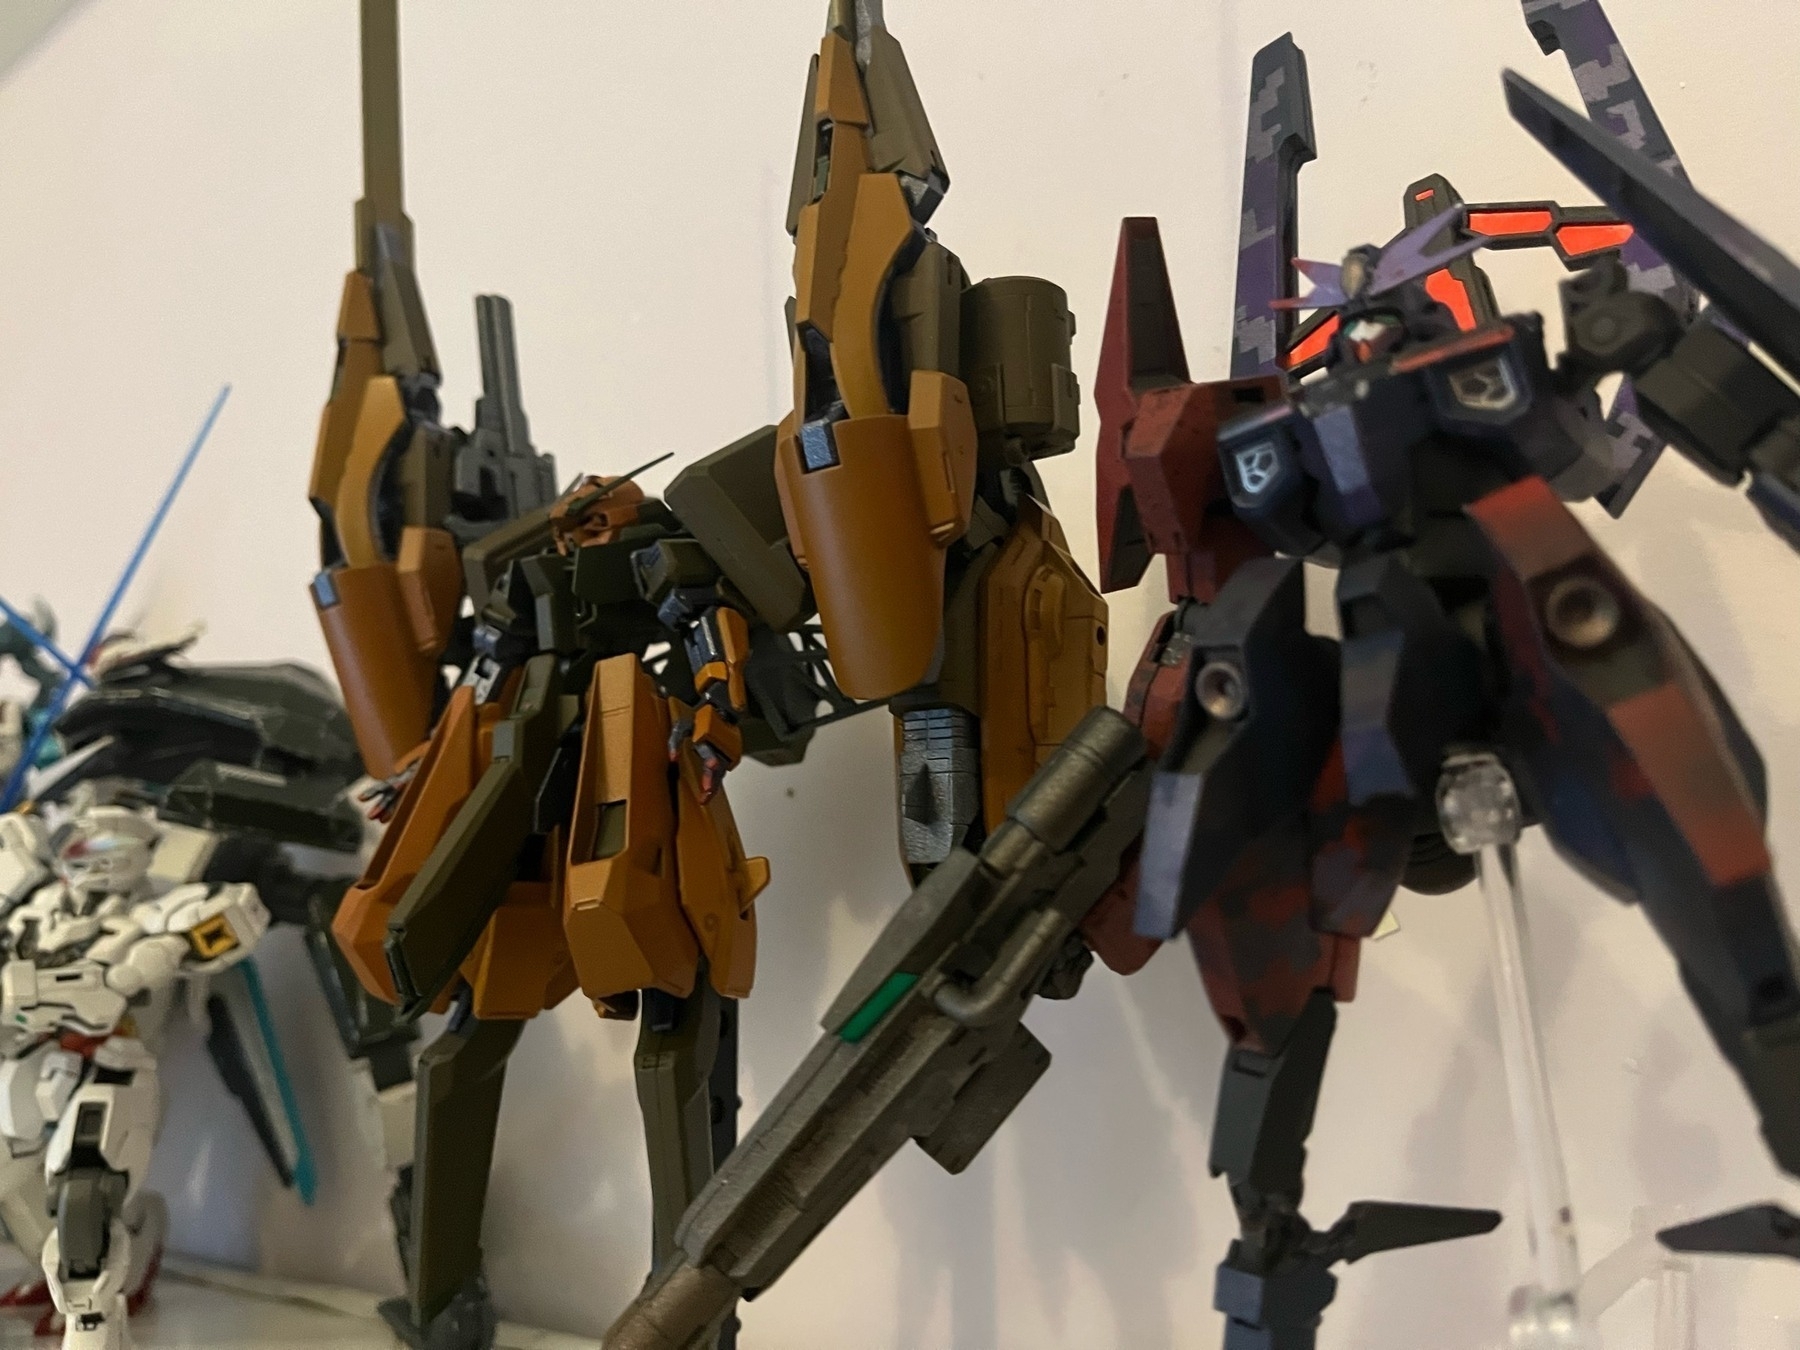
In my first order from GundamCentralShop (great, reliable website by the way), I decided to pick up a bootleg HG Hazel ii, as I had been eyeing the Woundwort-lineage suits from Advance Of Zeta for a while. Since almost all AOZ kits are P-Bandai, the only three options for finding them are paying outrageous scalper prices, waiting for a reprint, or finding a good-quality bootleg. I went for the last option, and the kit’s quality was fine. My only complaints were some joints were a bit too tight/loose and there were some mold lines over the plastic, but neither of those really mattered since I knew I would be painting the model.
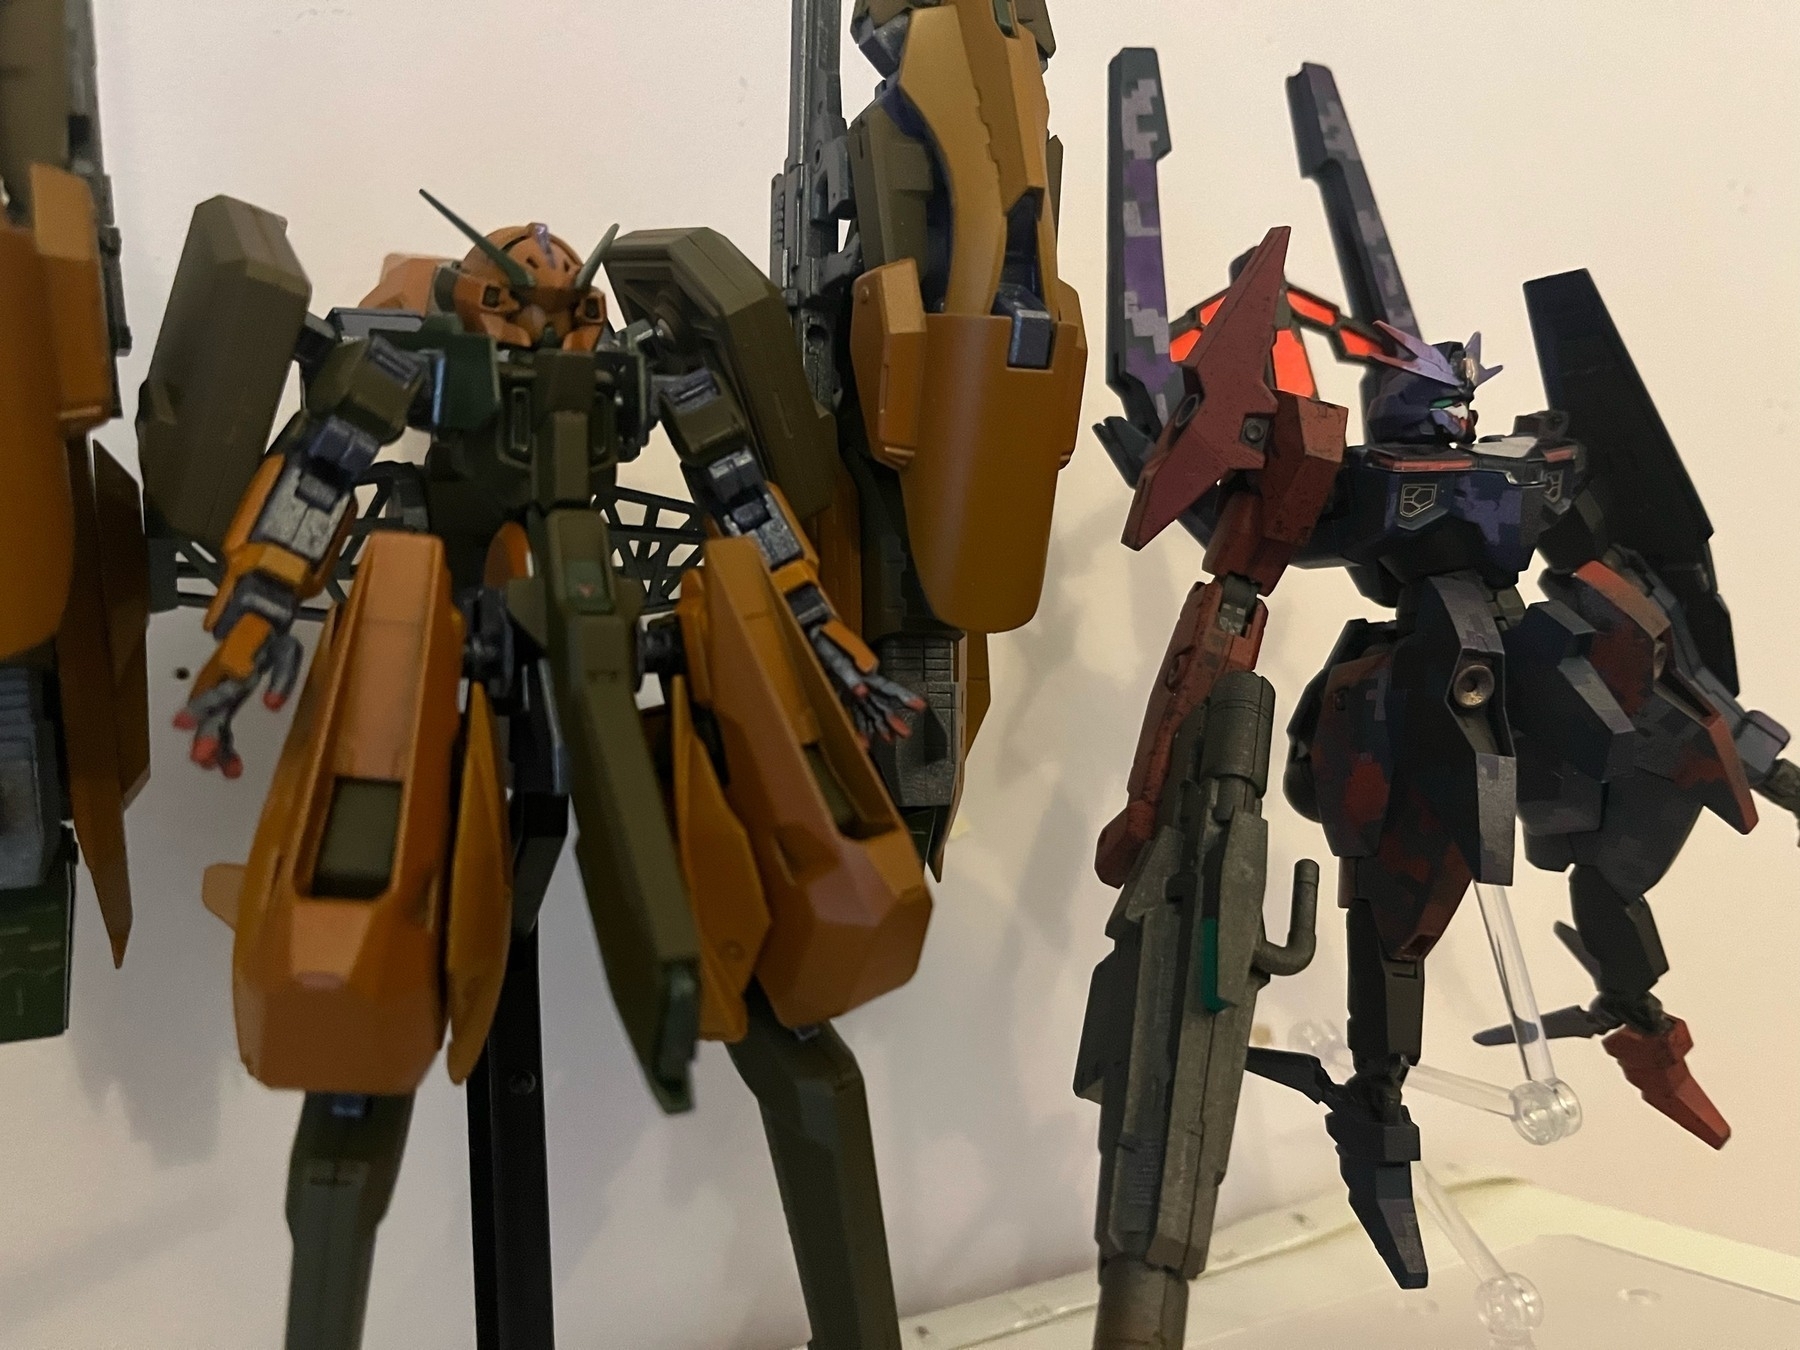
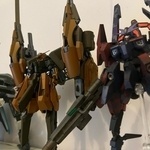
I knew I wanted to do something seasonal, so I had to decide between something specifically halloween-ey or a more generic autumnal scheme. I ultimately went with pumpkin patch colors, using two tones of orange, dark greenish-brown, a metallic gunmetal that turned out purple for the frame, and a glossy dark green for some accents. As usual, I touched some parts before they were all the way dry, but I was able to wipe off the paint after an alcohol bath while still keeping the base primer coat. After I finished the main unit, I had the accessories left over, most important of which are the two massive rear-mounted cannons. I decided to use a Kotobukiya MSG Raging Booster I had leftover from a previous project to add even more bulk to the rear unit, and I think the overall build turned out nicely. The colors work well with my previous weird-proportioned painted suit, the Lfrith Thorn, so I’ve been displaying those two together.
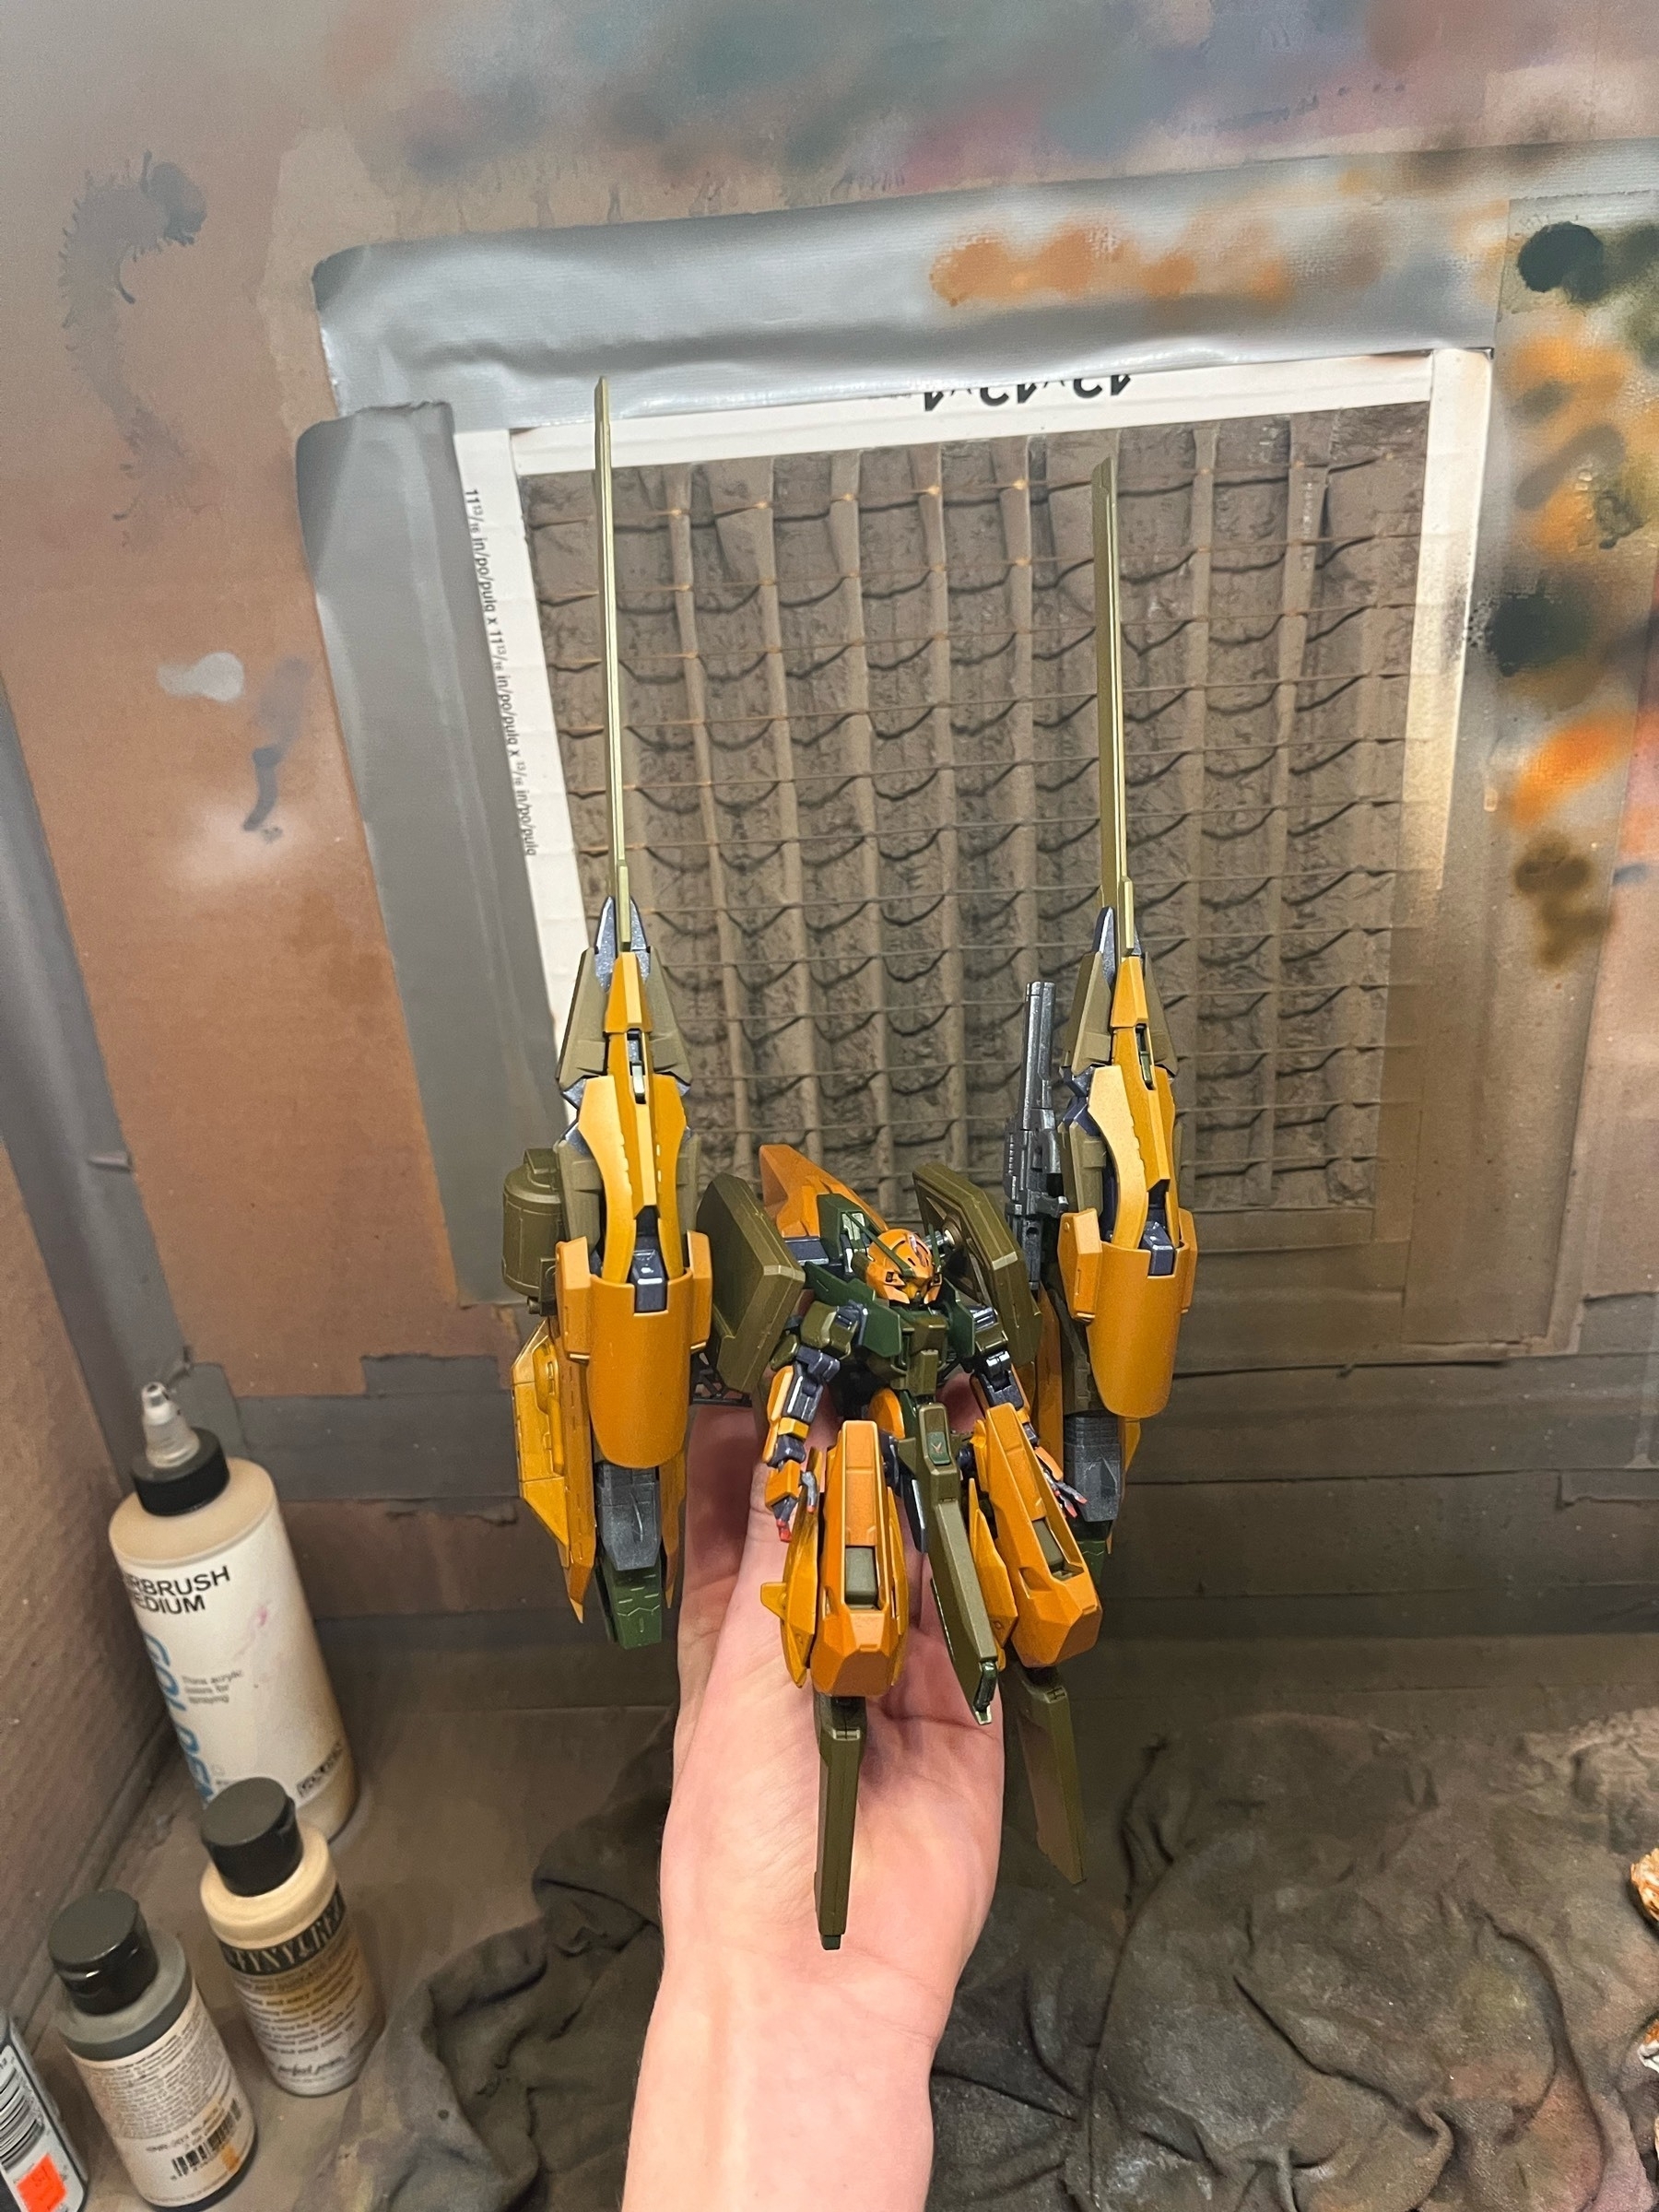
I have a mostly-finished RG Sazabi on the backburner until the humidity improves or I change my airbrush setup, so I’ll try to post about that soon in addition to some more Pokemon content. See you then!
-
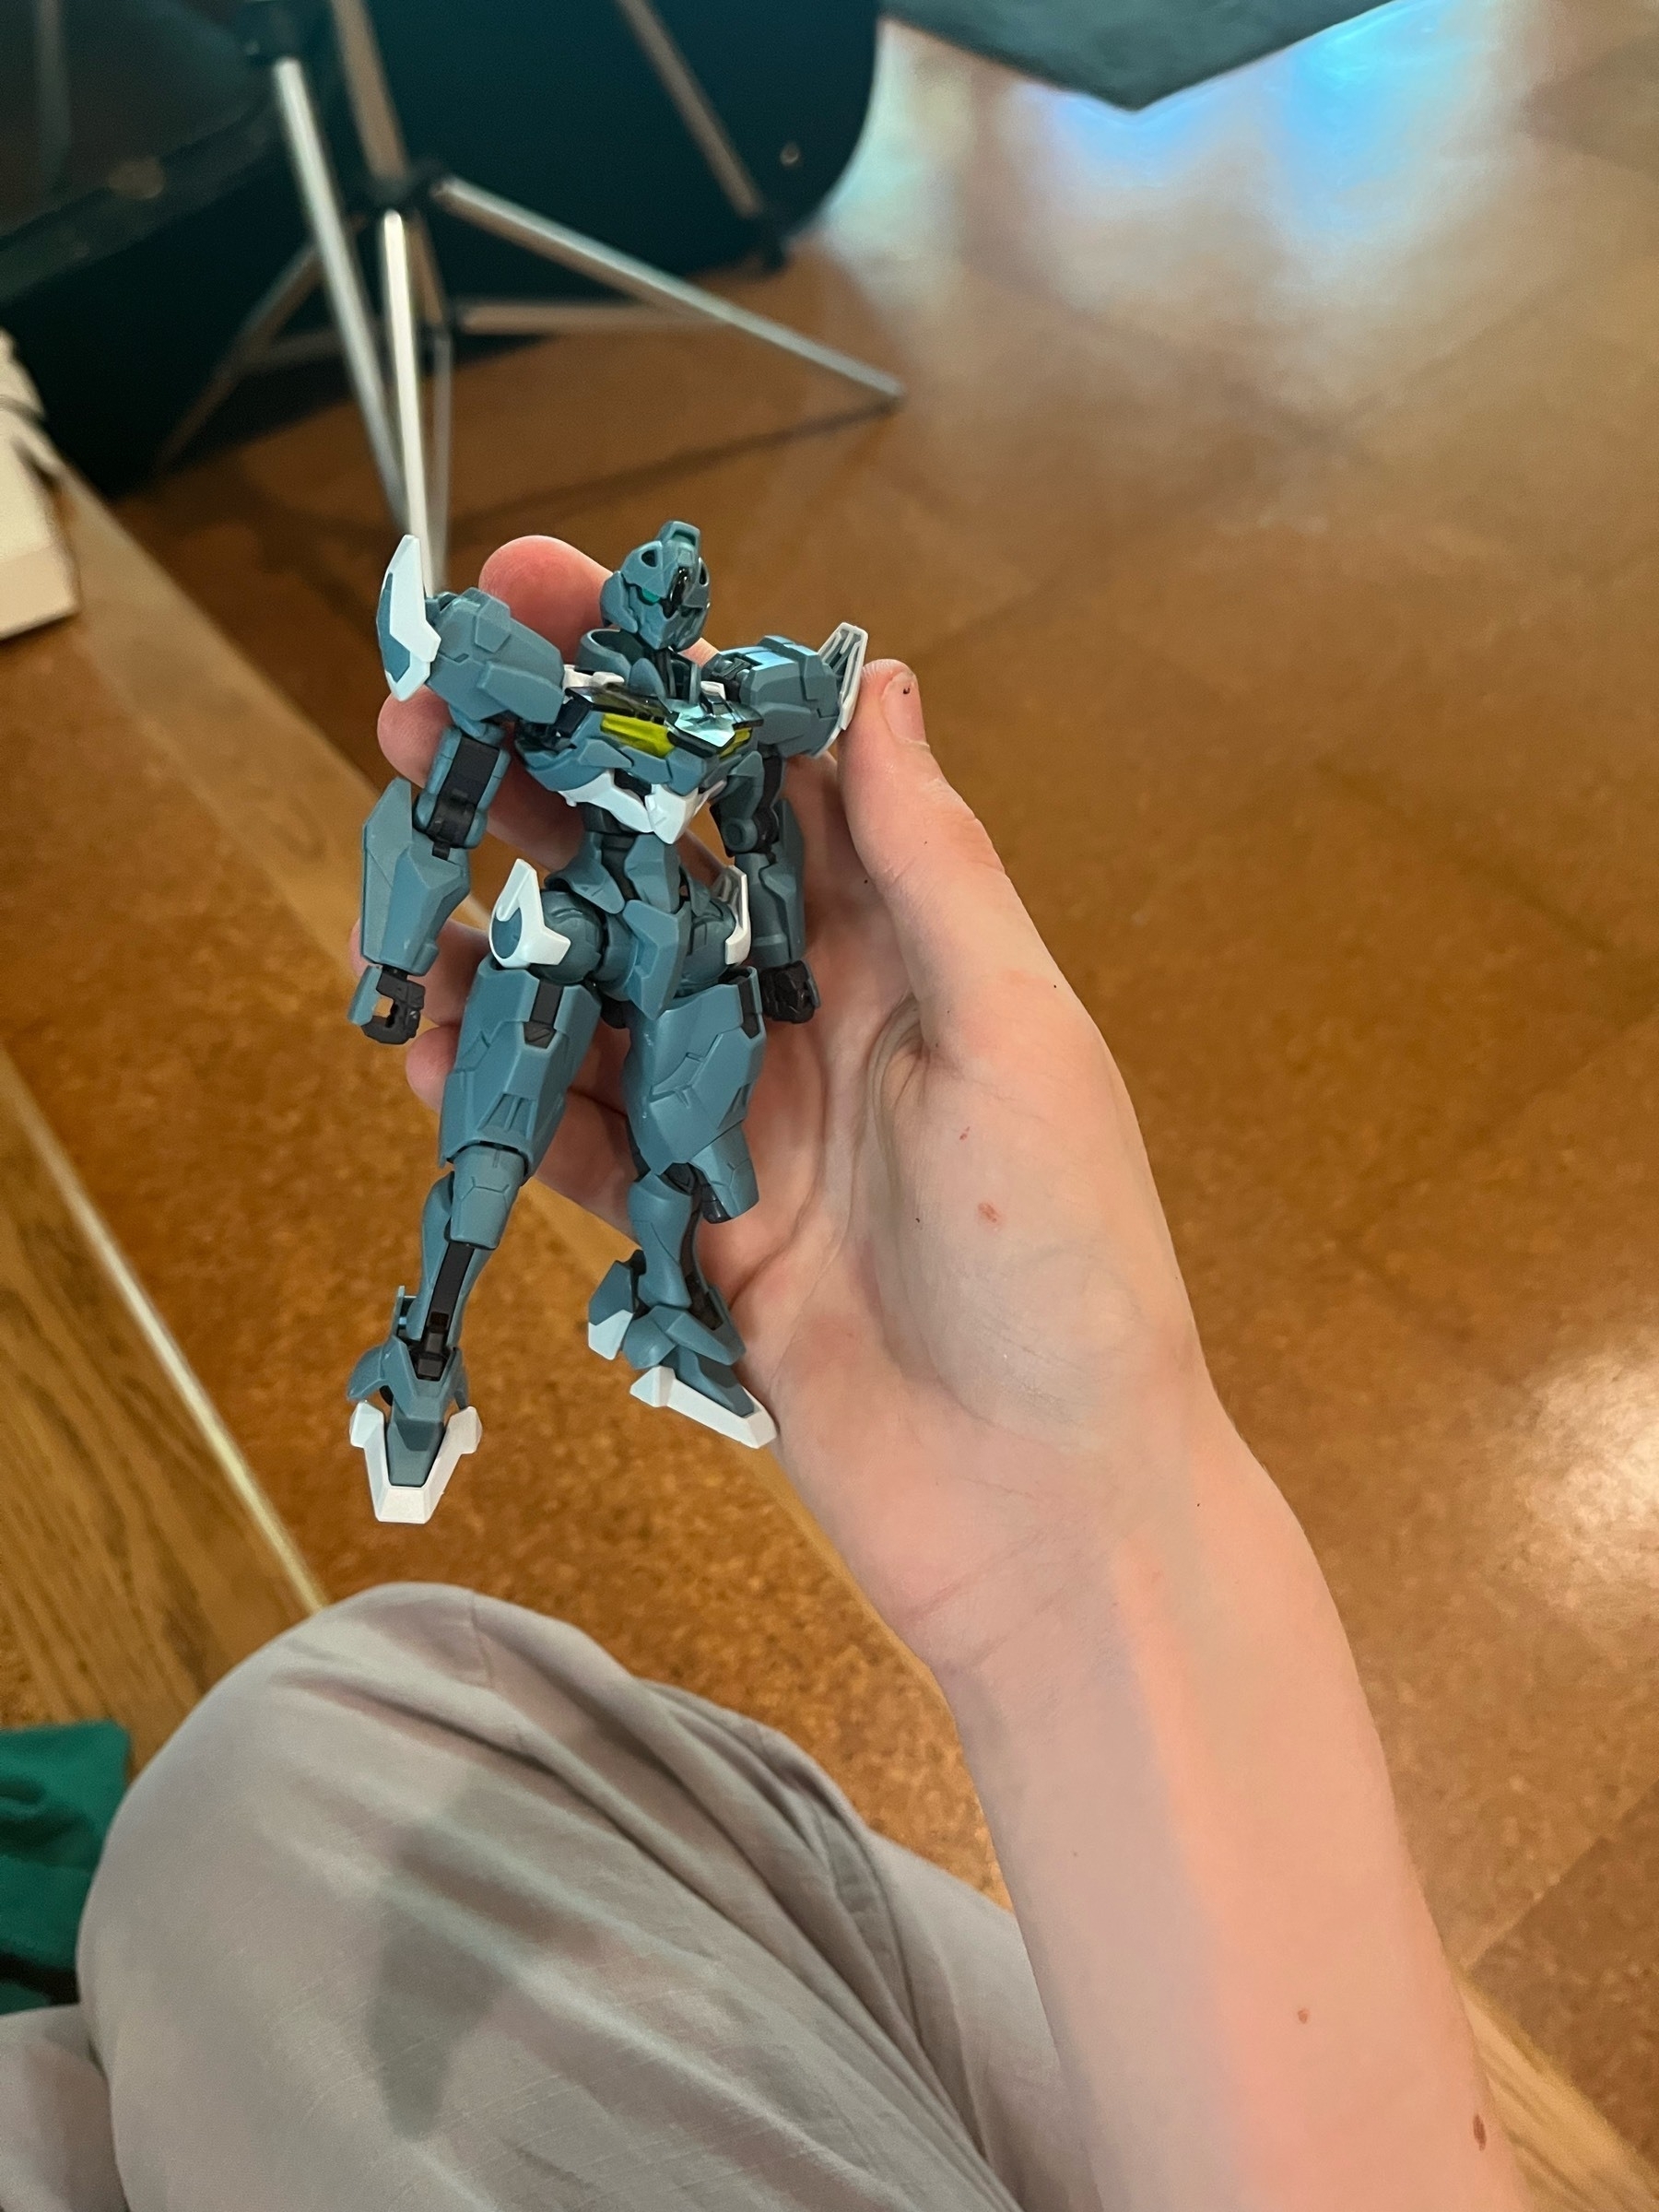
WIP: Lfrith Pre-Production Type
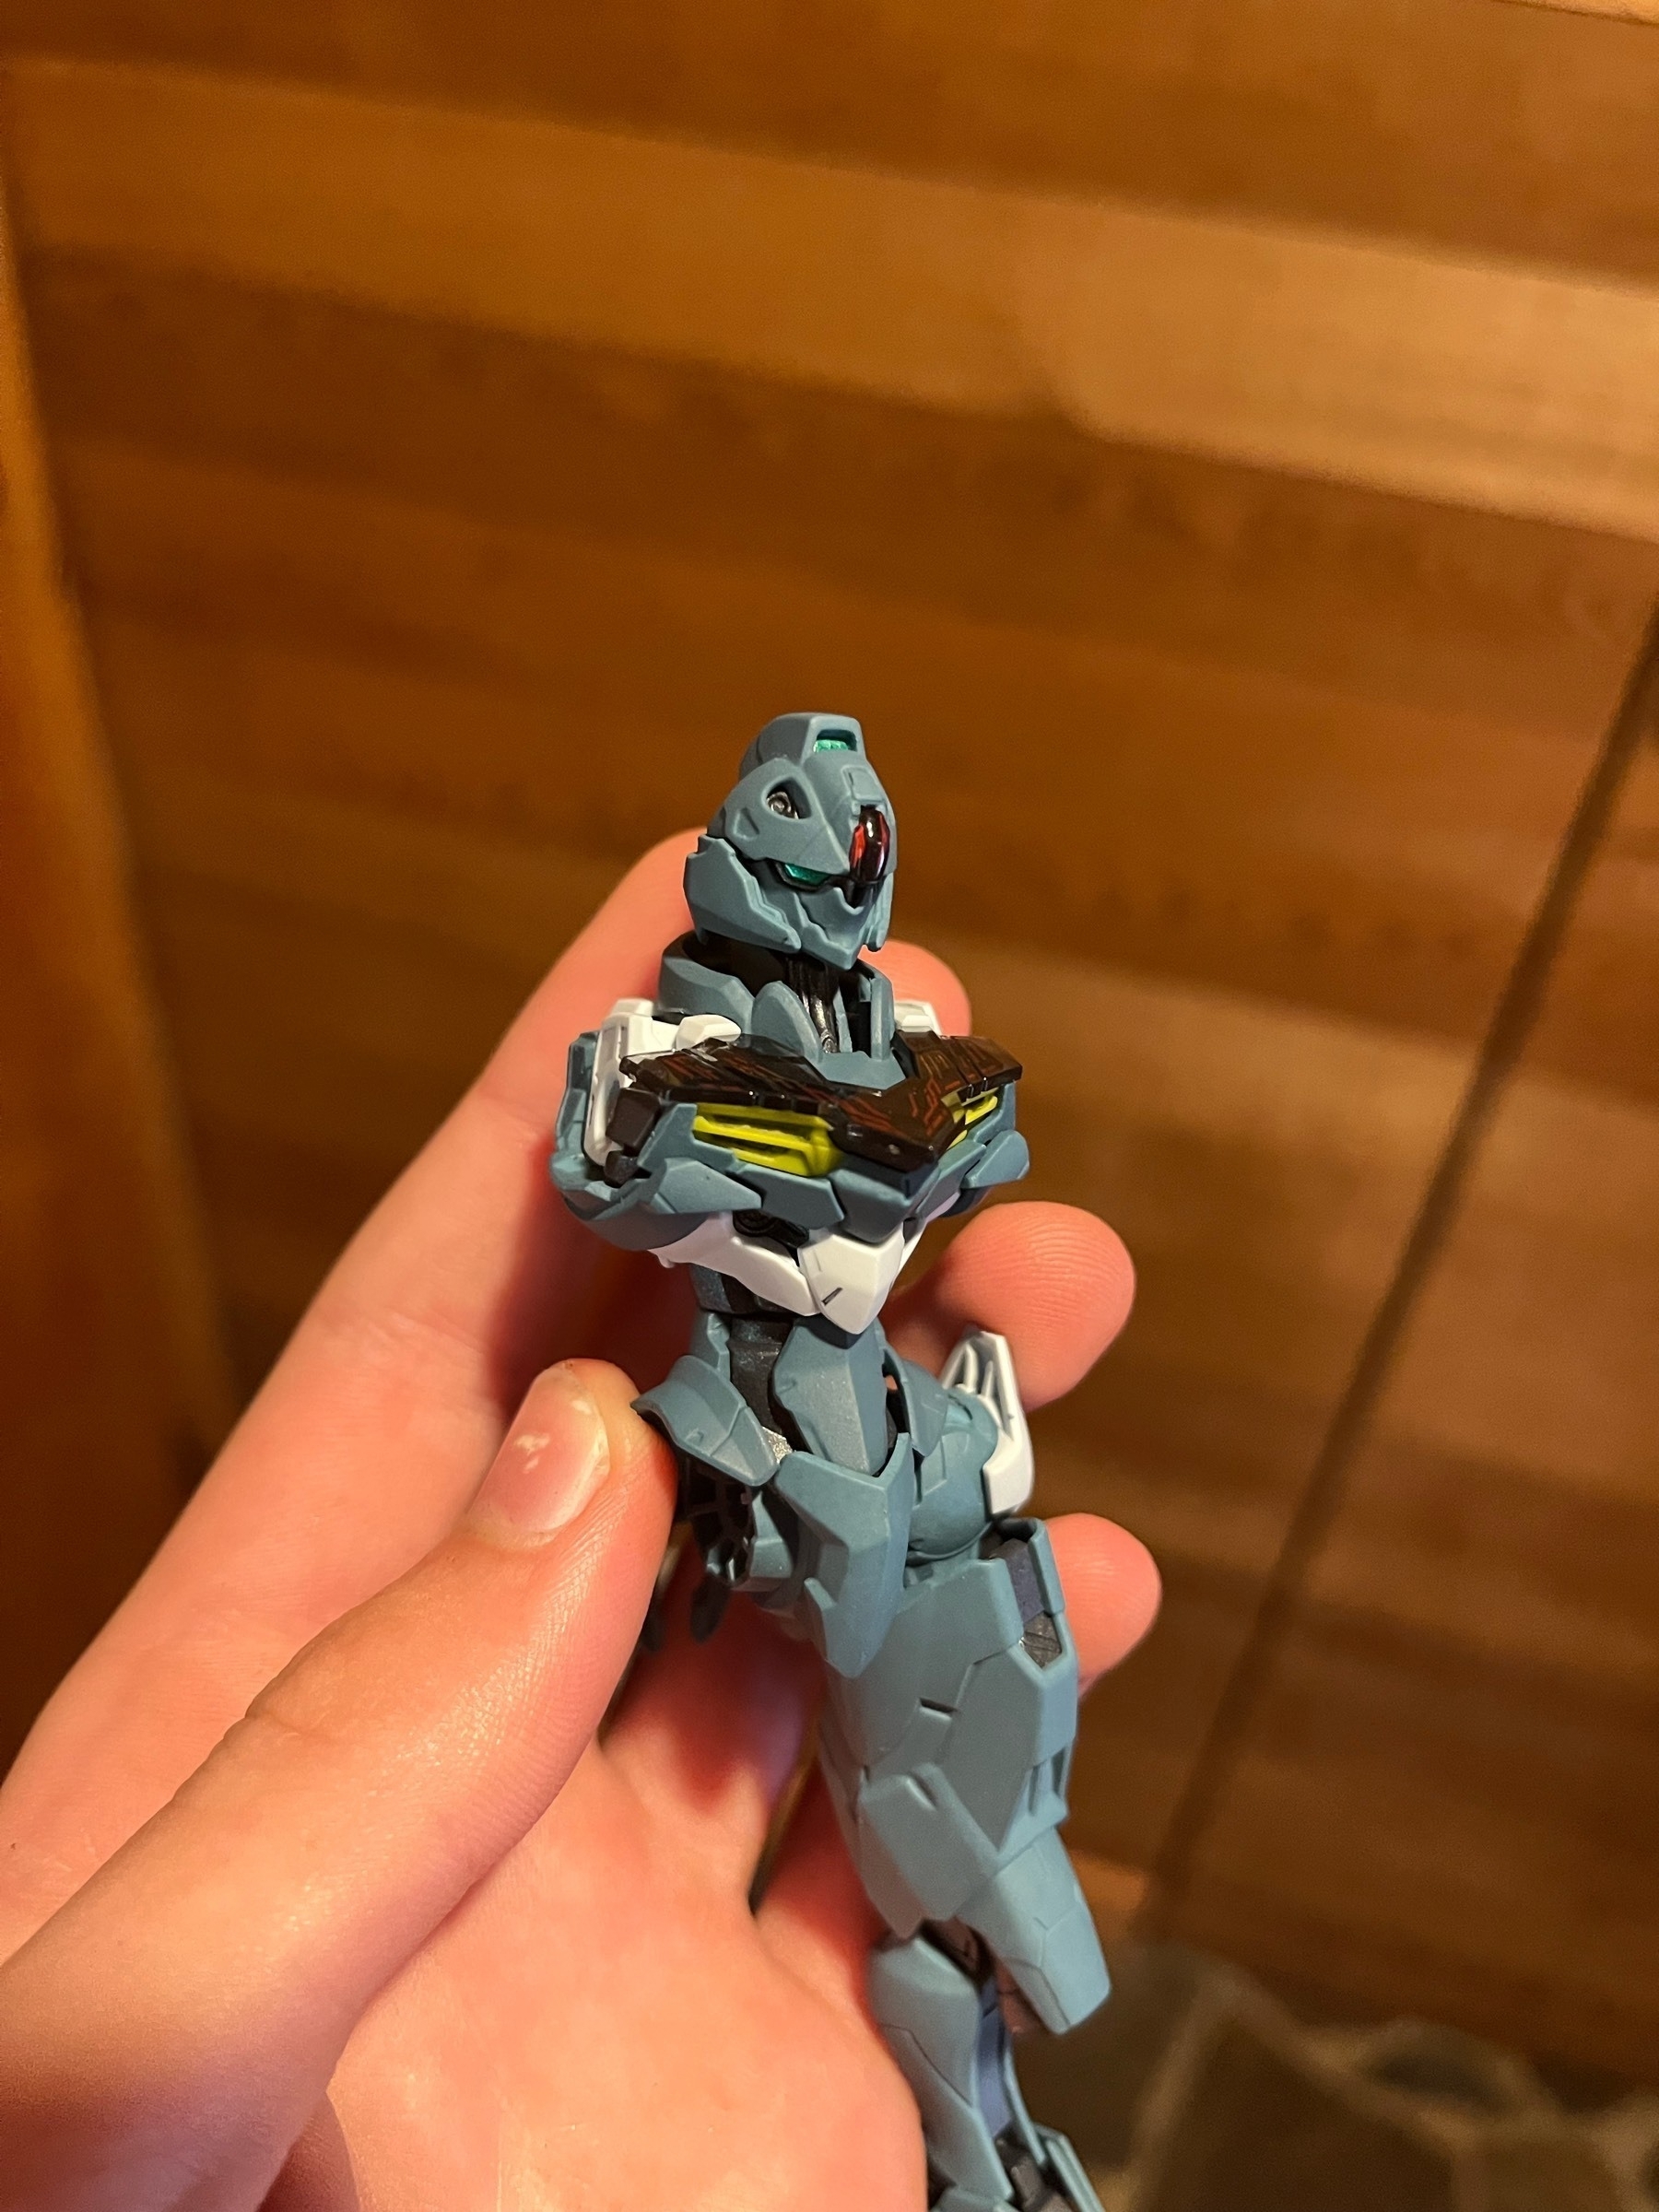
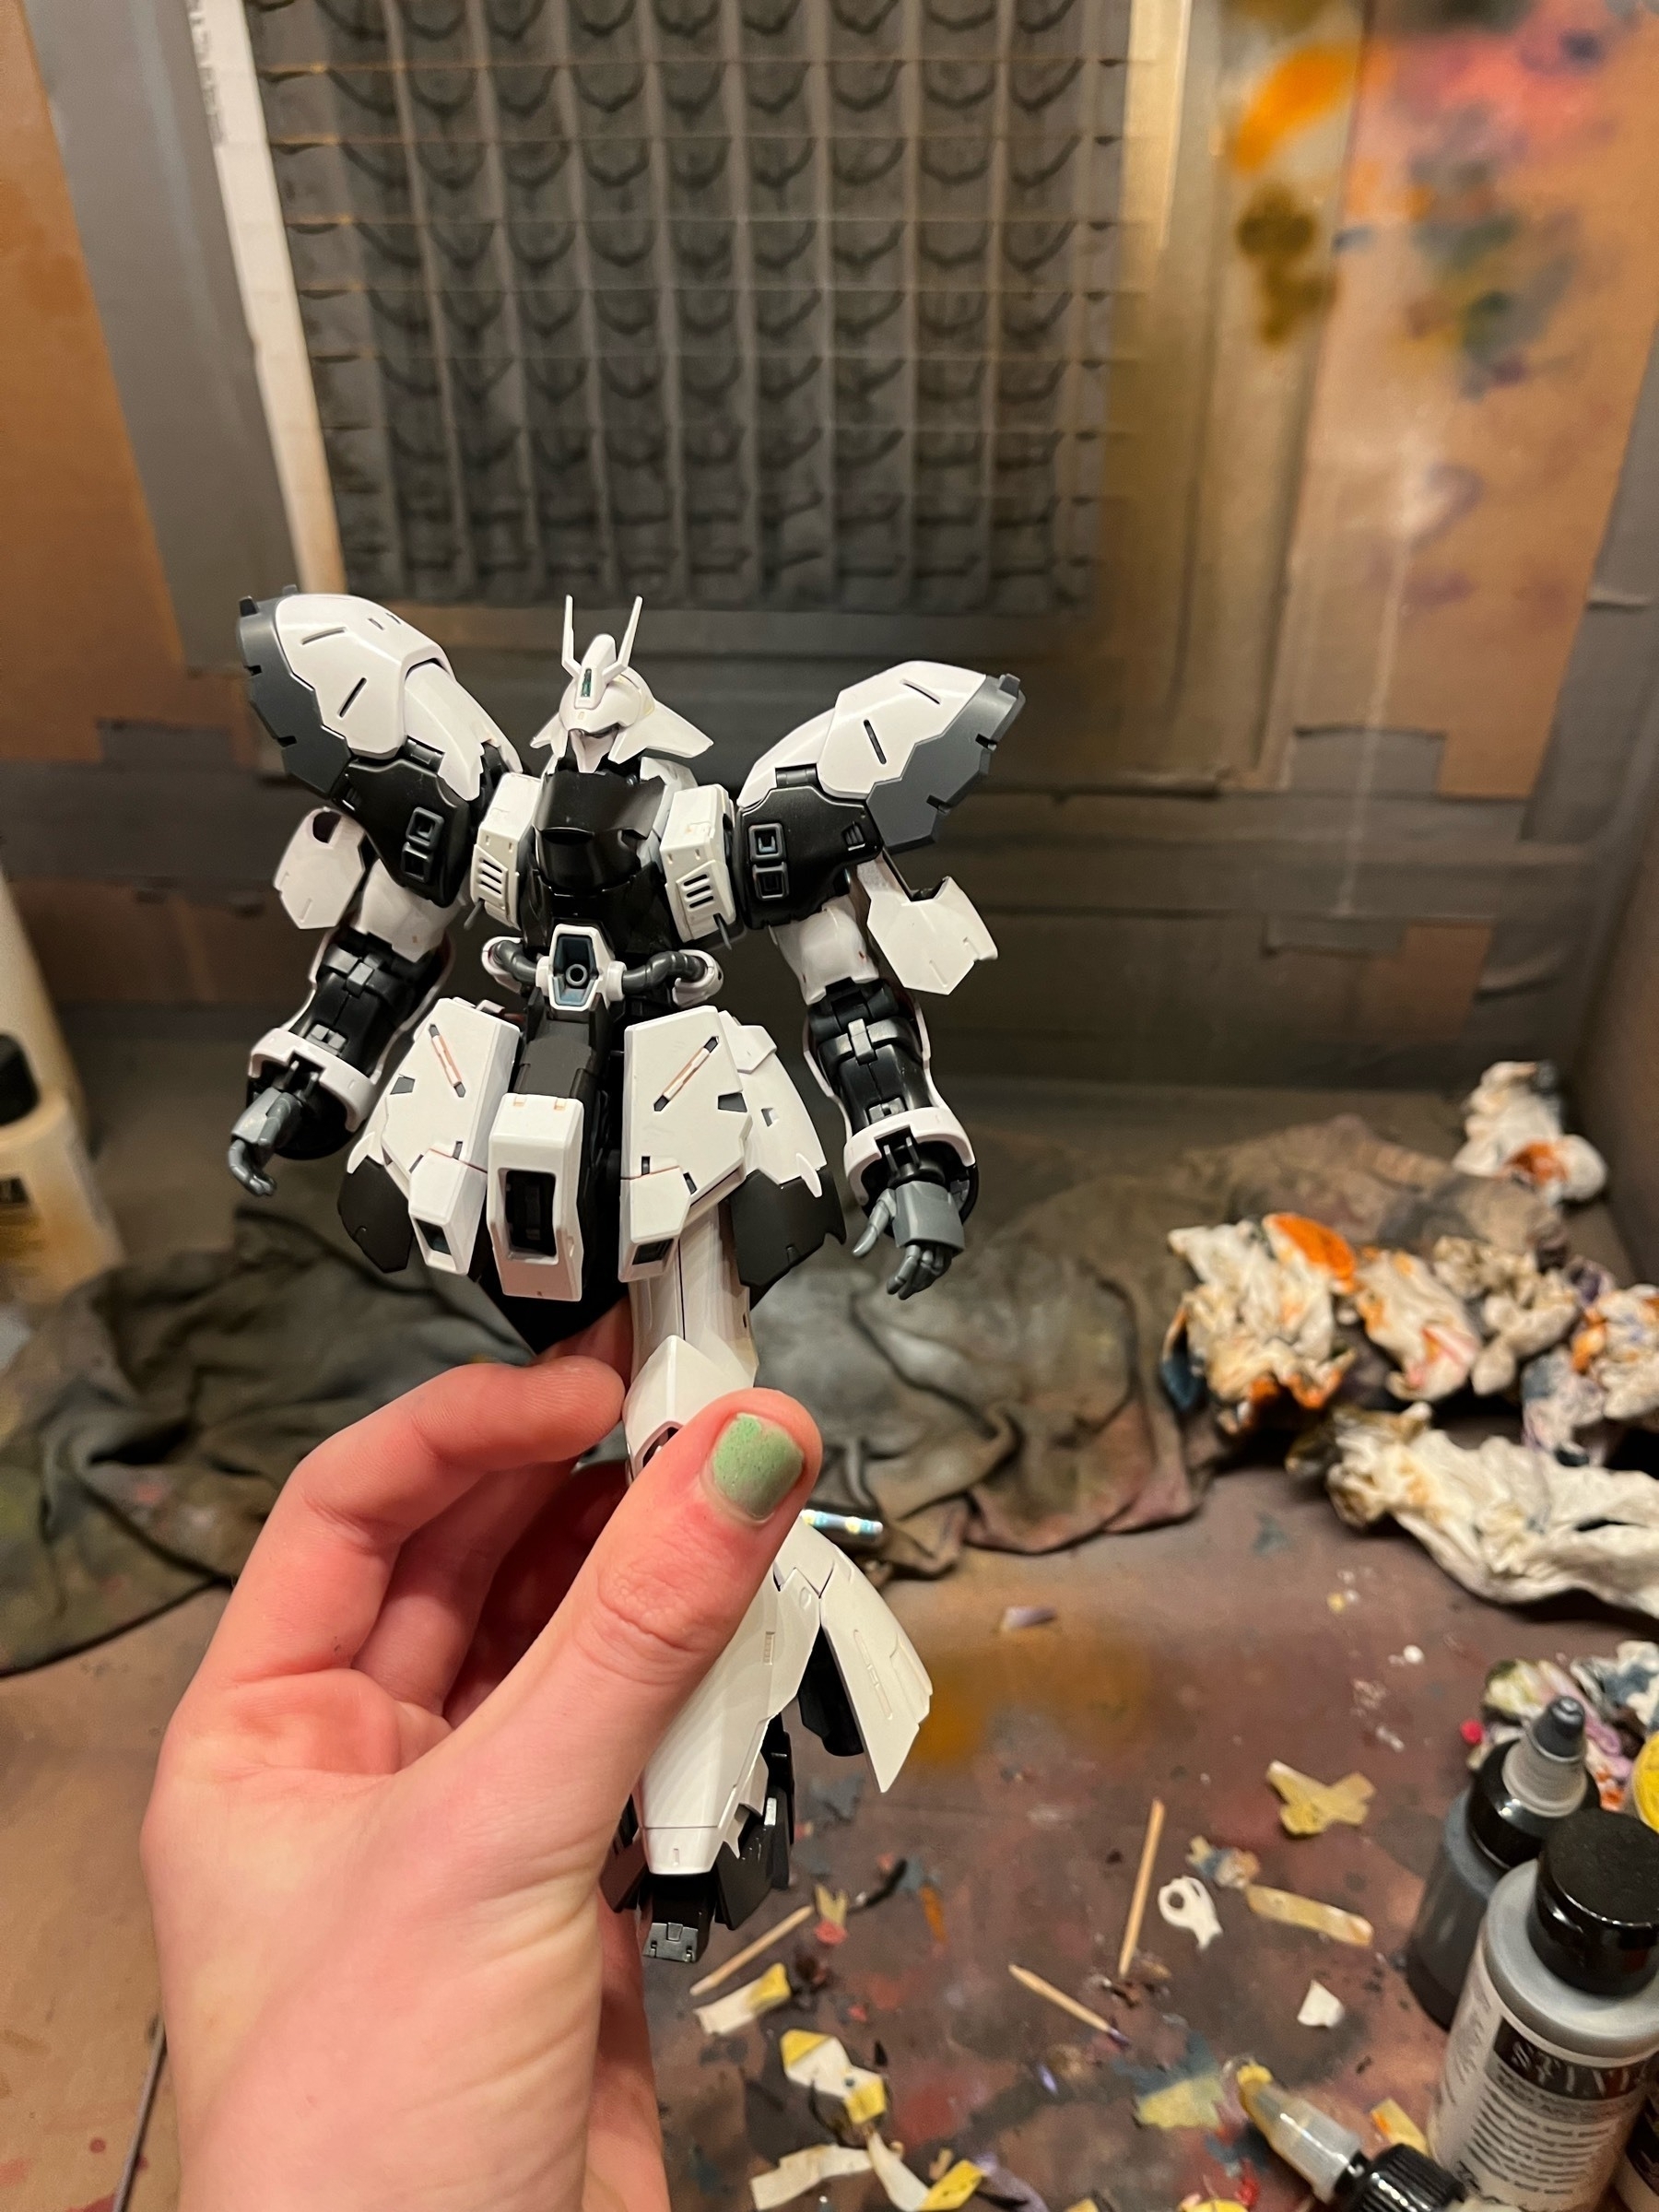
I wanted to do something a bit special for my first Premium Bandai kit, so I am working on a repaint, keeping the original colors of the kit but sprucing it up a bit. I used a metallic gunmetal for the frame and a custom mix for the blue, and so far it’s turning out quite nicely!

As usual, the HGWFM line continues to impress, with an almost full inner frame packed into this kit’s 7 runners.
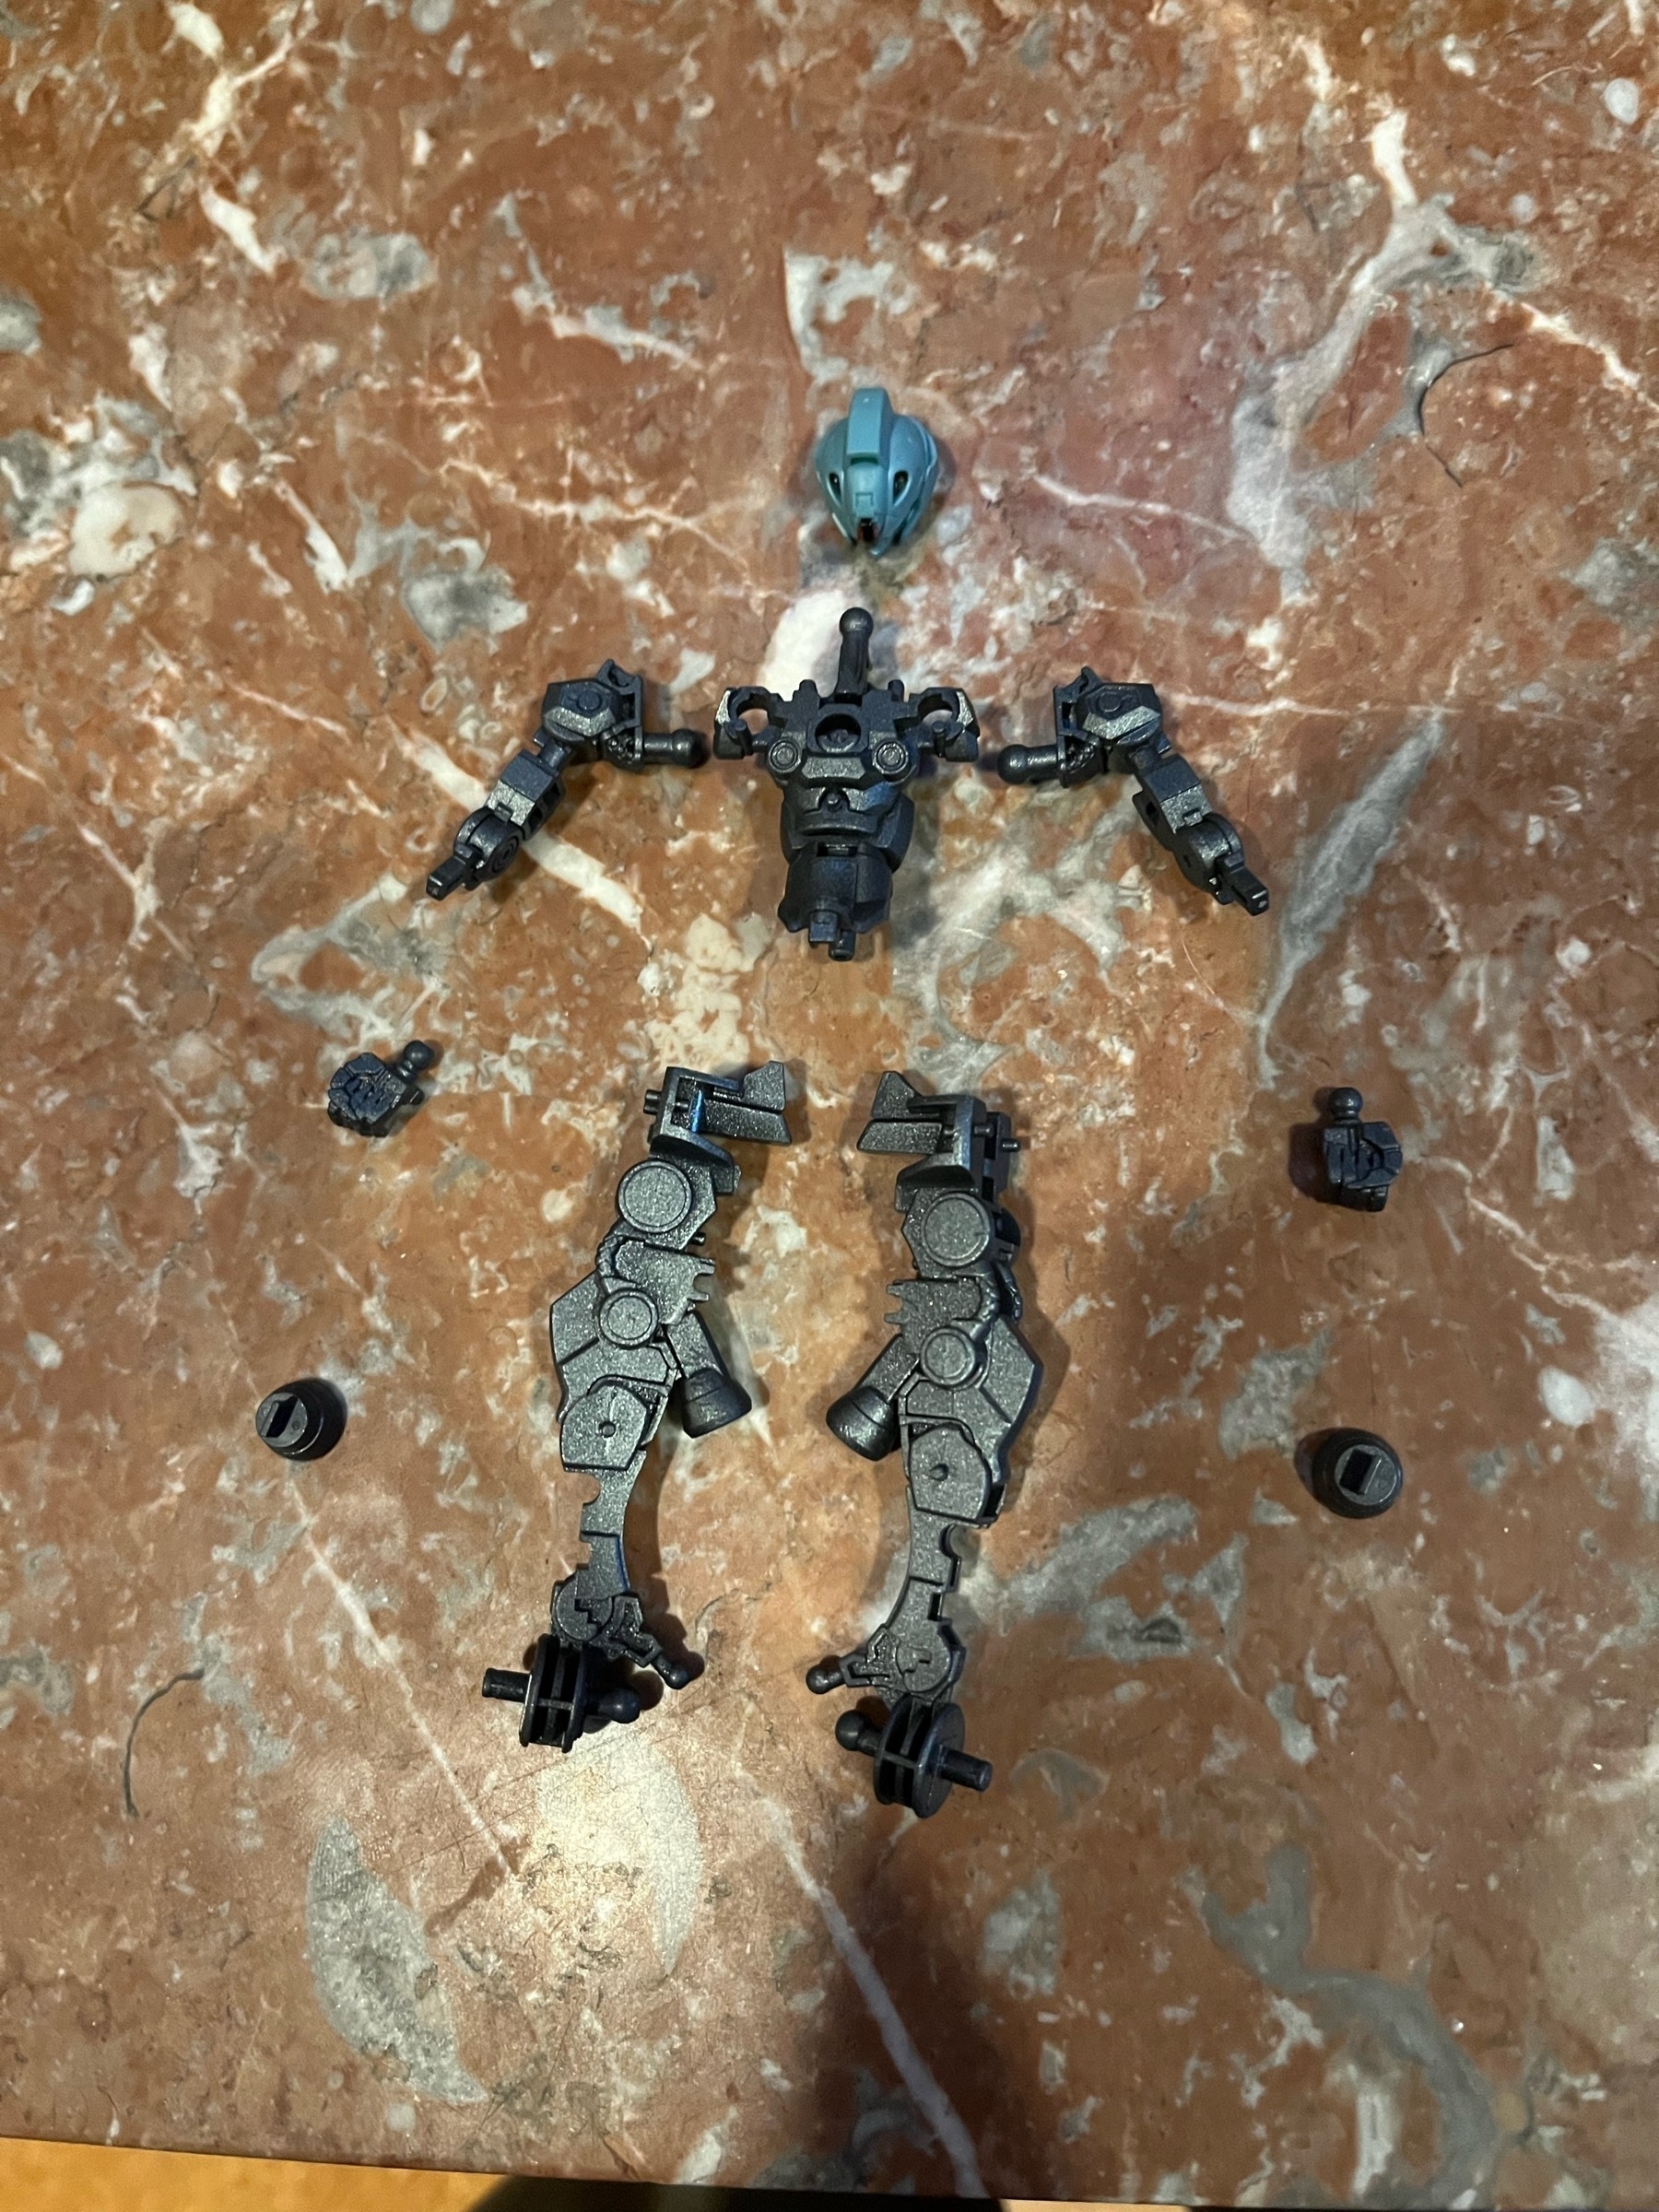
Main body snap-built without paint:
-
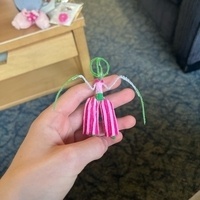
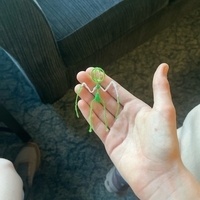
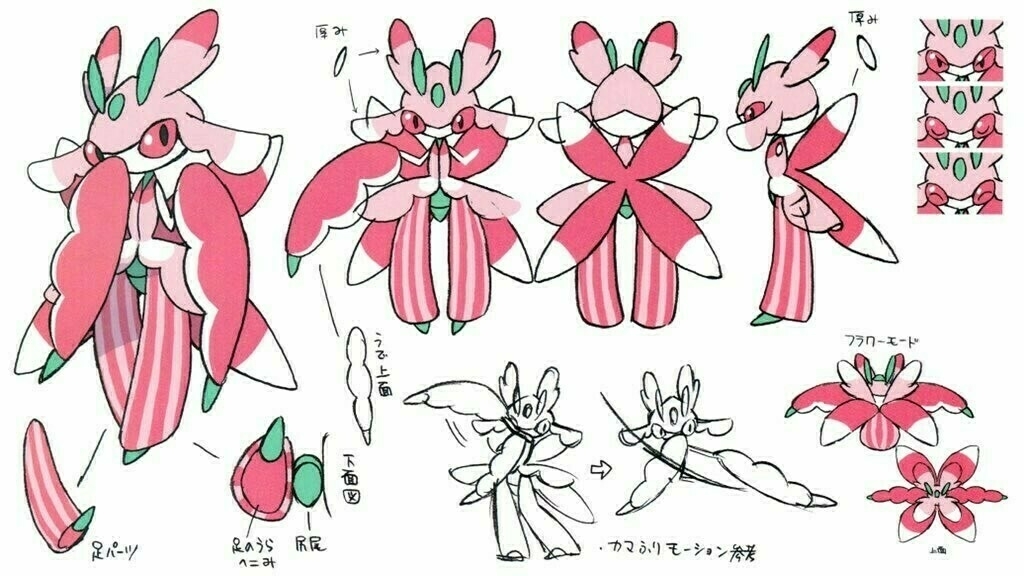
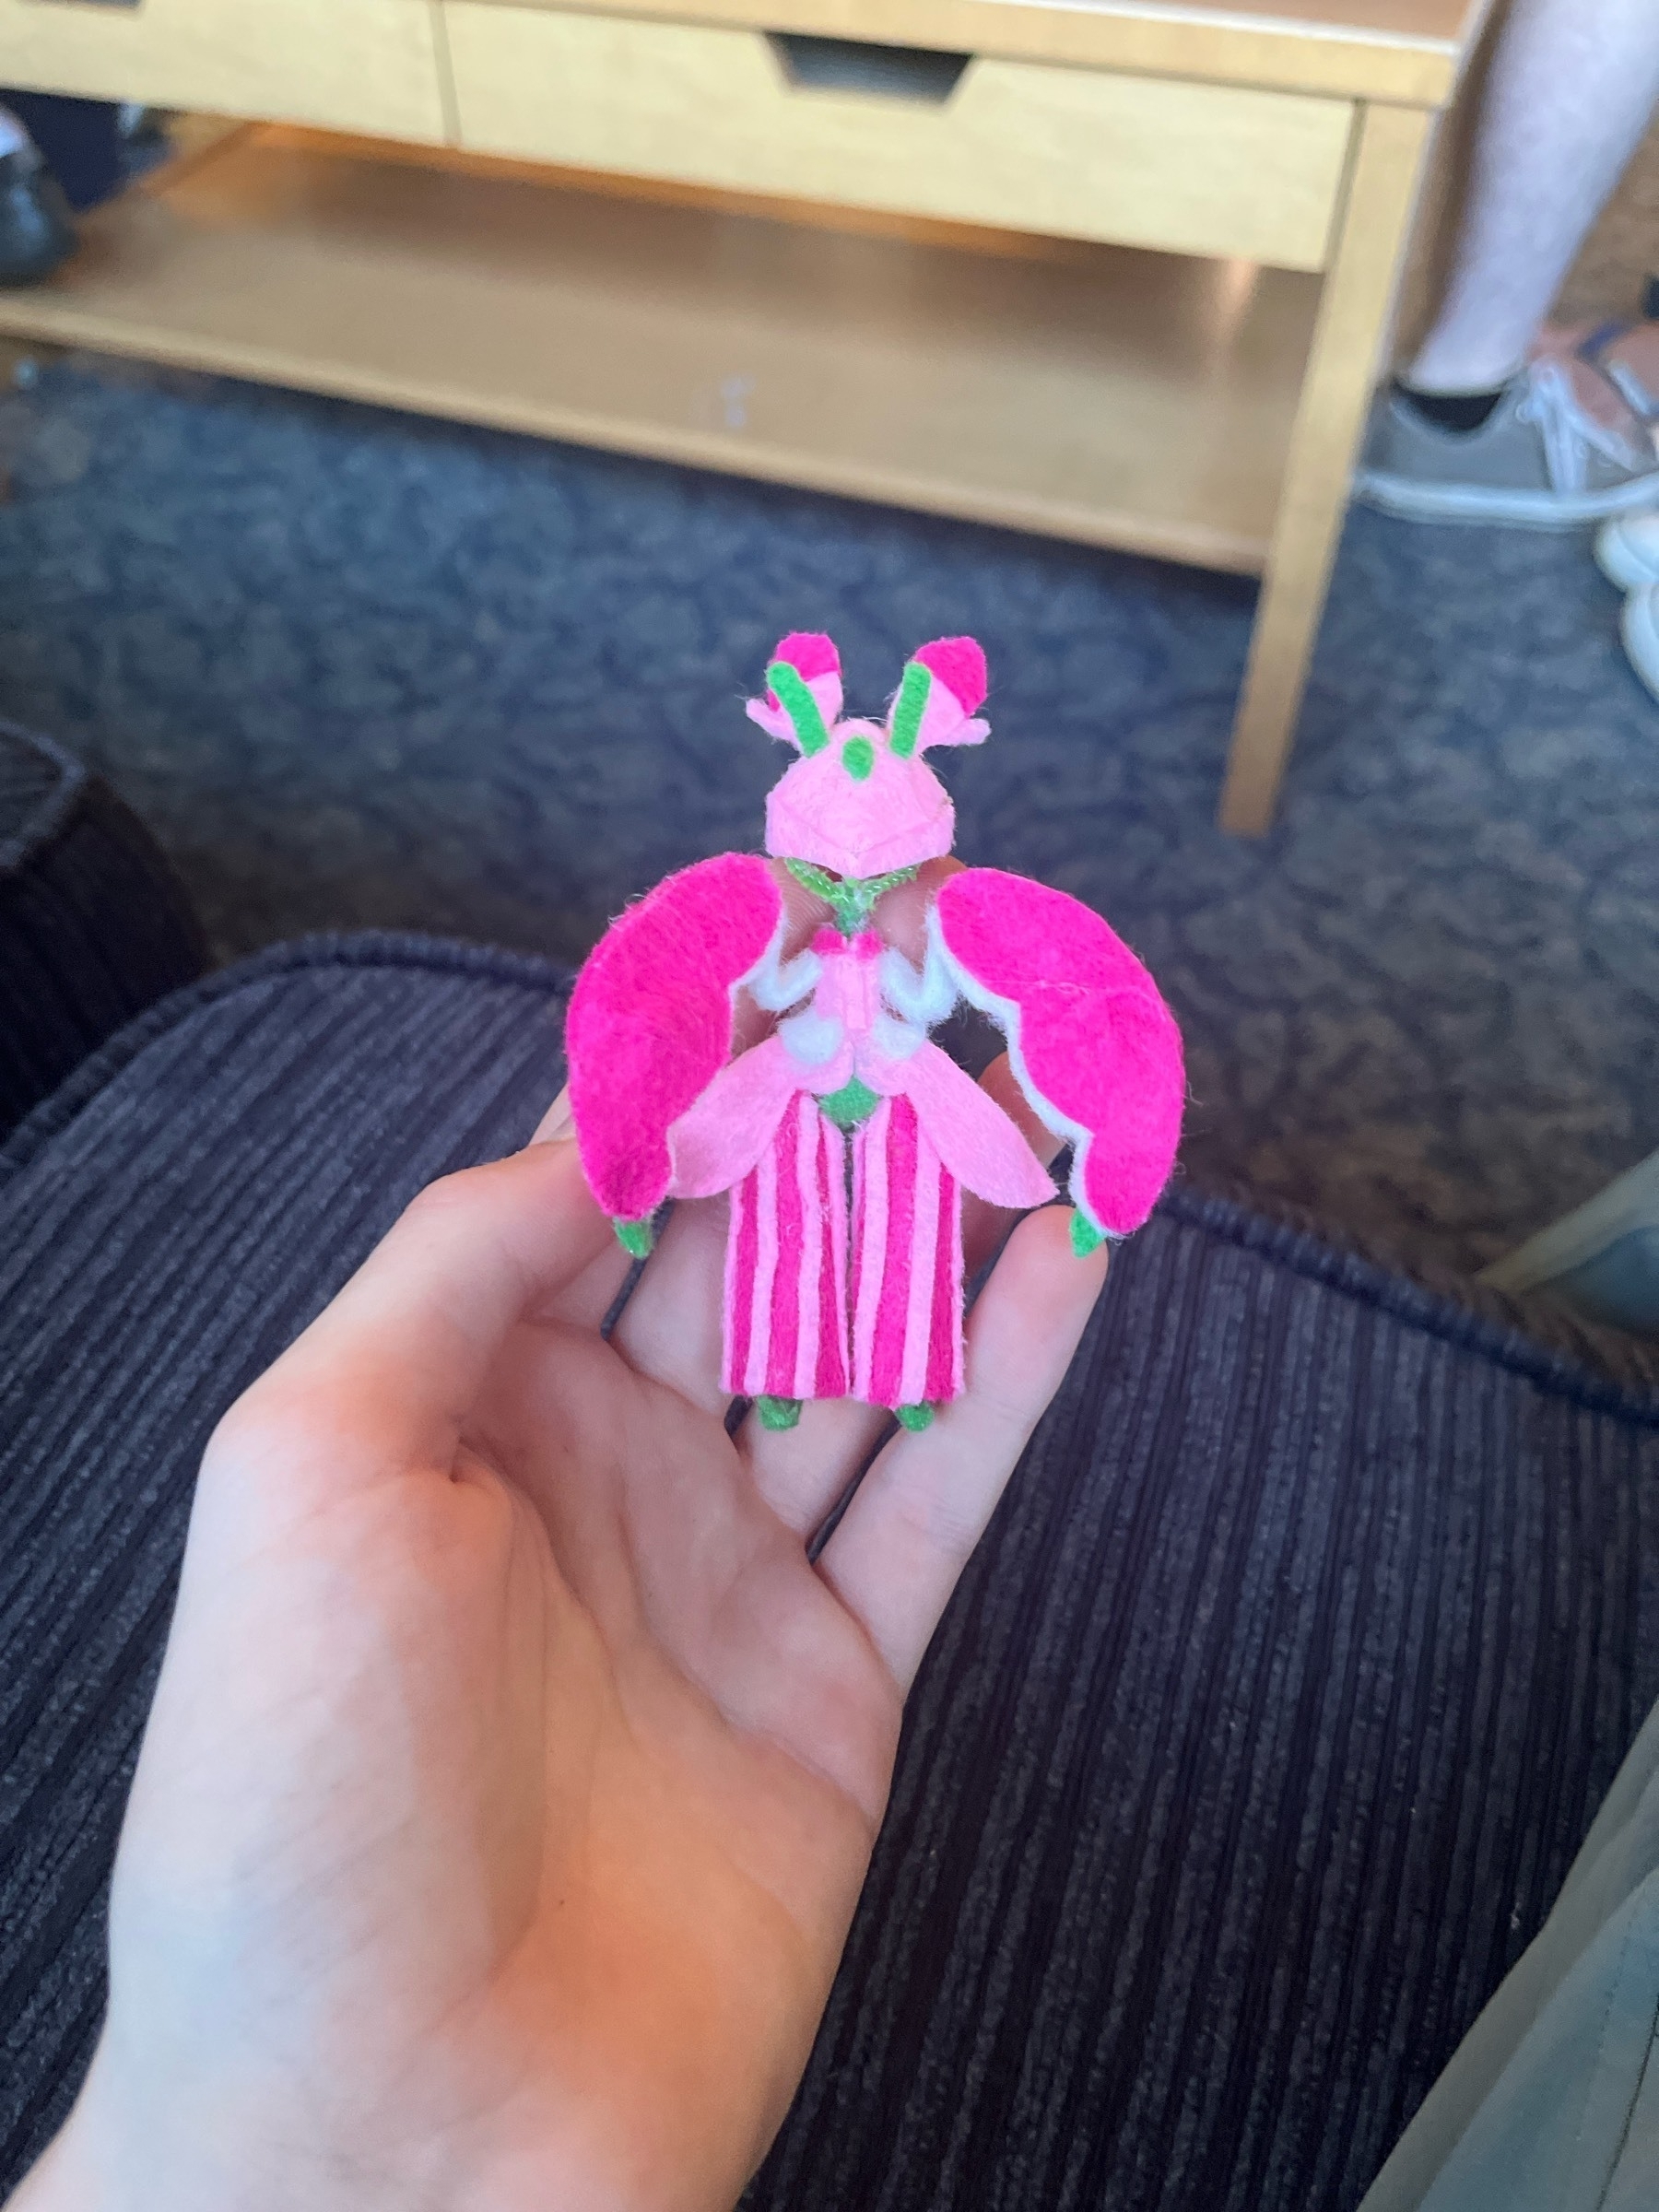
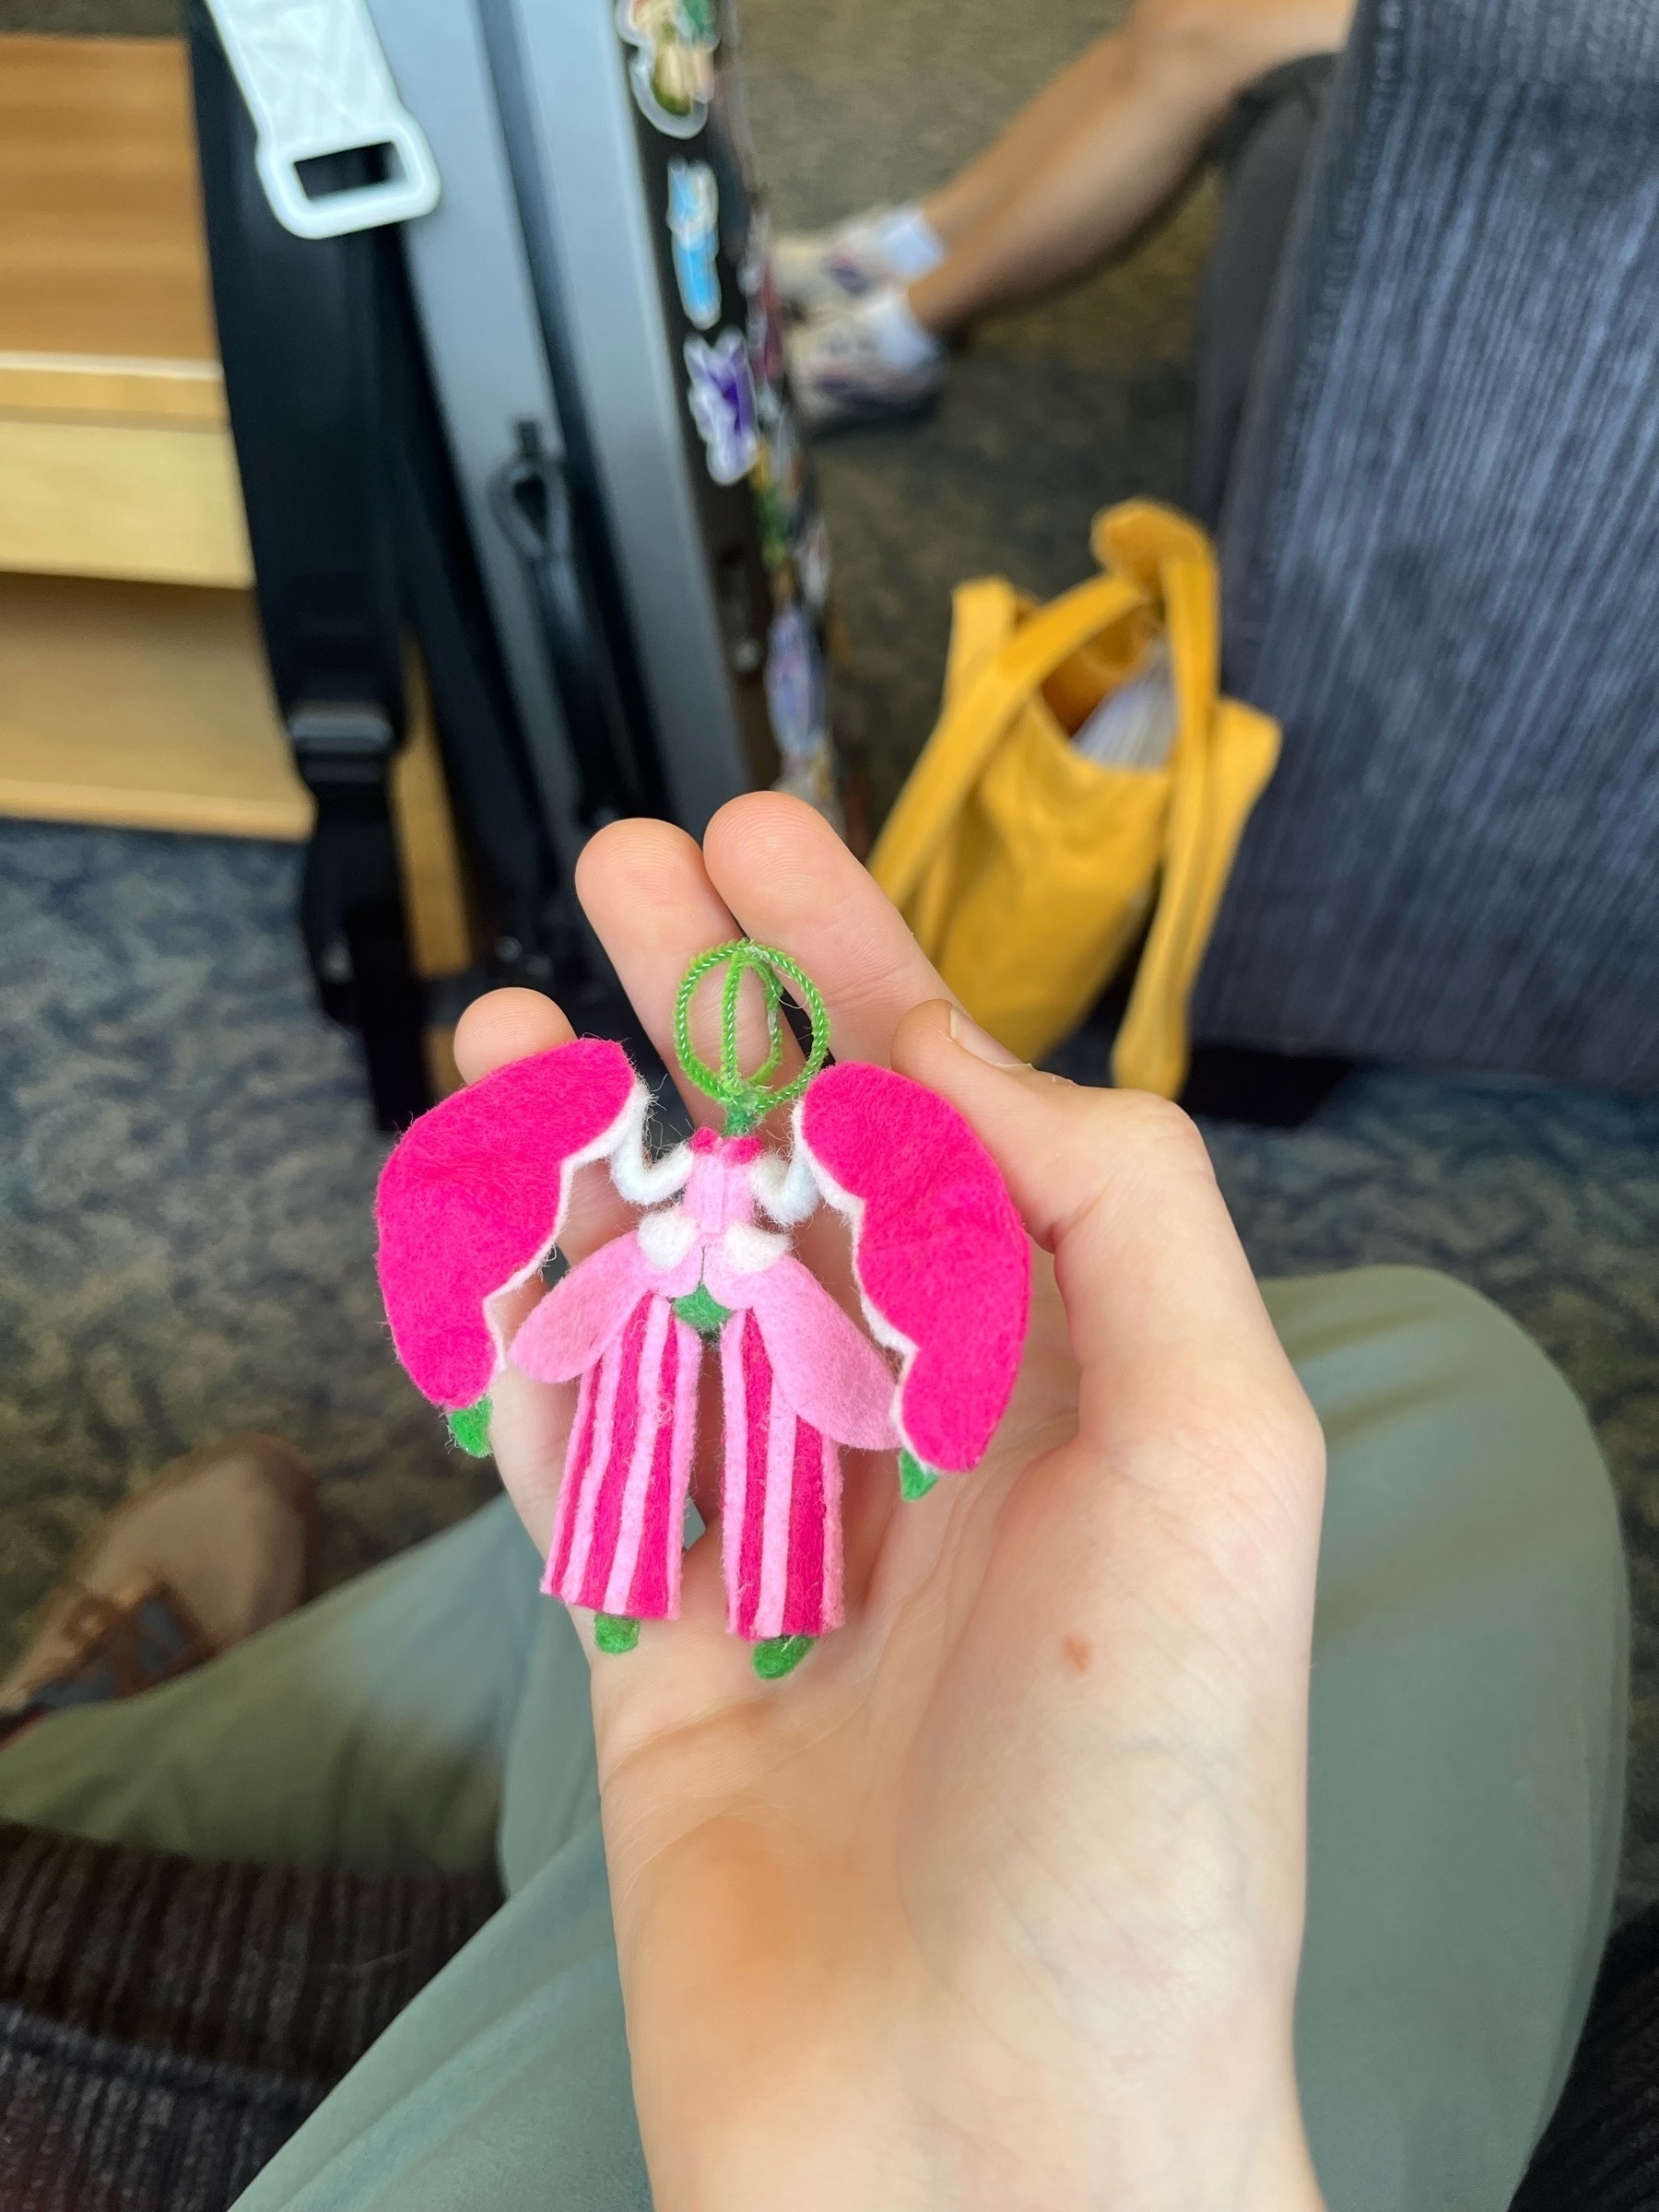
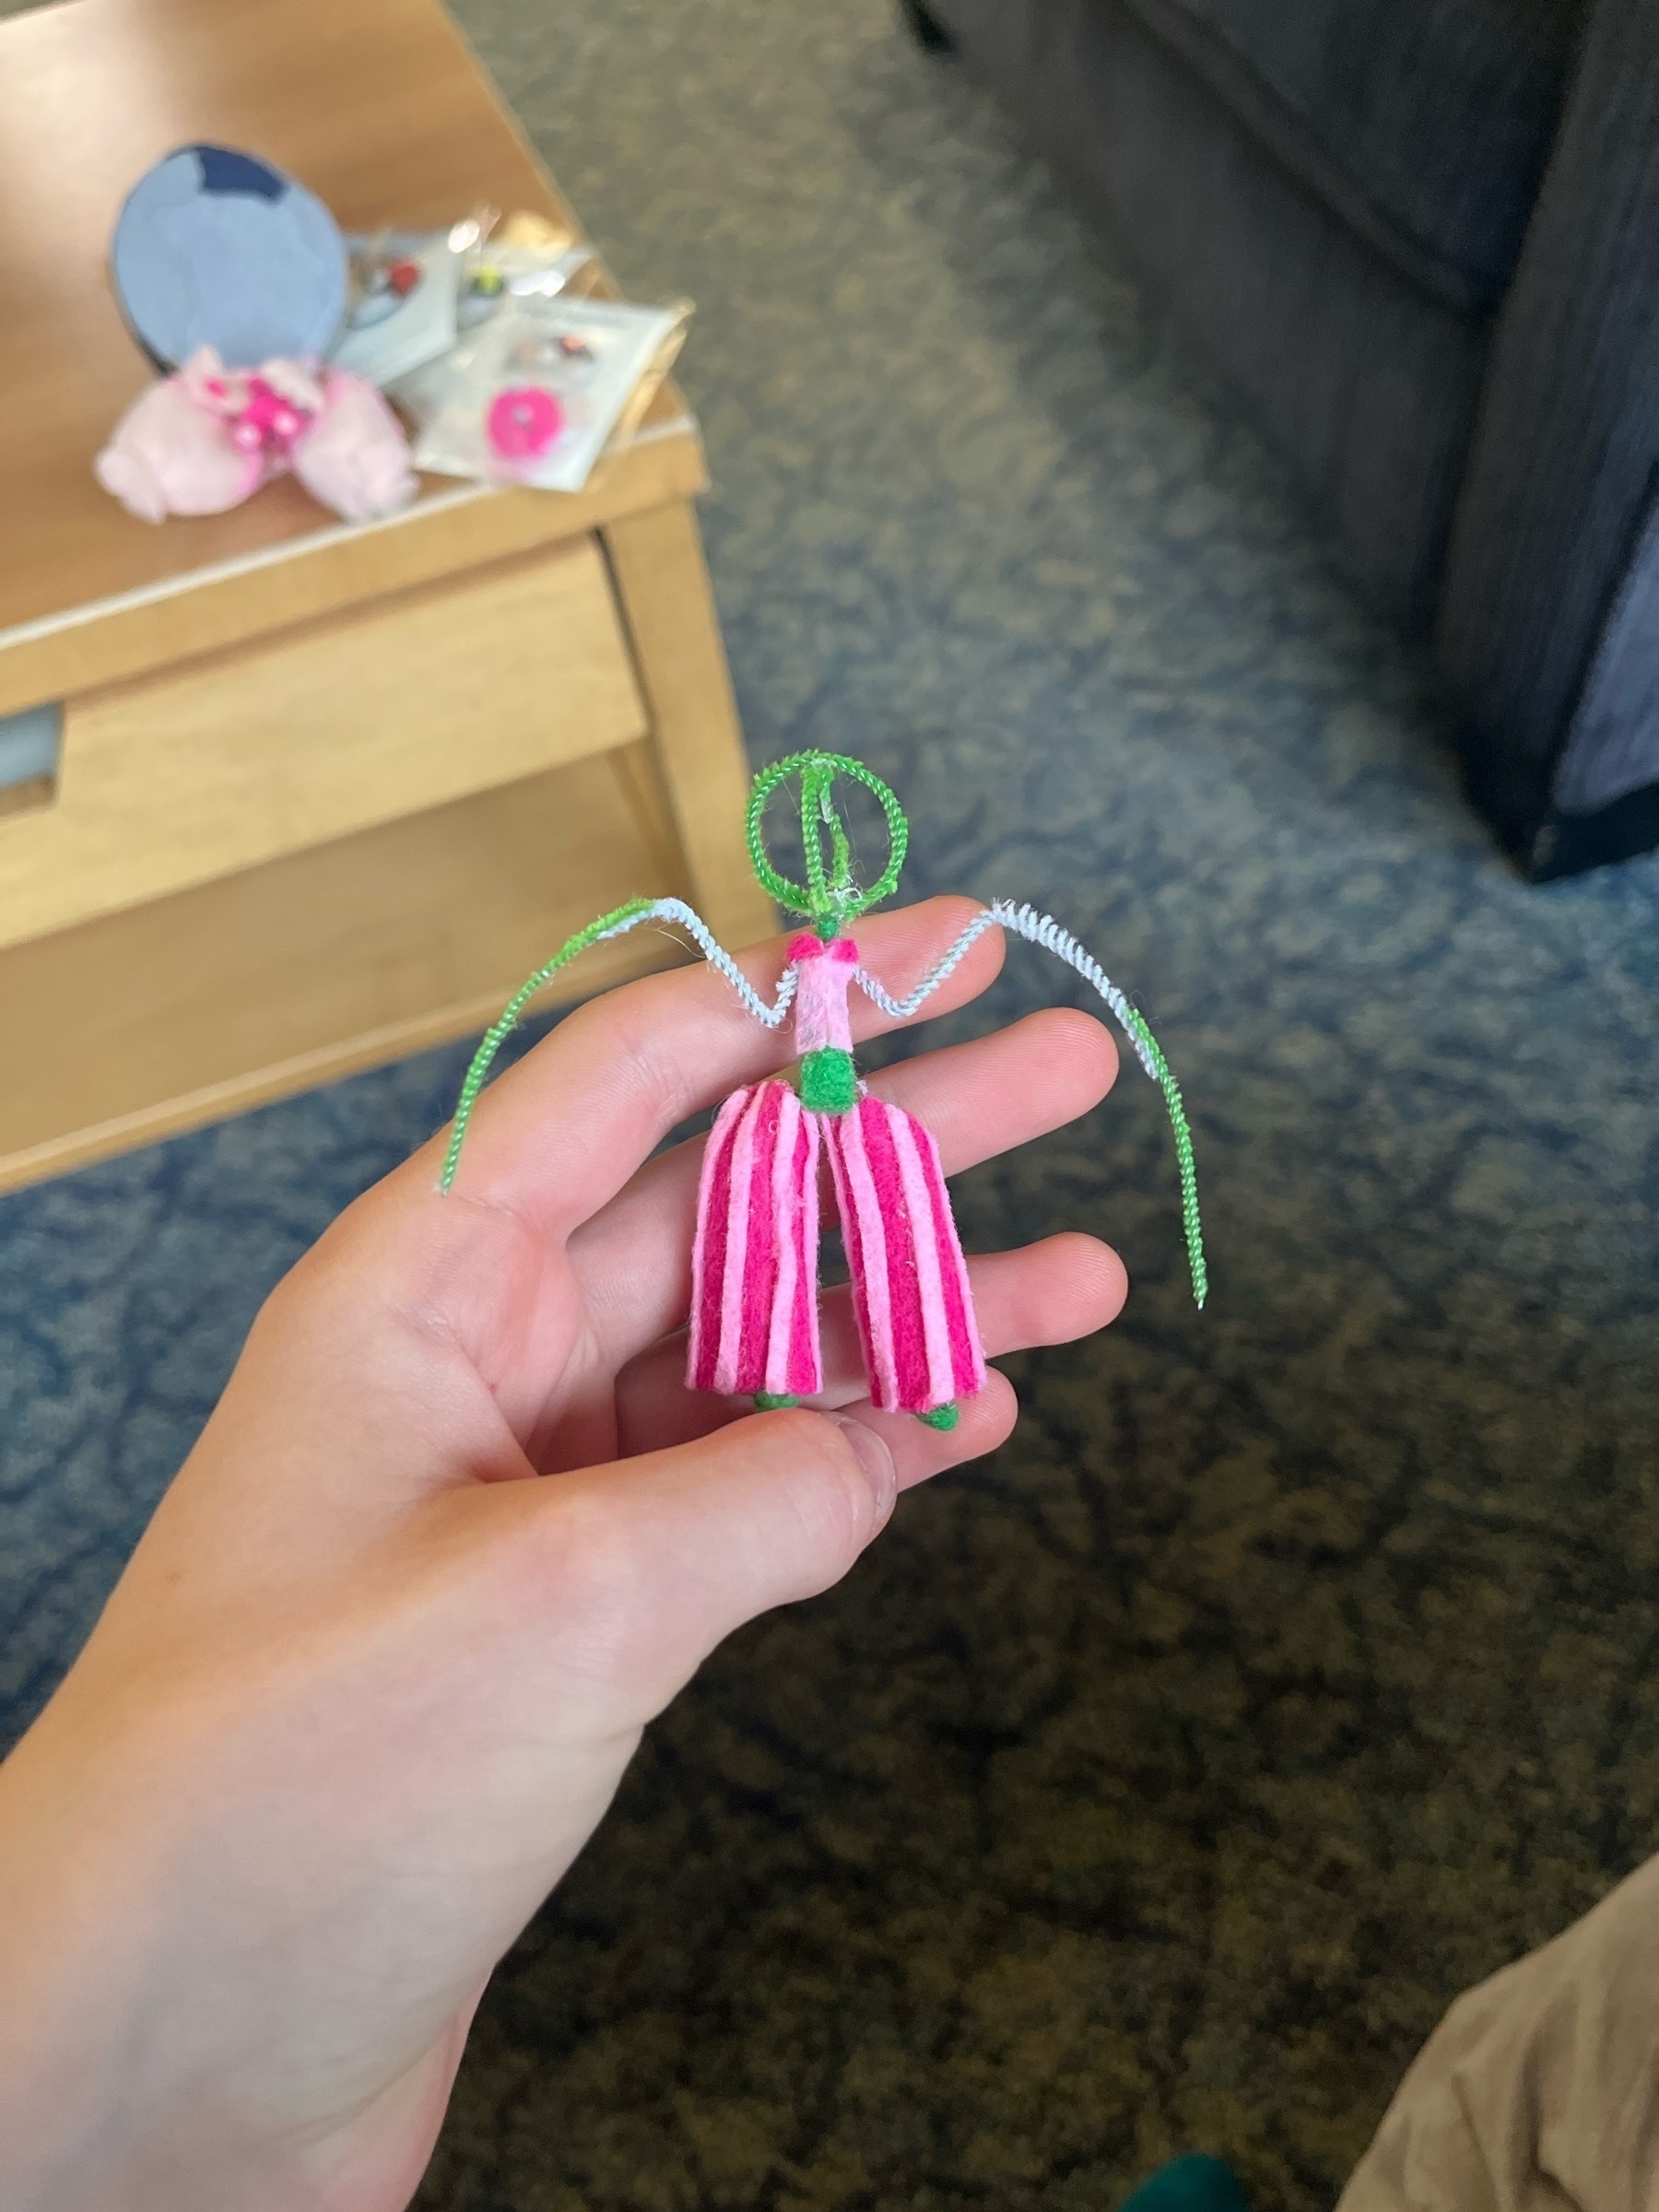
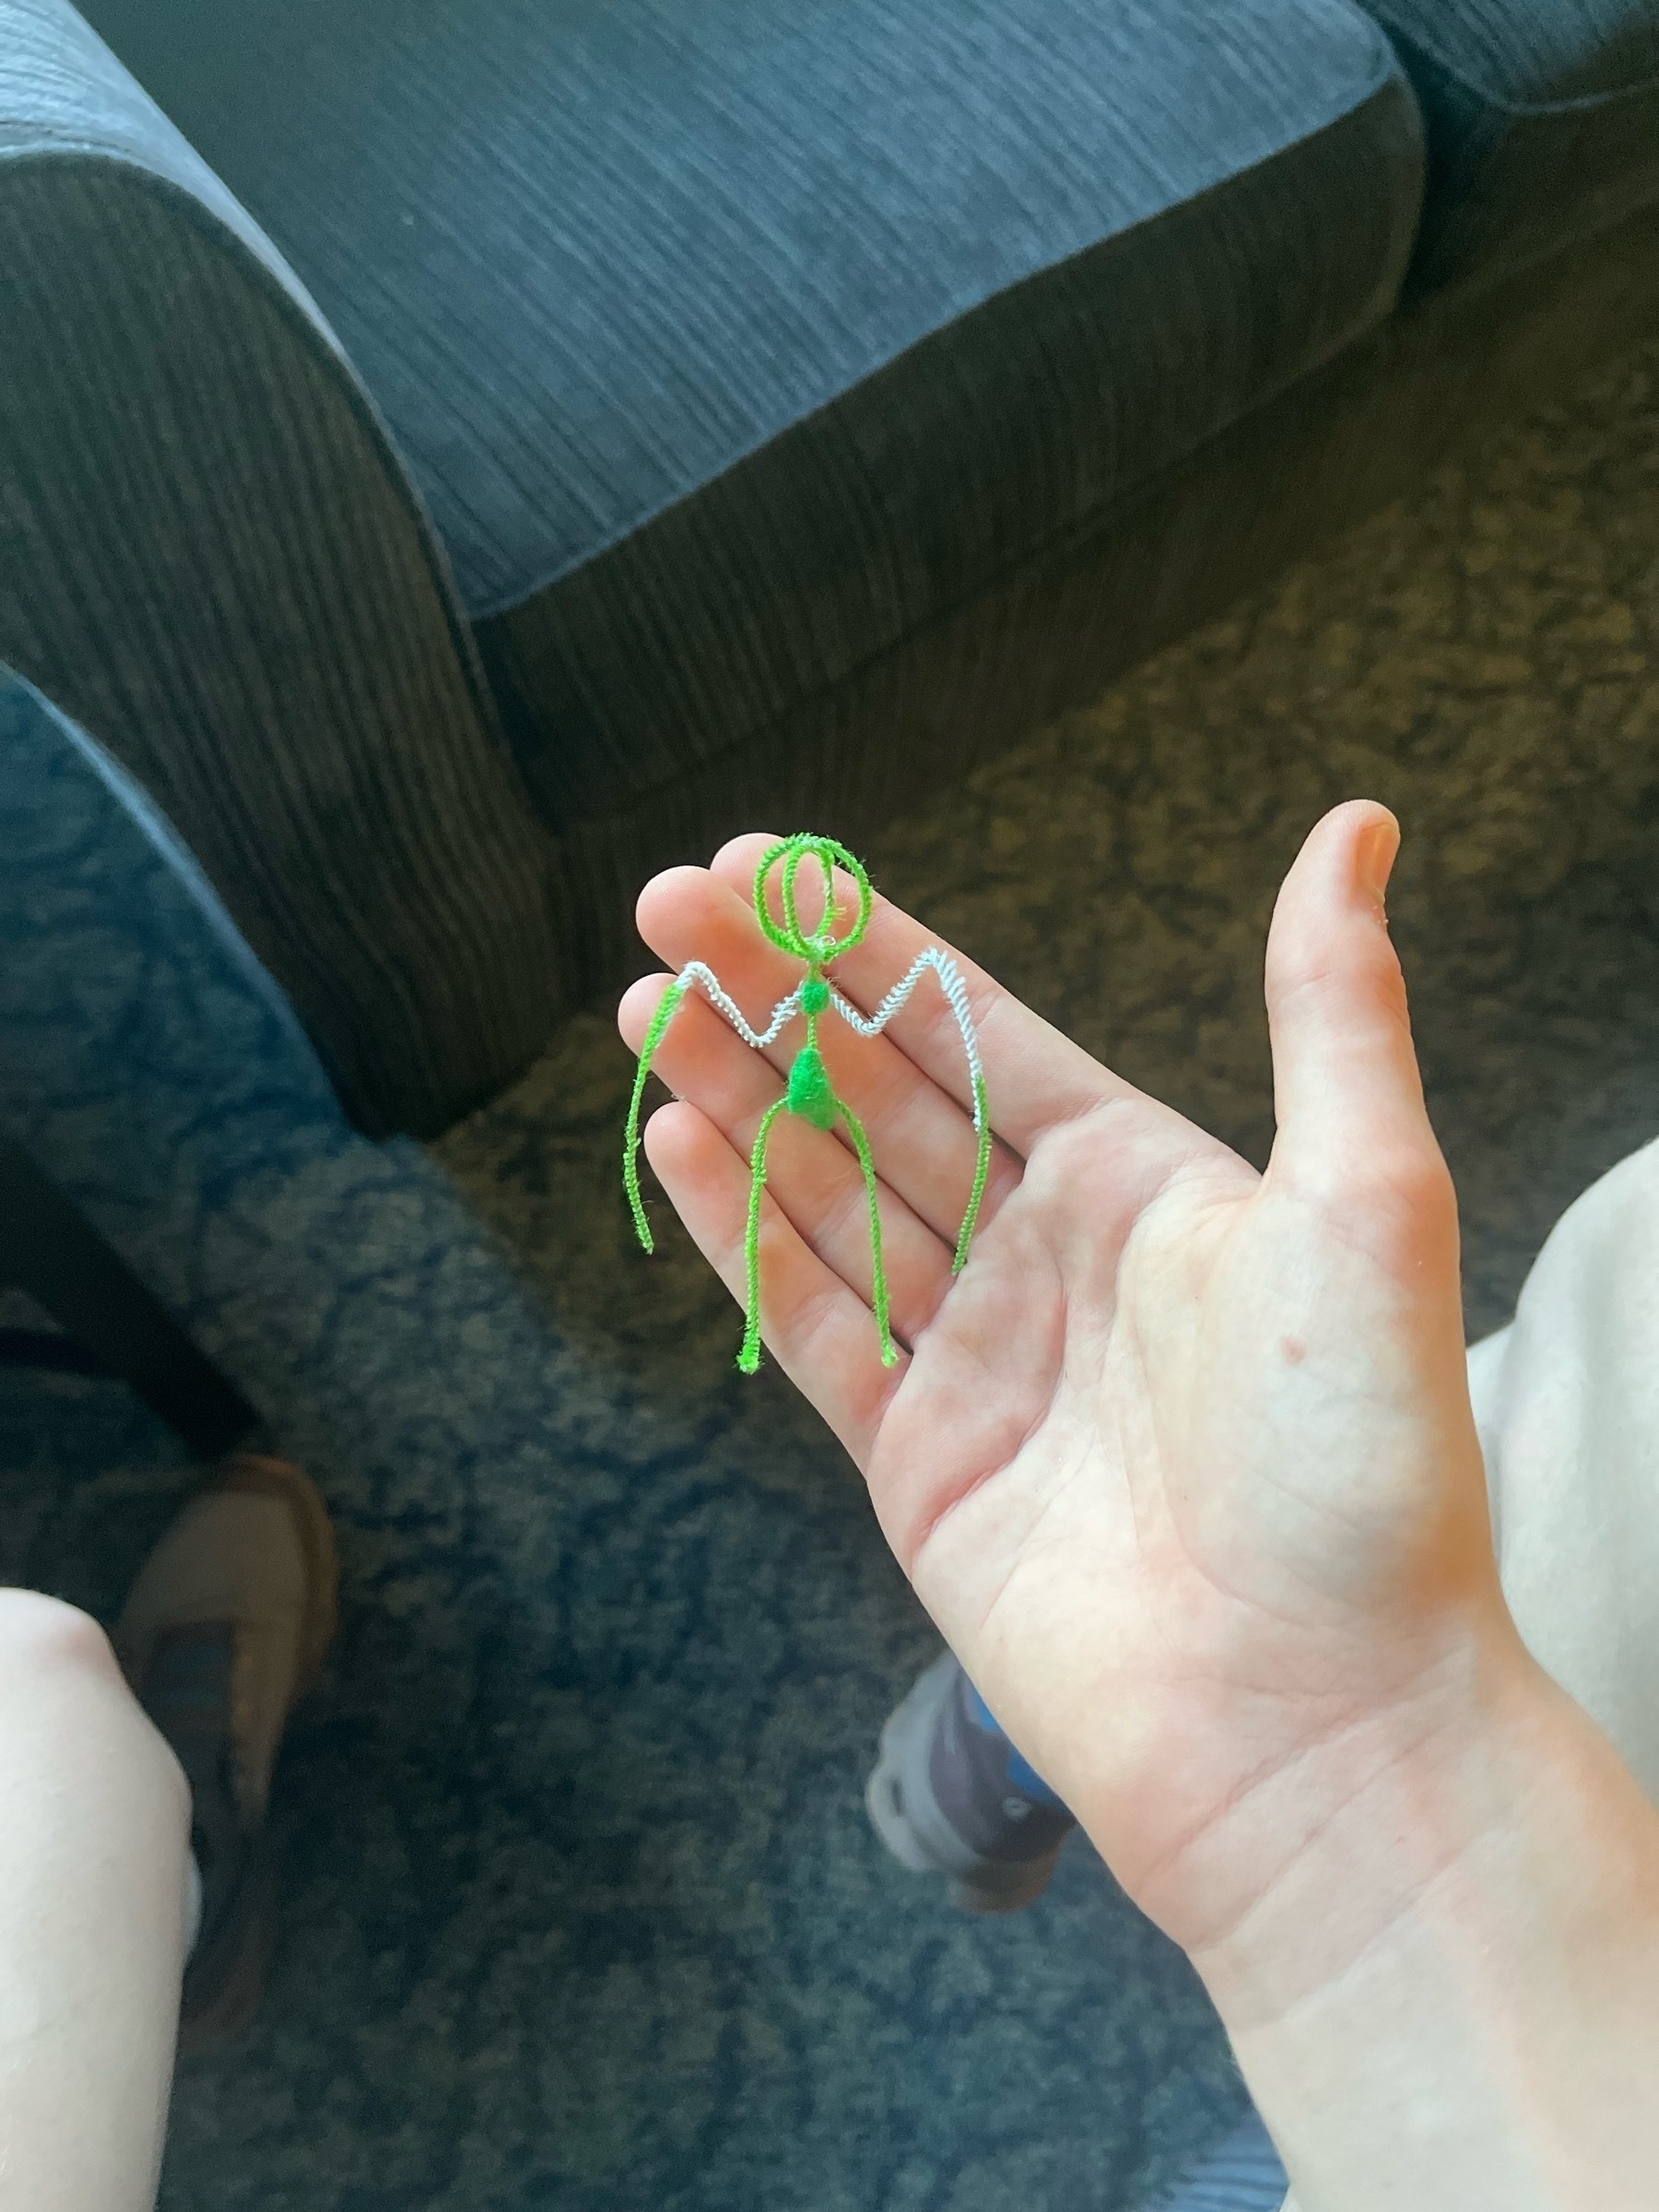
Lurantis Rework
Hello internet! Although I haven’t been writing here lately, rest assured I have still been busy with various Pokémon and plastic model projects. Most recently, I did a complete redo of Lurantis, one of my favorite Pokémon. I last made it around two years ago, and although it was one of my best works back then, it really shows its age now. Armed with higher-quality felt, better shaping knowledge, and, well, the same tools I used last time, albeit using a completely pipe-cleaner structure instead of the flimsy wires I used for the arms last time, I think it turned out a whole lot nicer!
Some work in progress pictures:
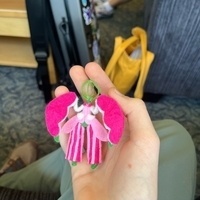
Lurantis is a gen 7 (sun and moon) Pokémon, and as such has a rather tropical design. Rather than a bug type as you might expect, it is instead a pure grass type, the design concept being a reverse orchid mantis (look them up, they’re really neat). I love the pajama pants and kimono its design incorporates! Hopefully I’ll be writing more, see you all next time!
-
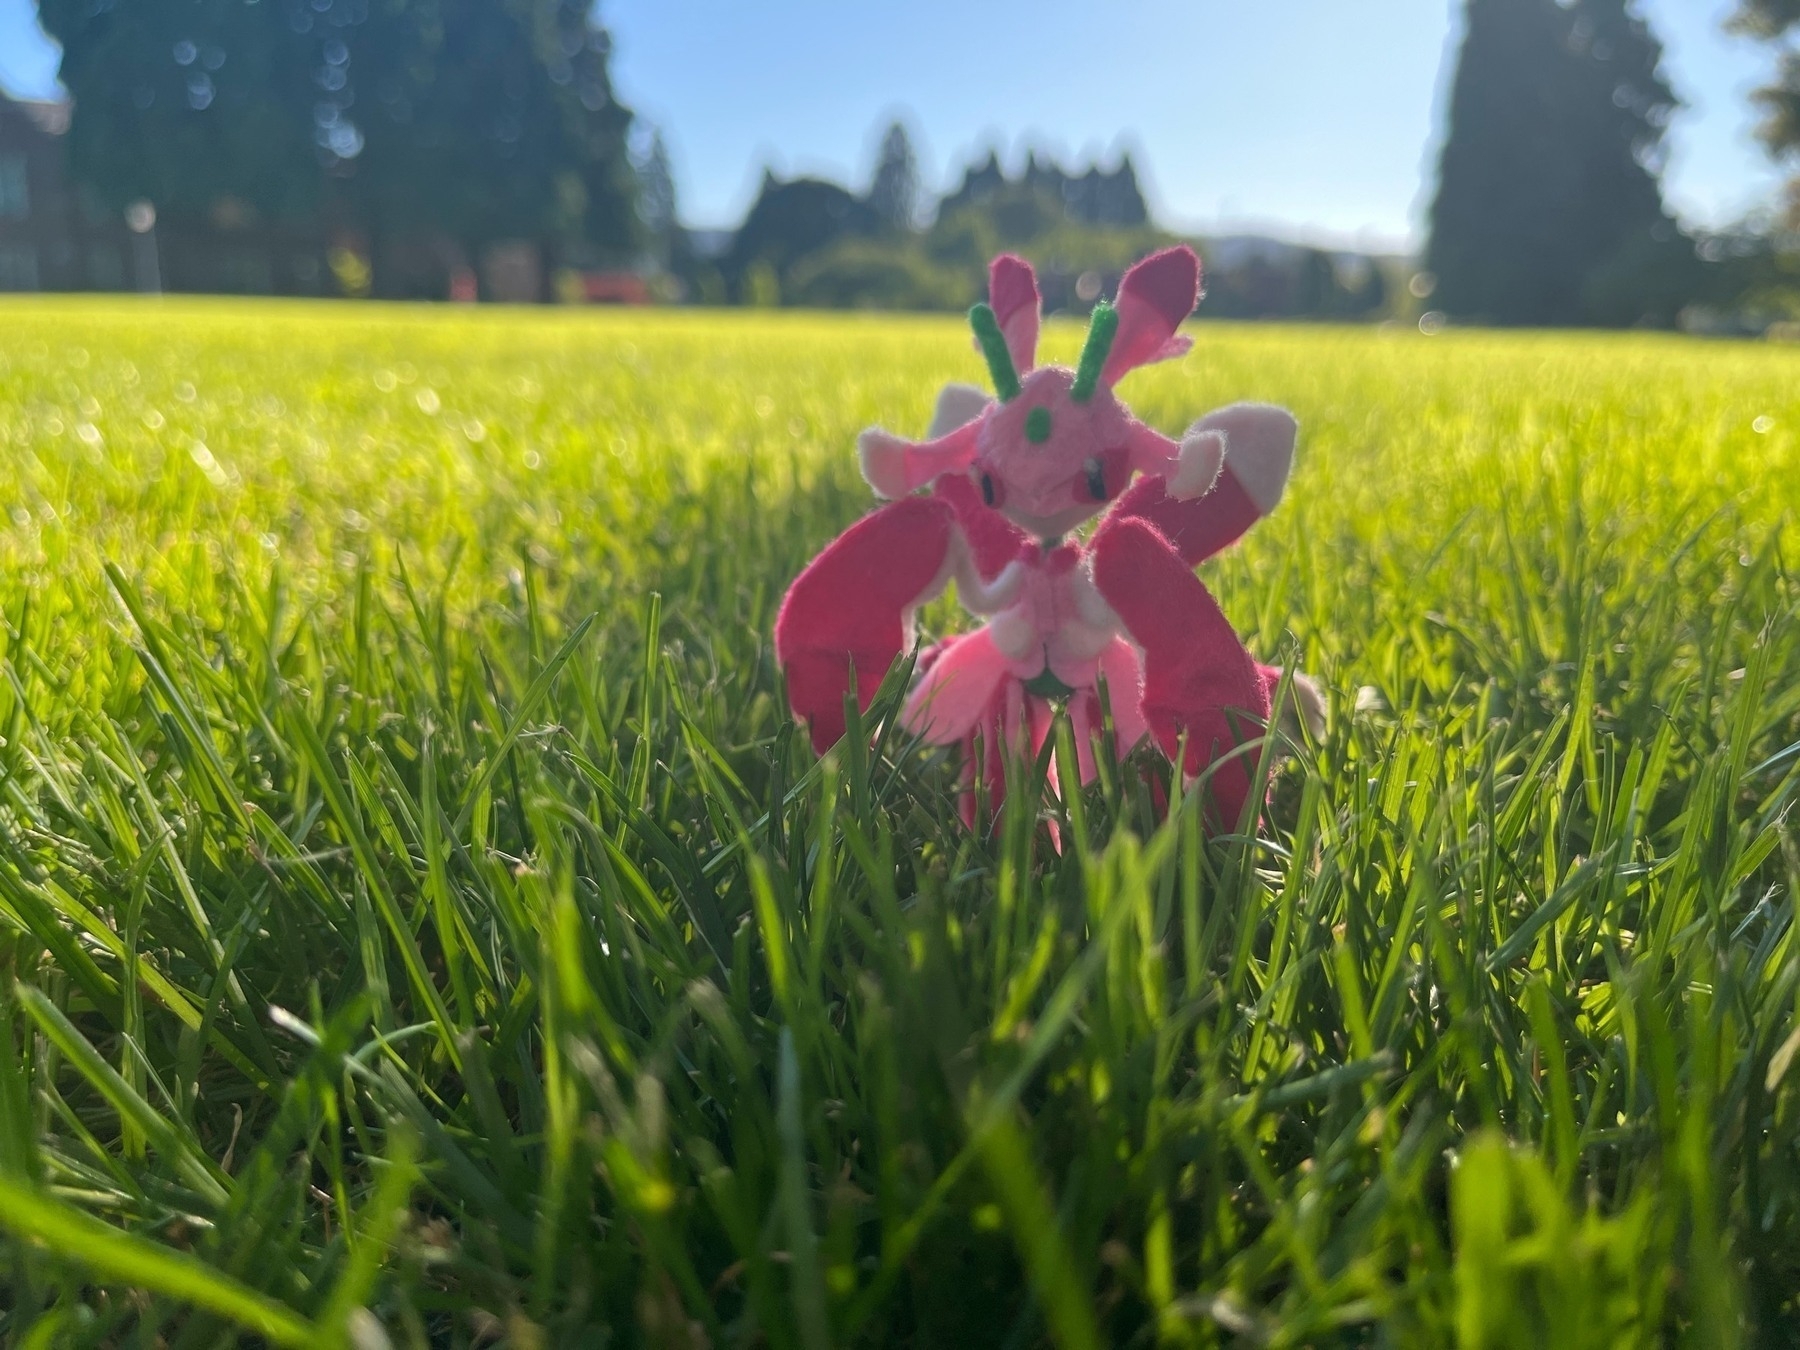
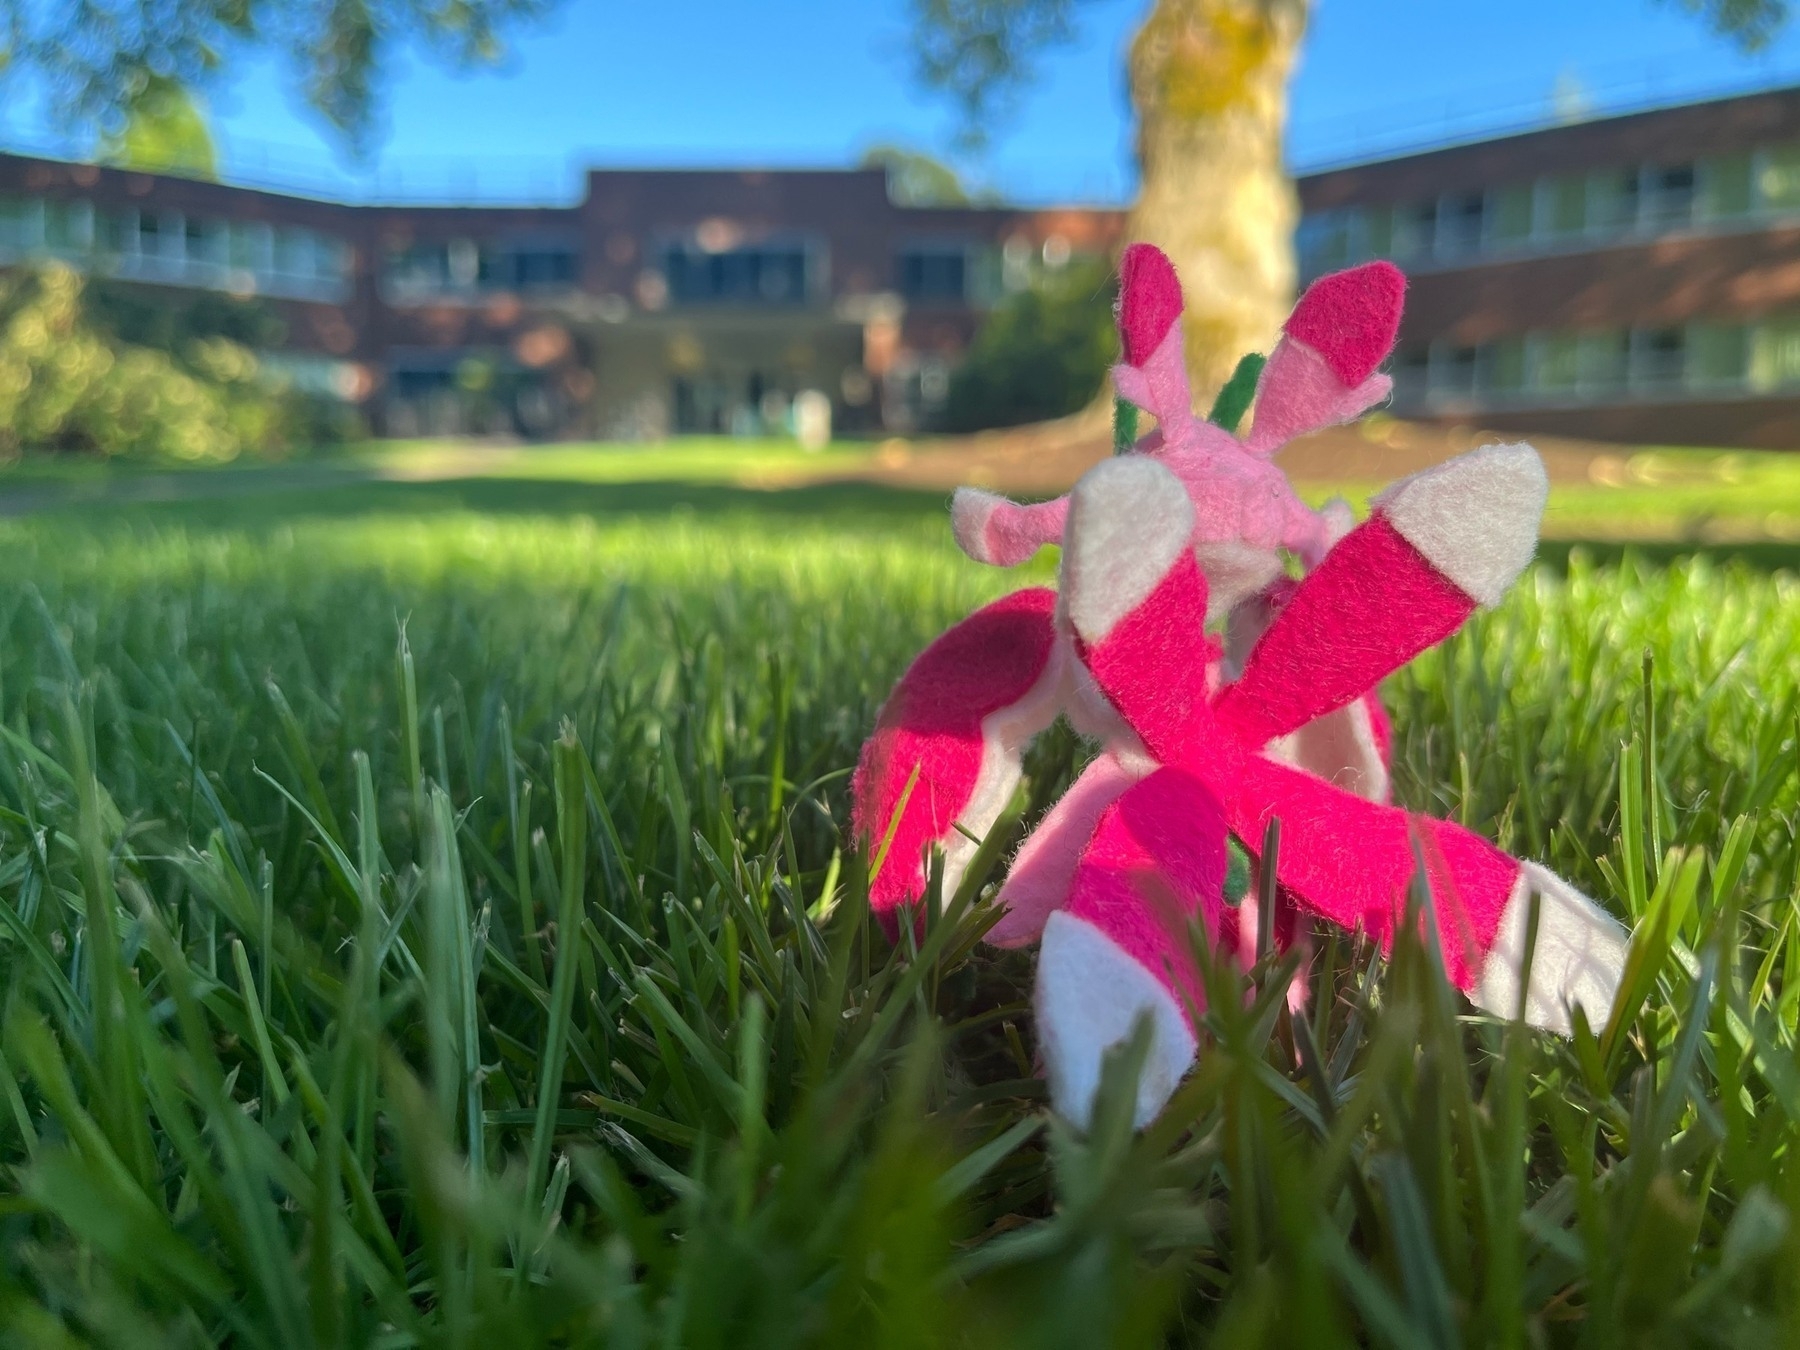
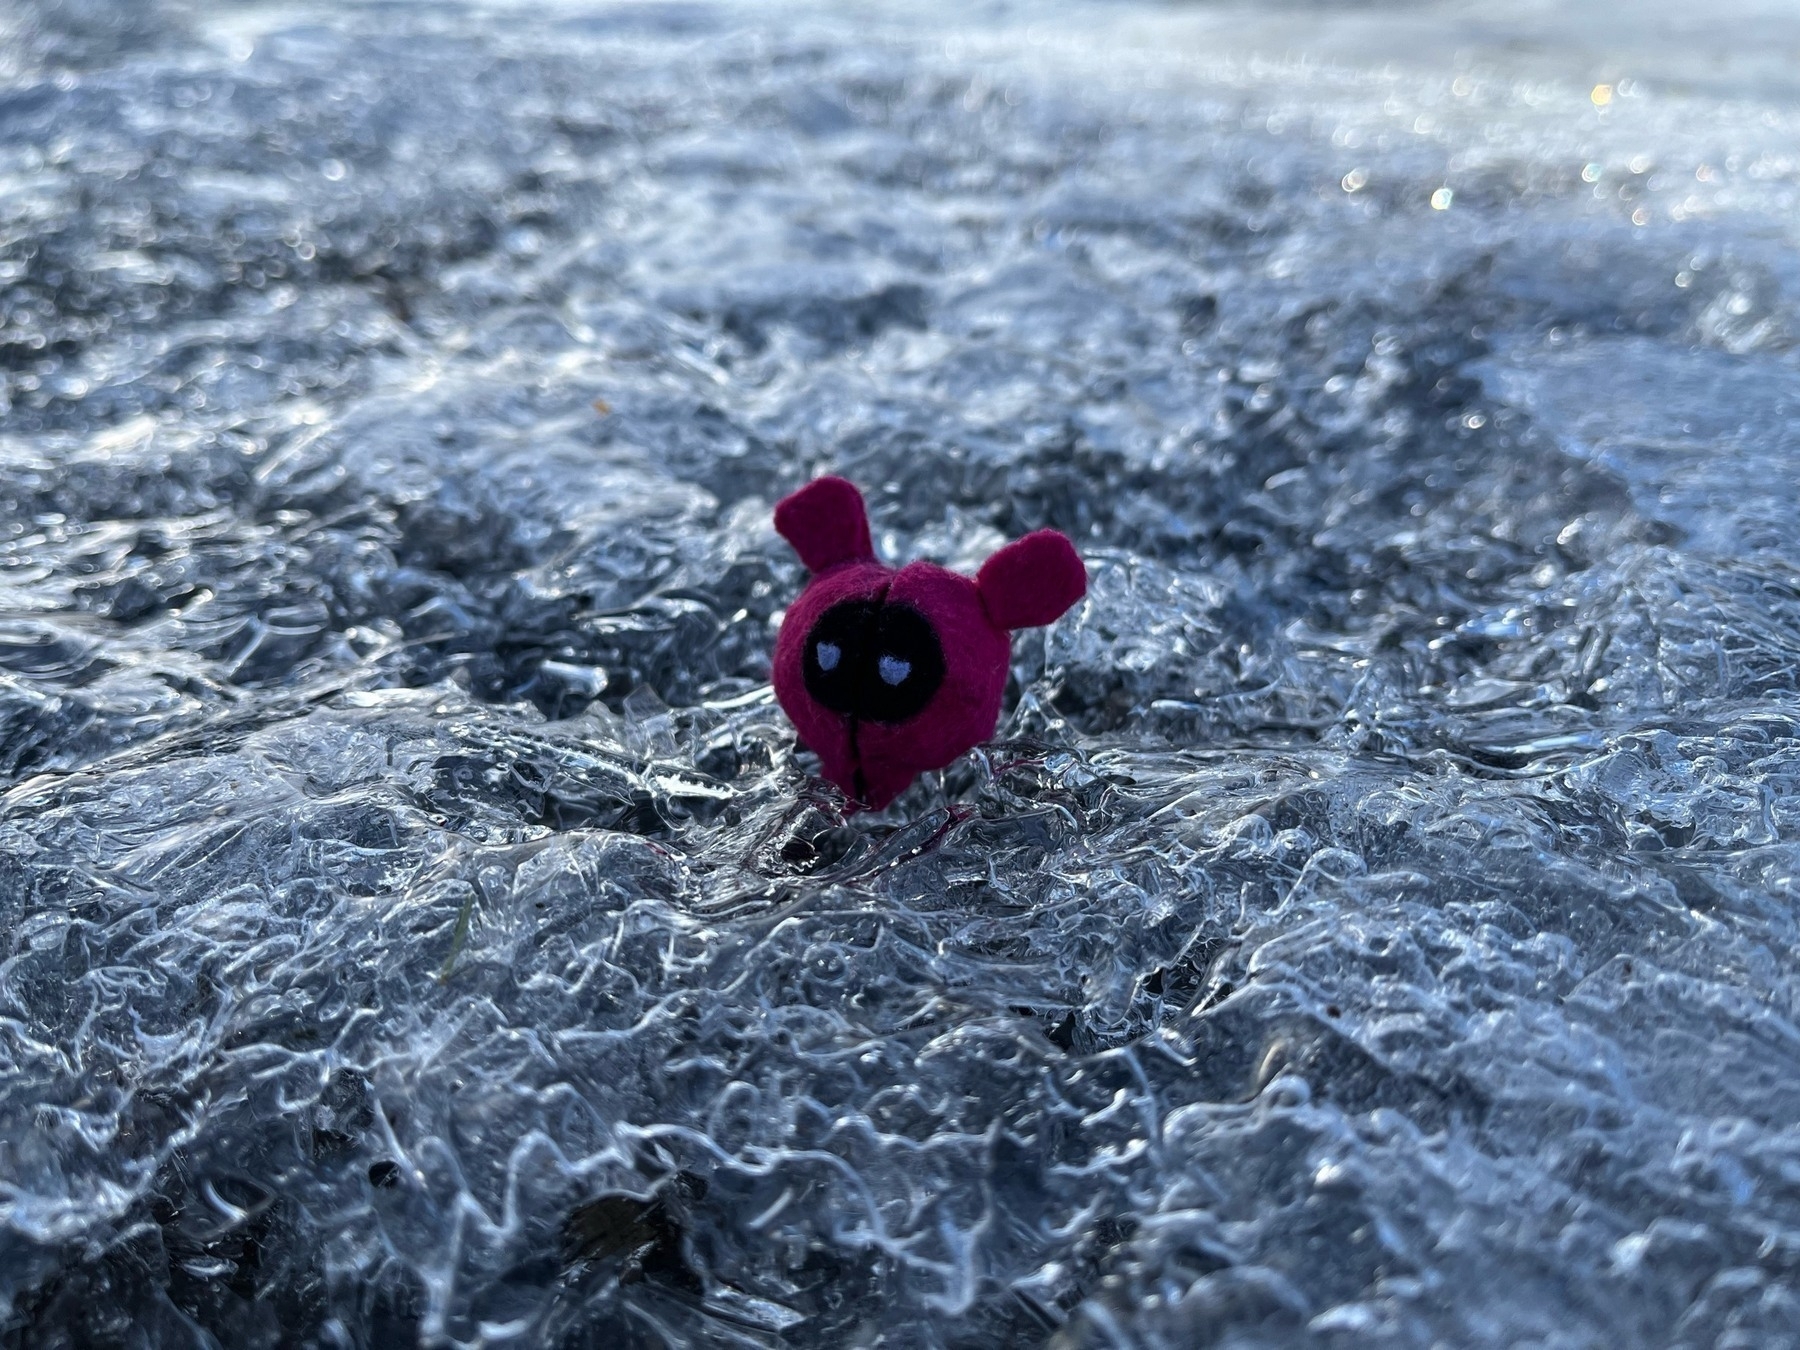
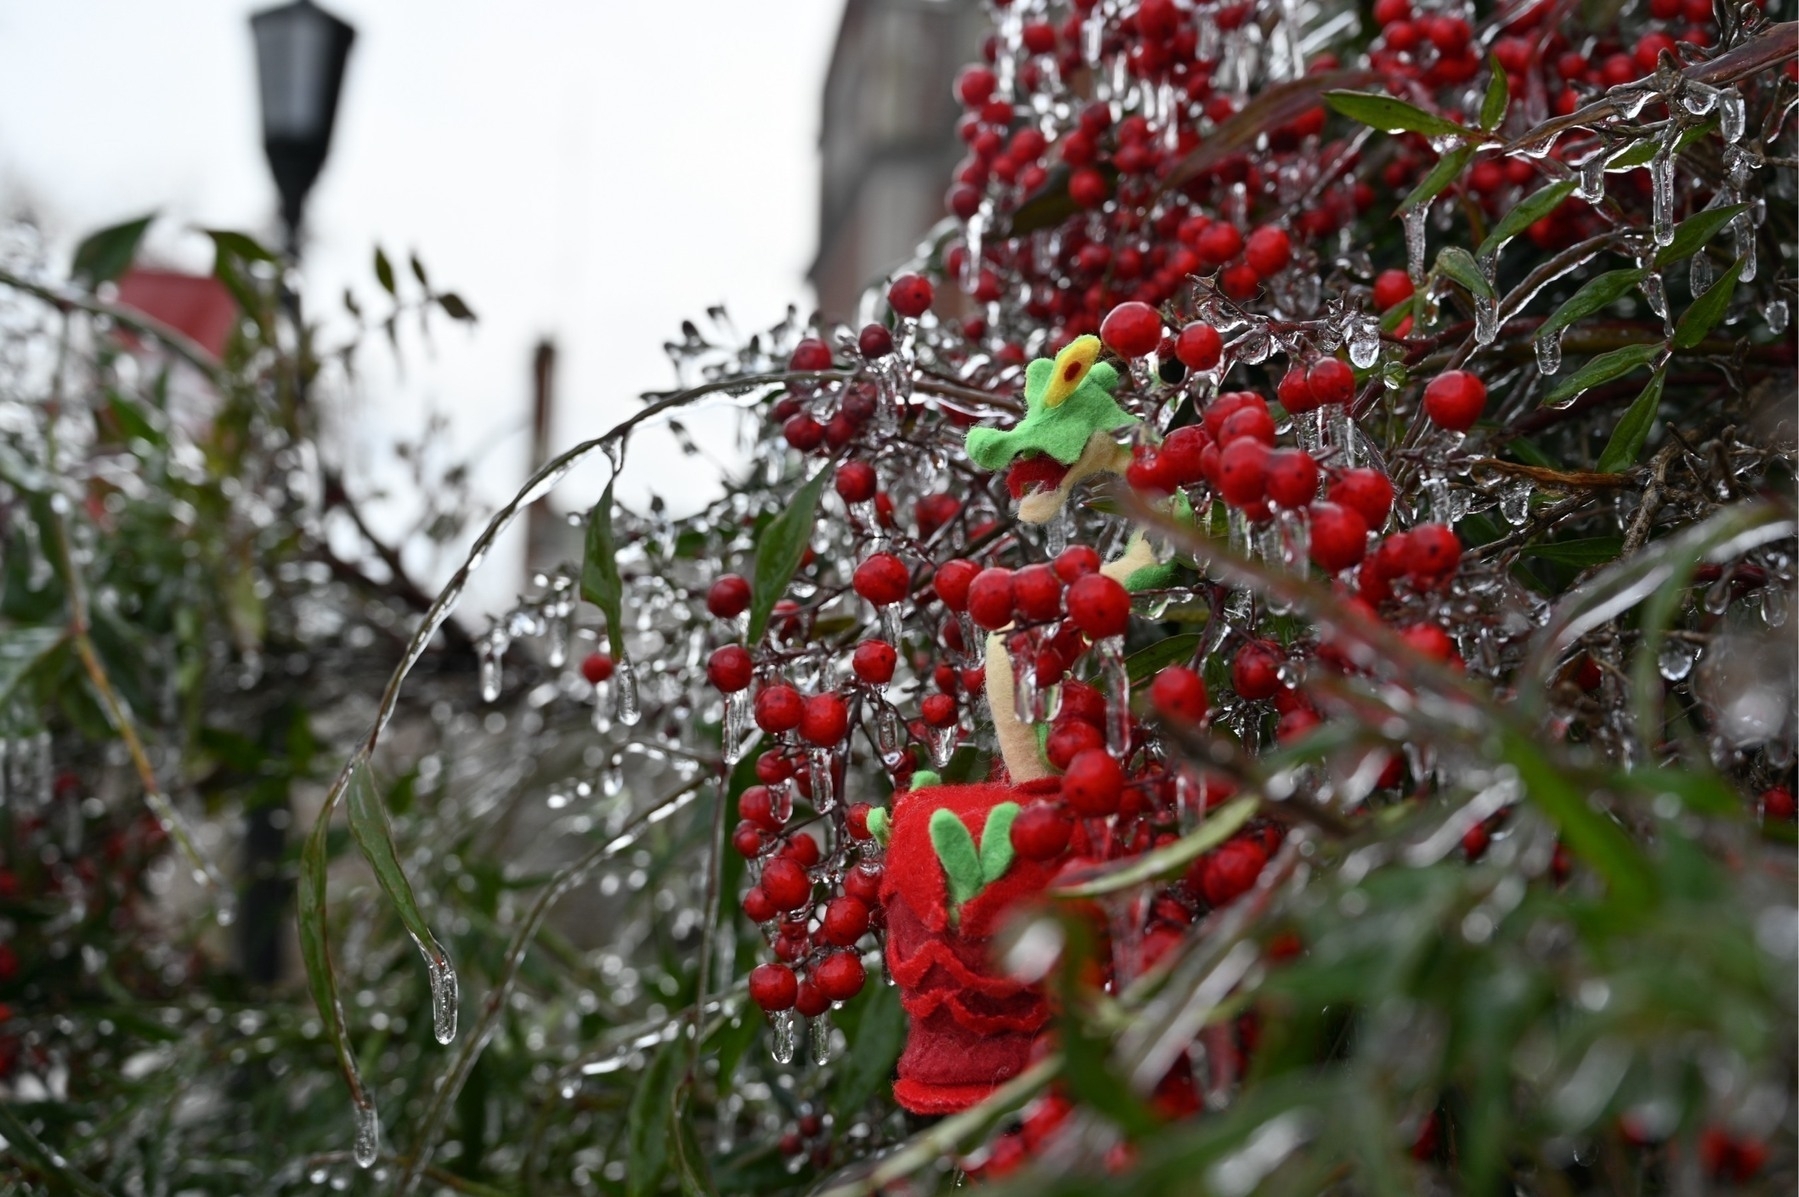
Hydrapple and Pecharunt

I took advantage of the ice storm last December to take a few nice pictures of some of my more recent Pokemon figures.


-
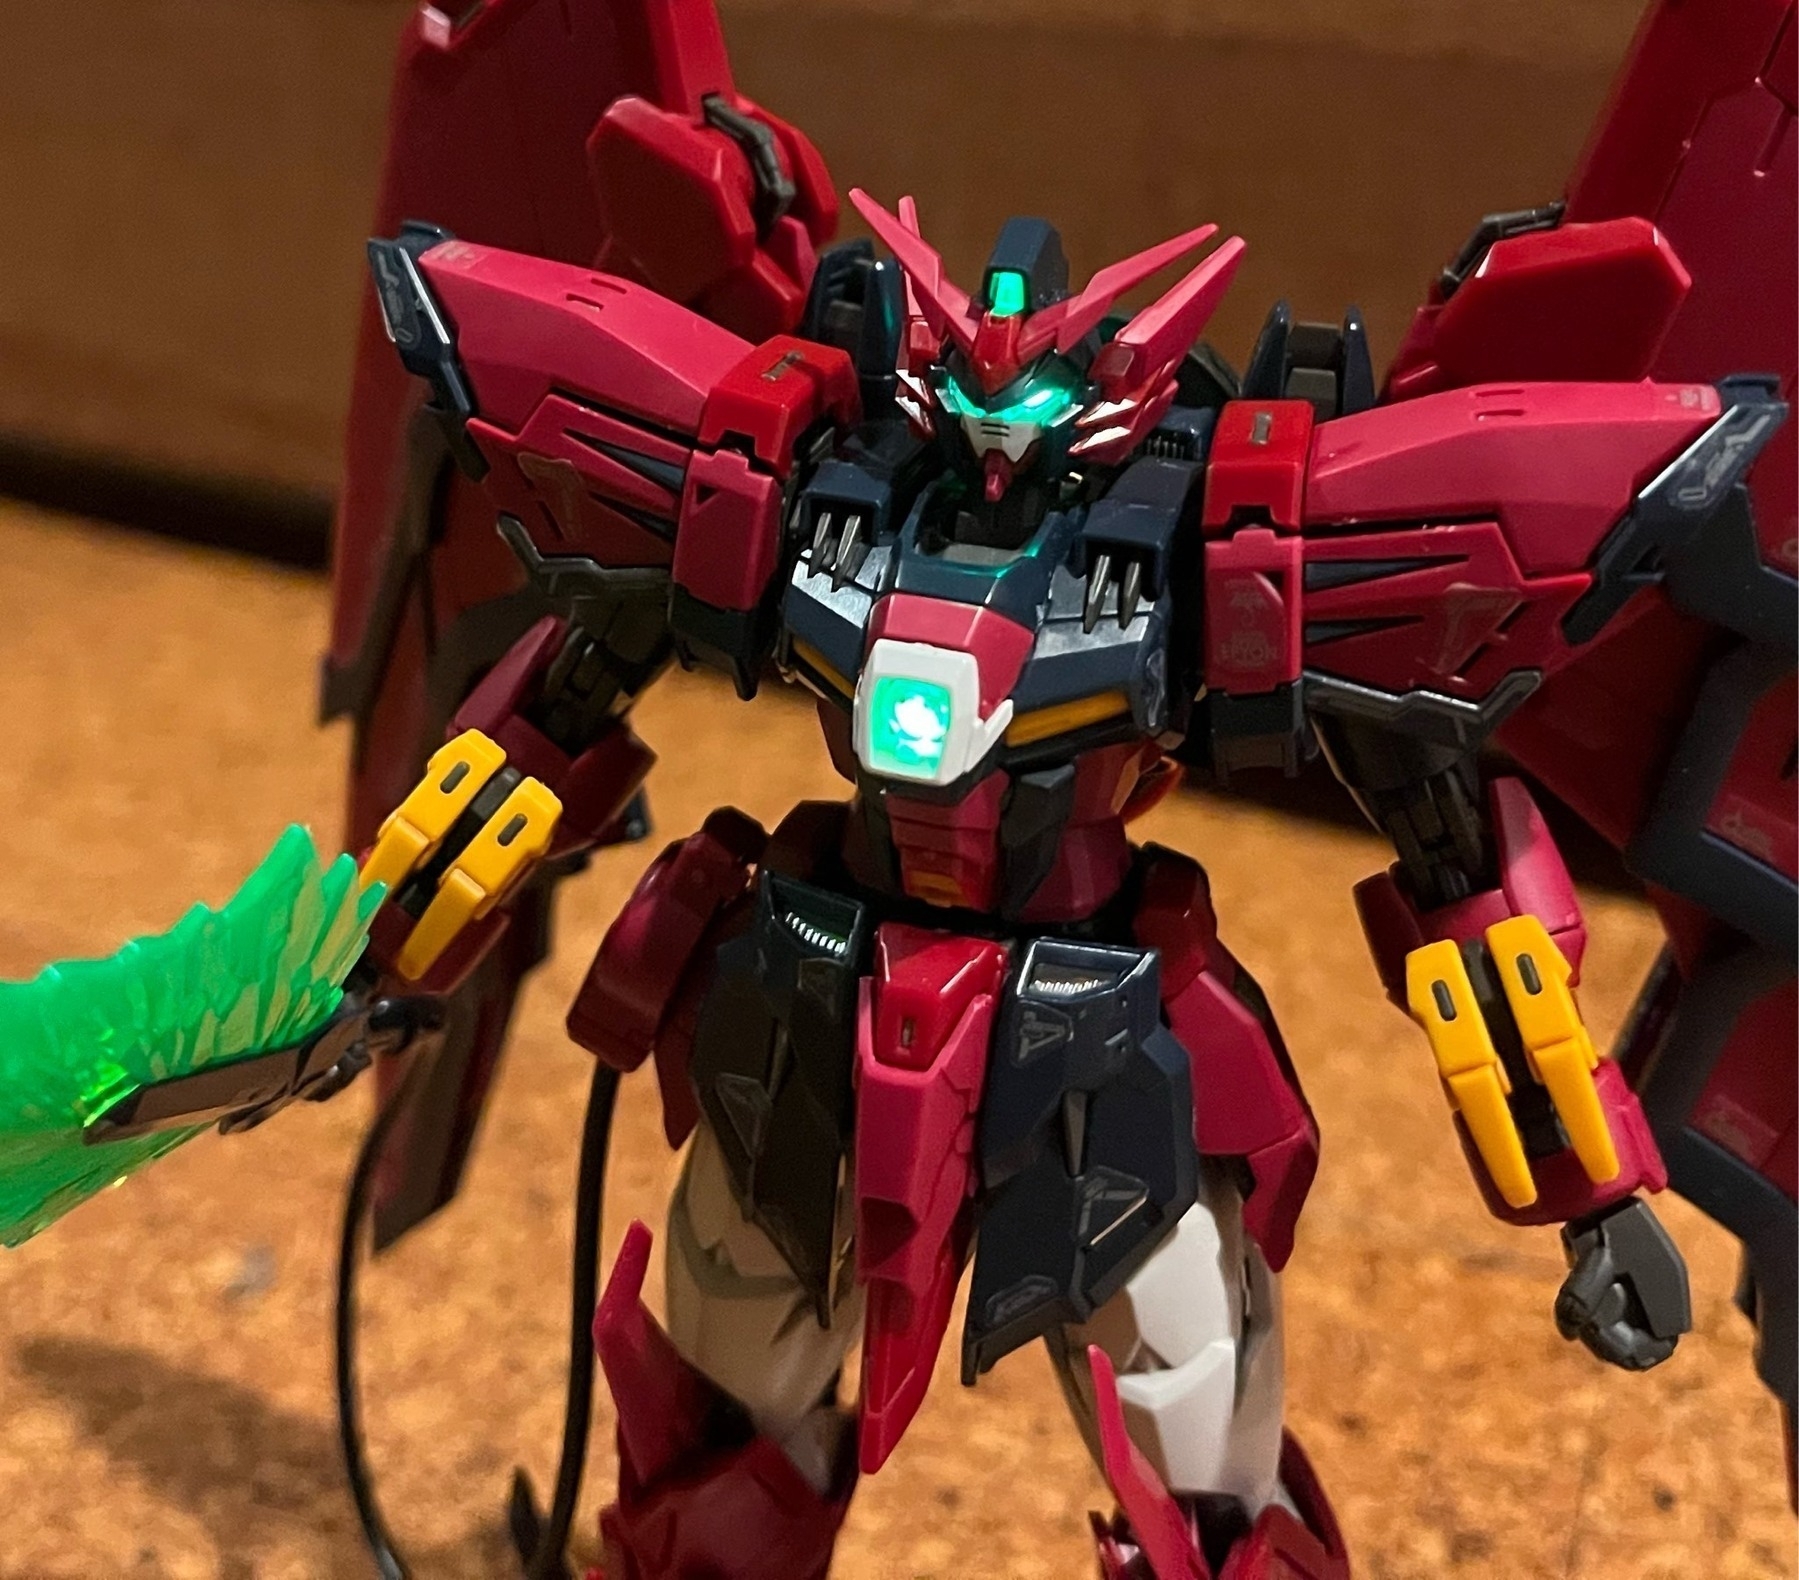
RG Epyon and Tamotu Pro
Hello internet! I received the Real Grade Epyon kit from a relative and did something I’ve been wanting to try for a while: adding LED lighting to a small-scale kit. The Epyon is the latest kit in the RG line, and as such has been highly anticipated by the gunpla builder community. Its articulation surpasses its Master Grade counterpart, while the redesigned proportions allow for a sleeker and more realistic look. The plastic quality is on par with Bandai’s recent releases, although extra care is needed for the dark colored armor. Its Advanced MS Joint runner consists of the eyepiece and its whip, which features rotation and flexion on each segment.
I also added custom lighting to my second Maruttoys kit: the Tamotu Pro (Midnight Blue Ver.) The base Tamotu was simpler than the Noseru I worked on previously, but the Pro add-on parts were similar in density and complexity to the yellow scooter-like robot. It’s a bit disappointing that the original Tamotu doesn’t feature rolling wheels, but the Pro remedies this with some extra leg parts, along with a bulkier backpack which adds two extendable, highly flexible arms atop the robot.
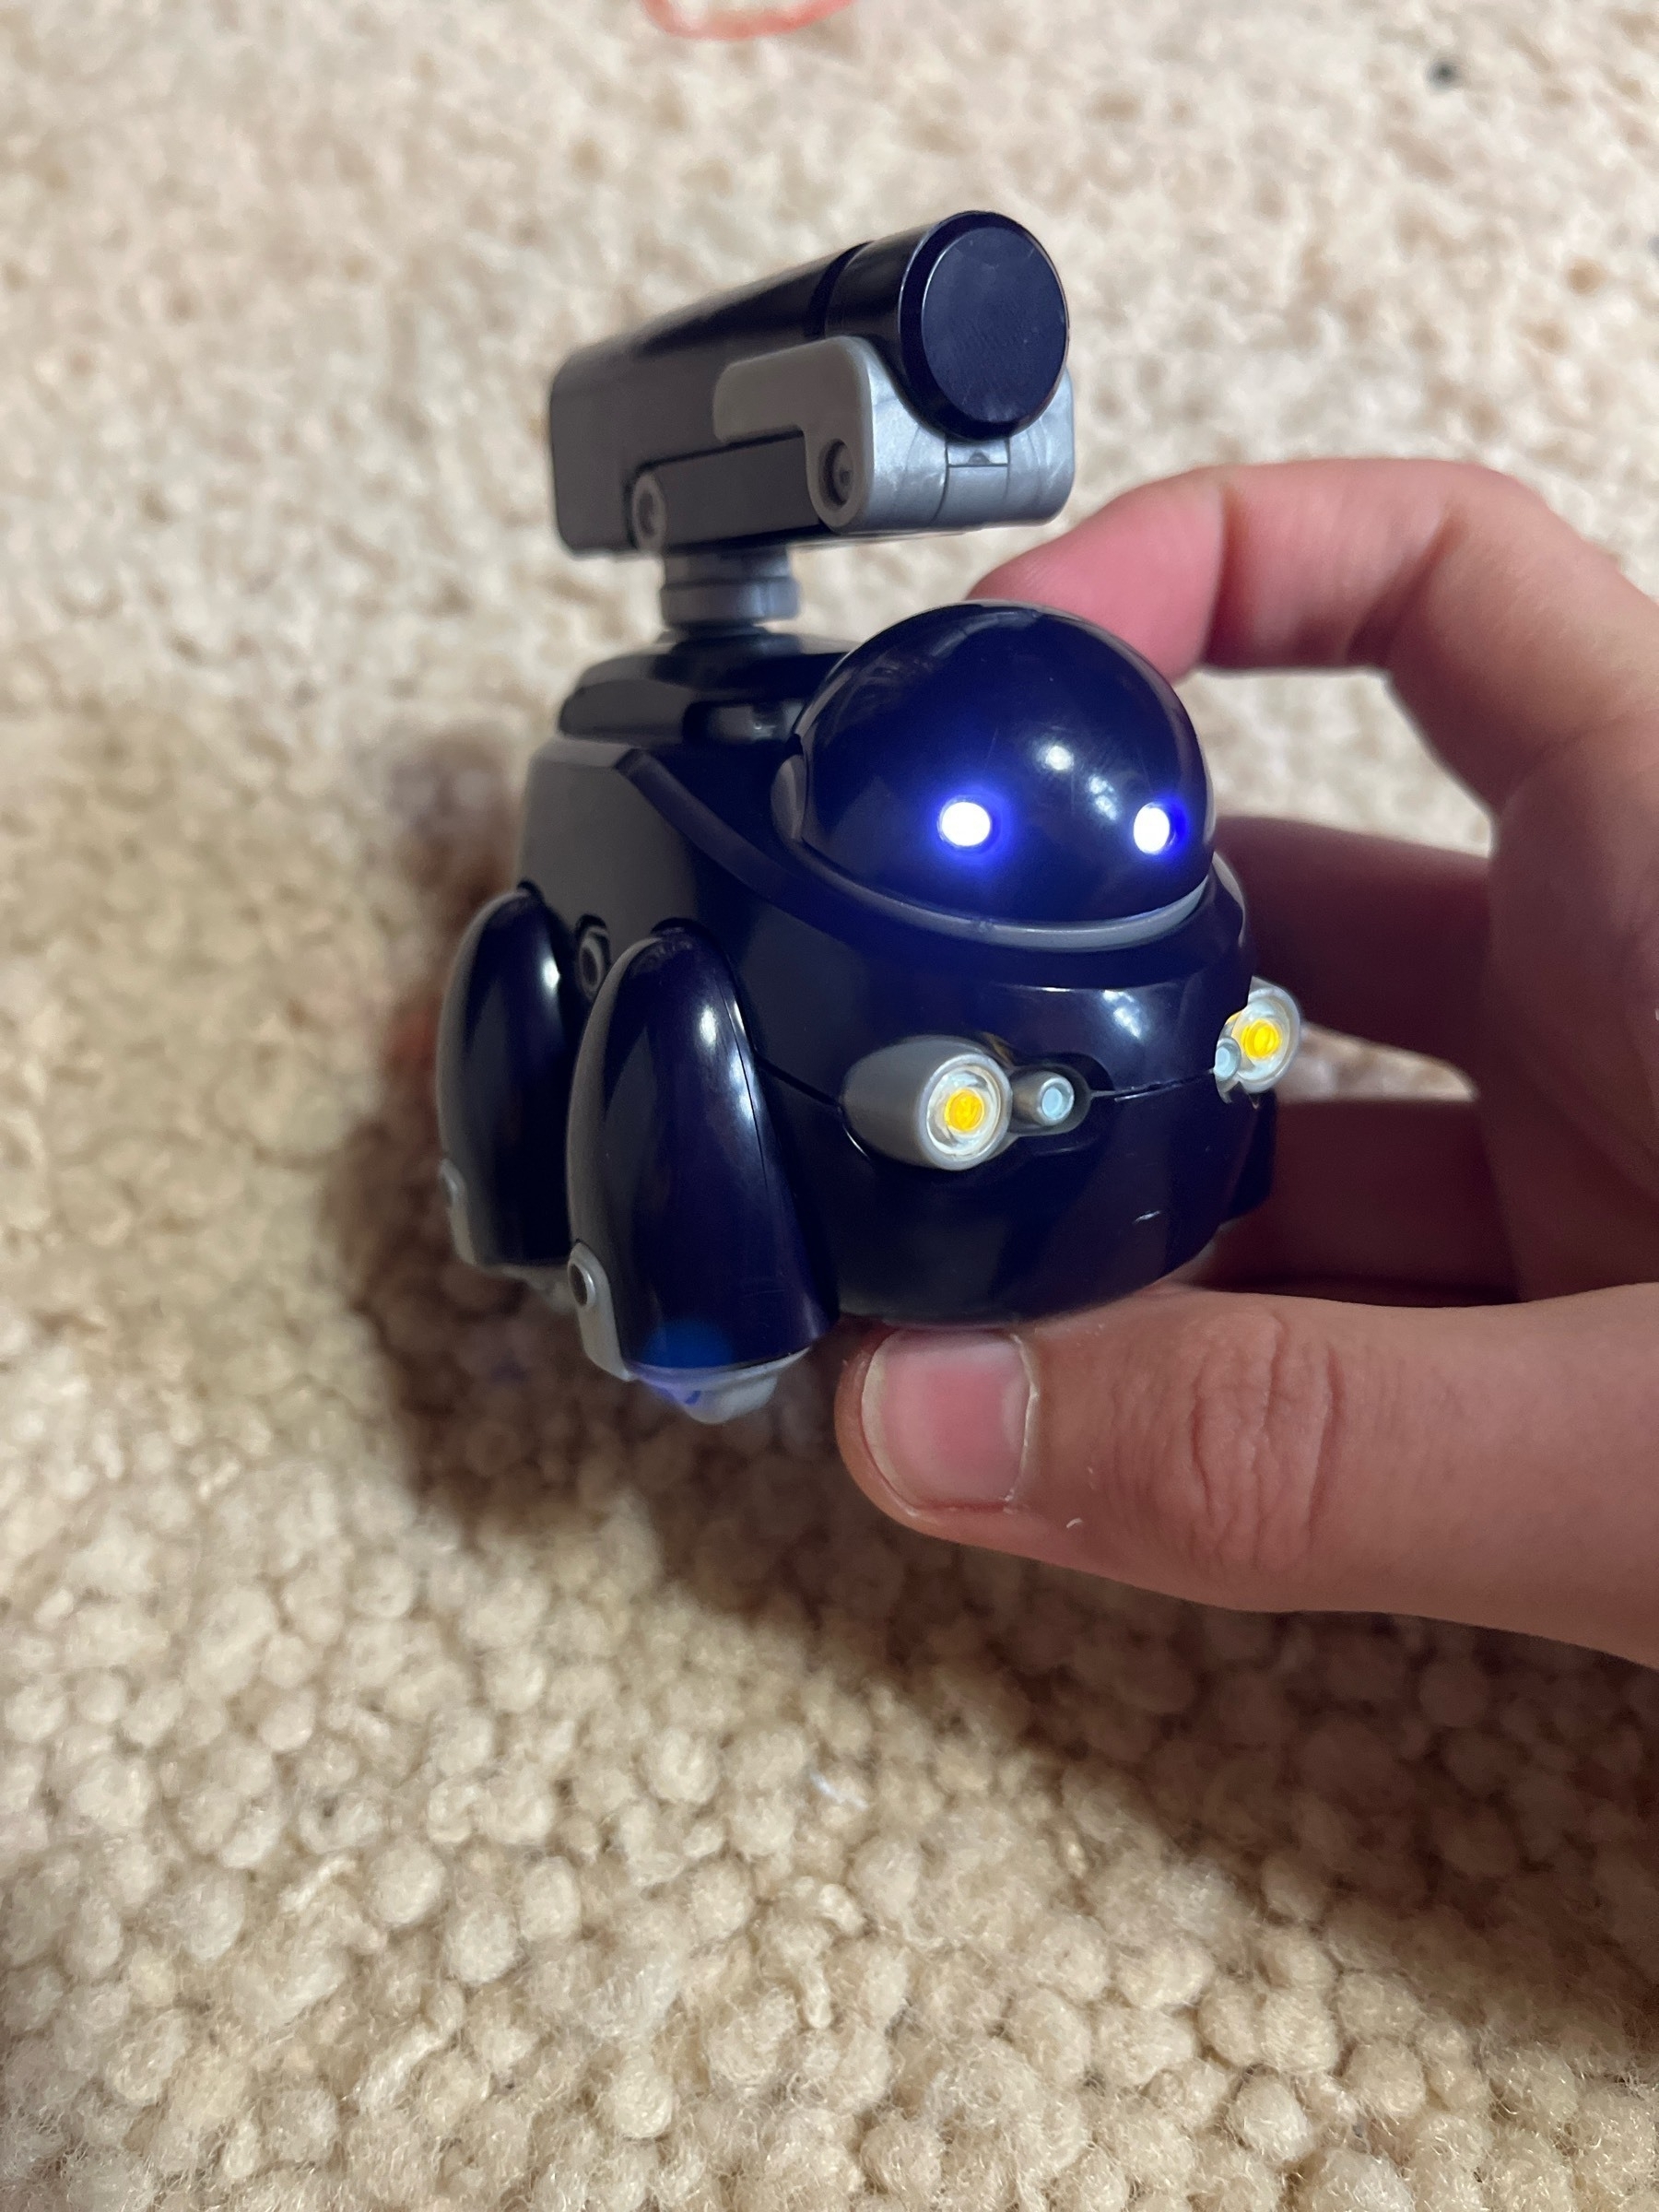
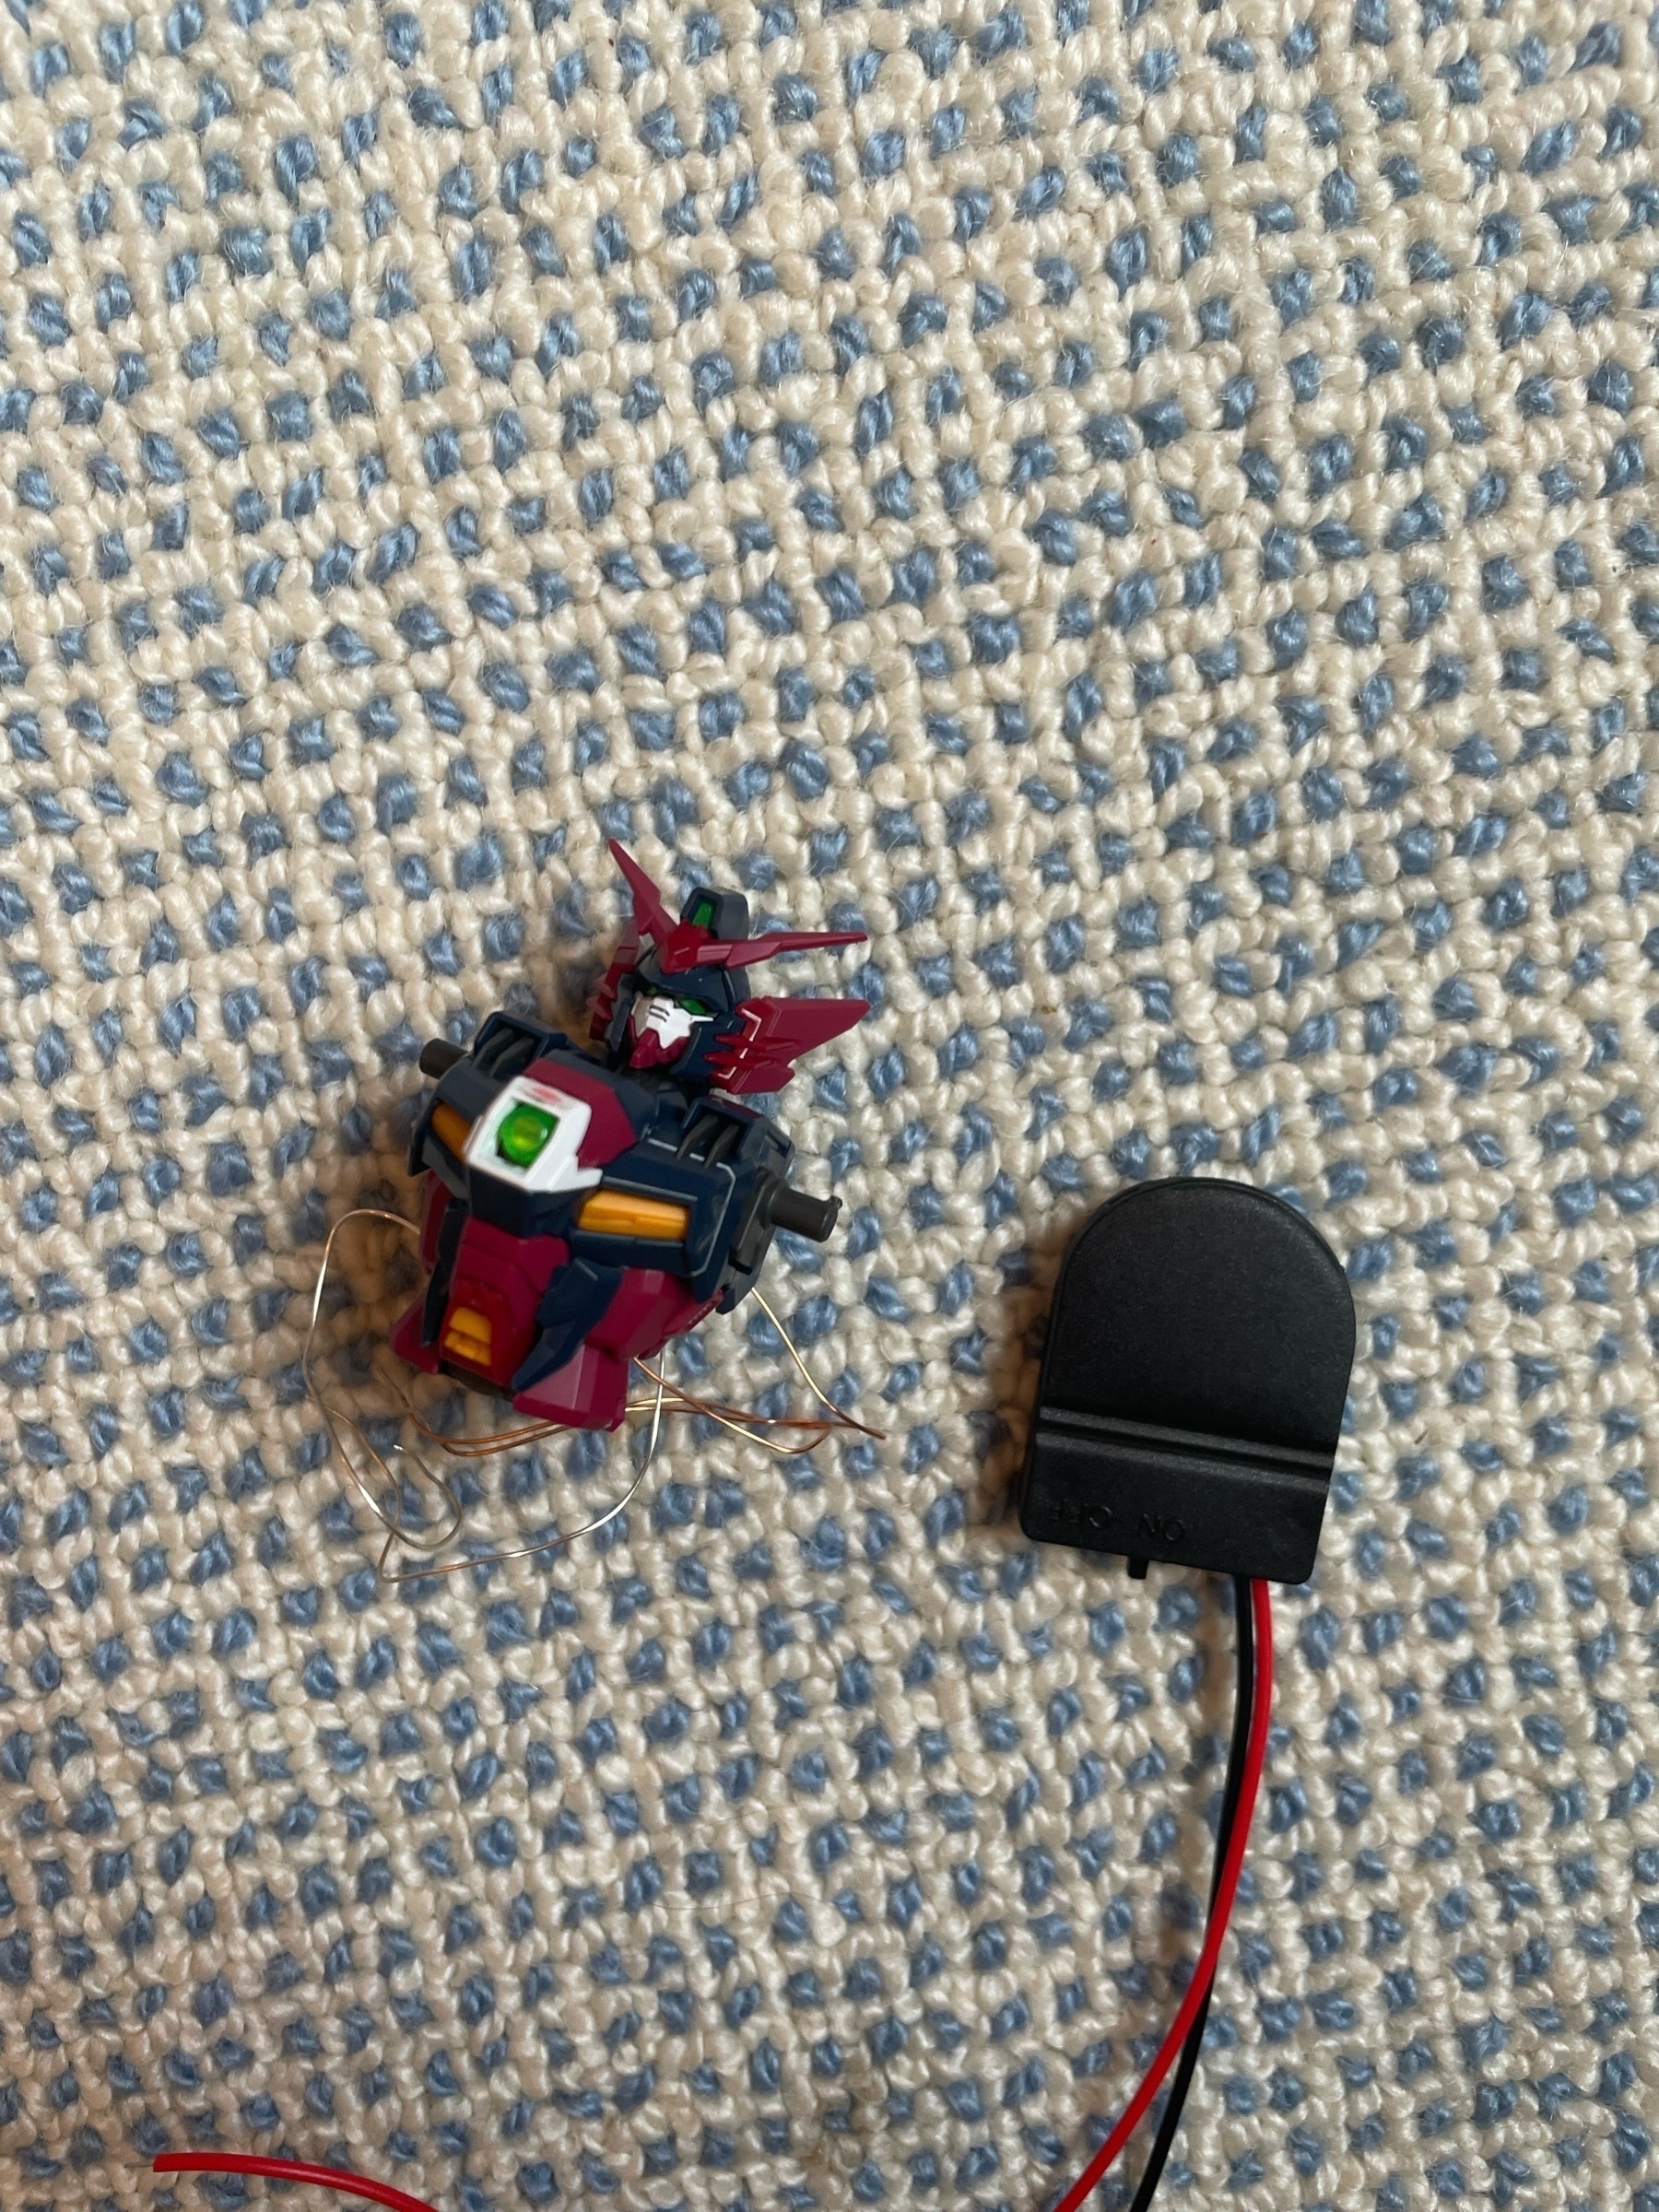
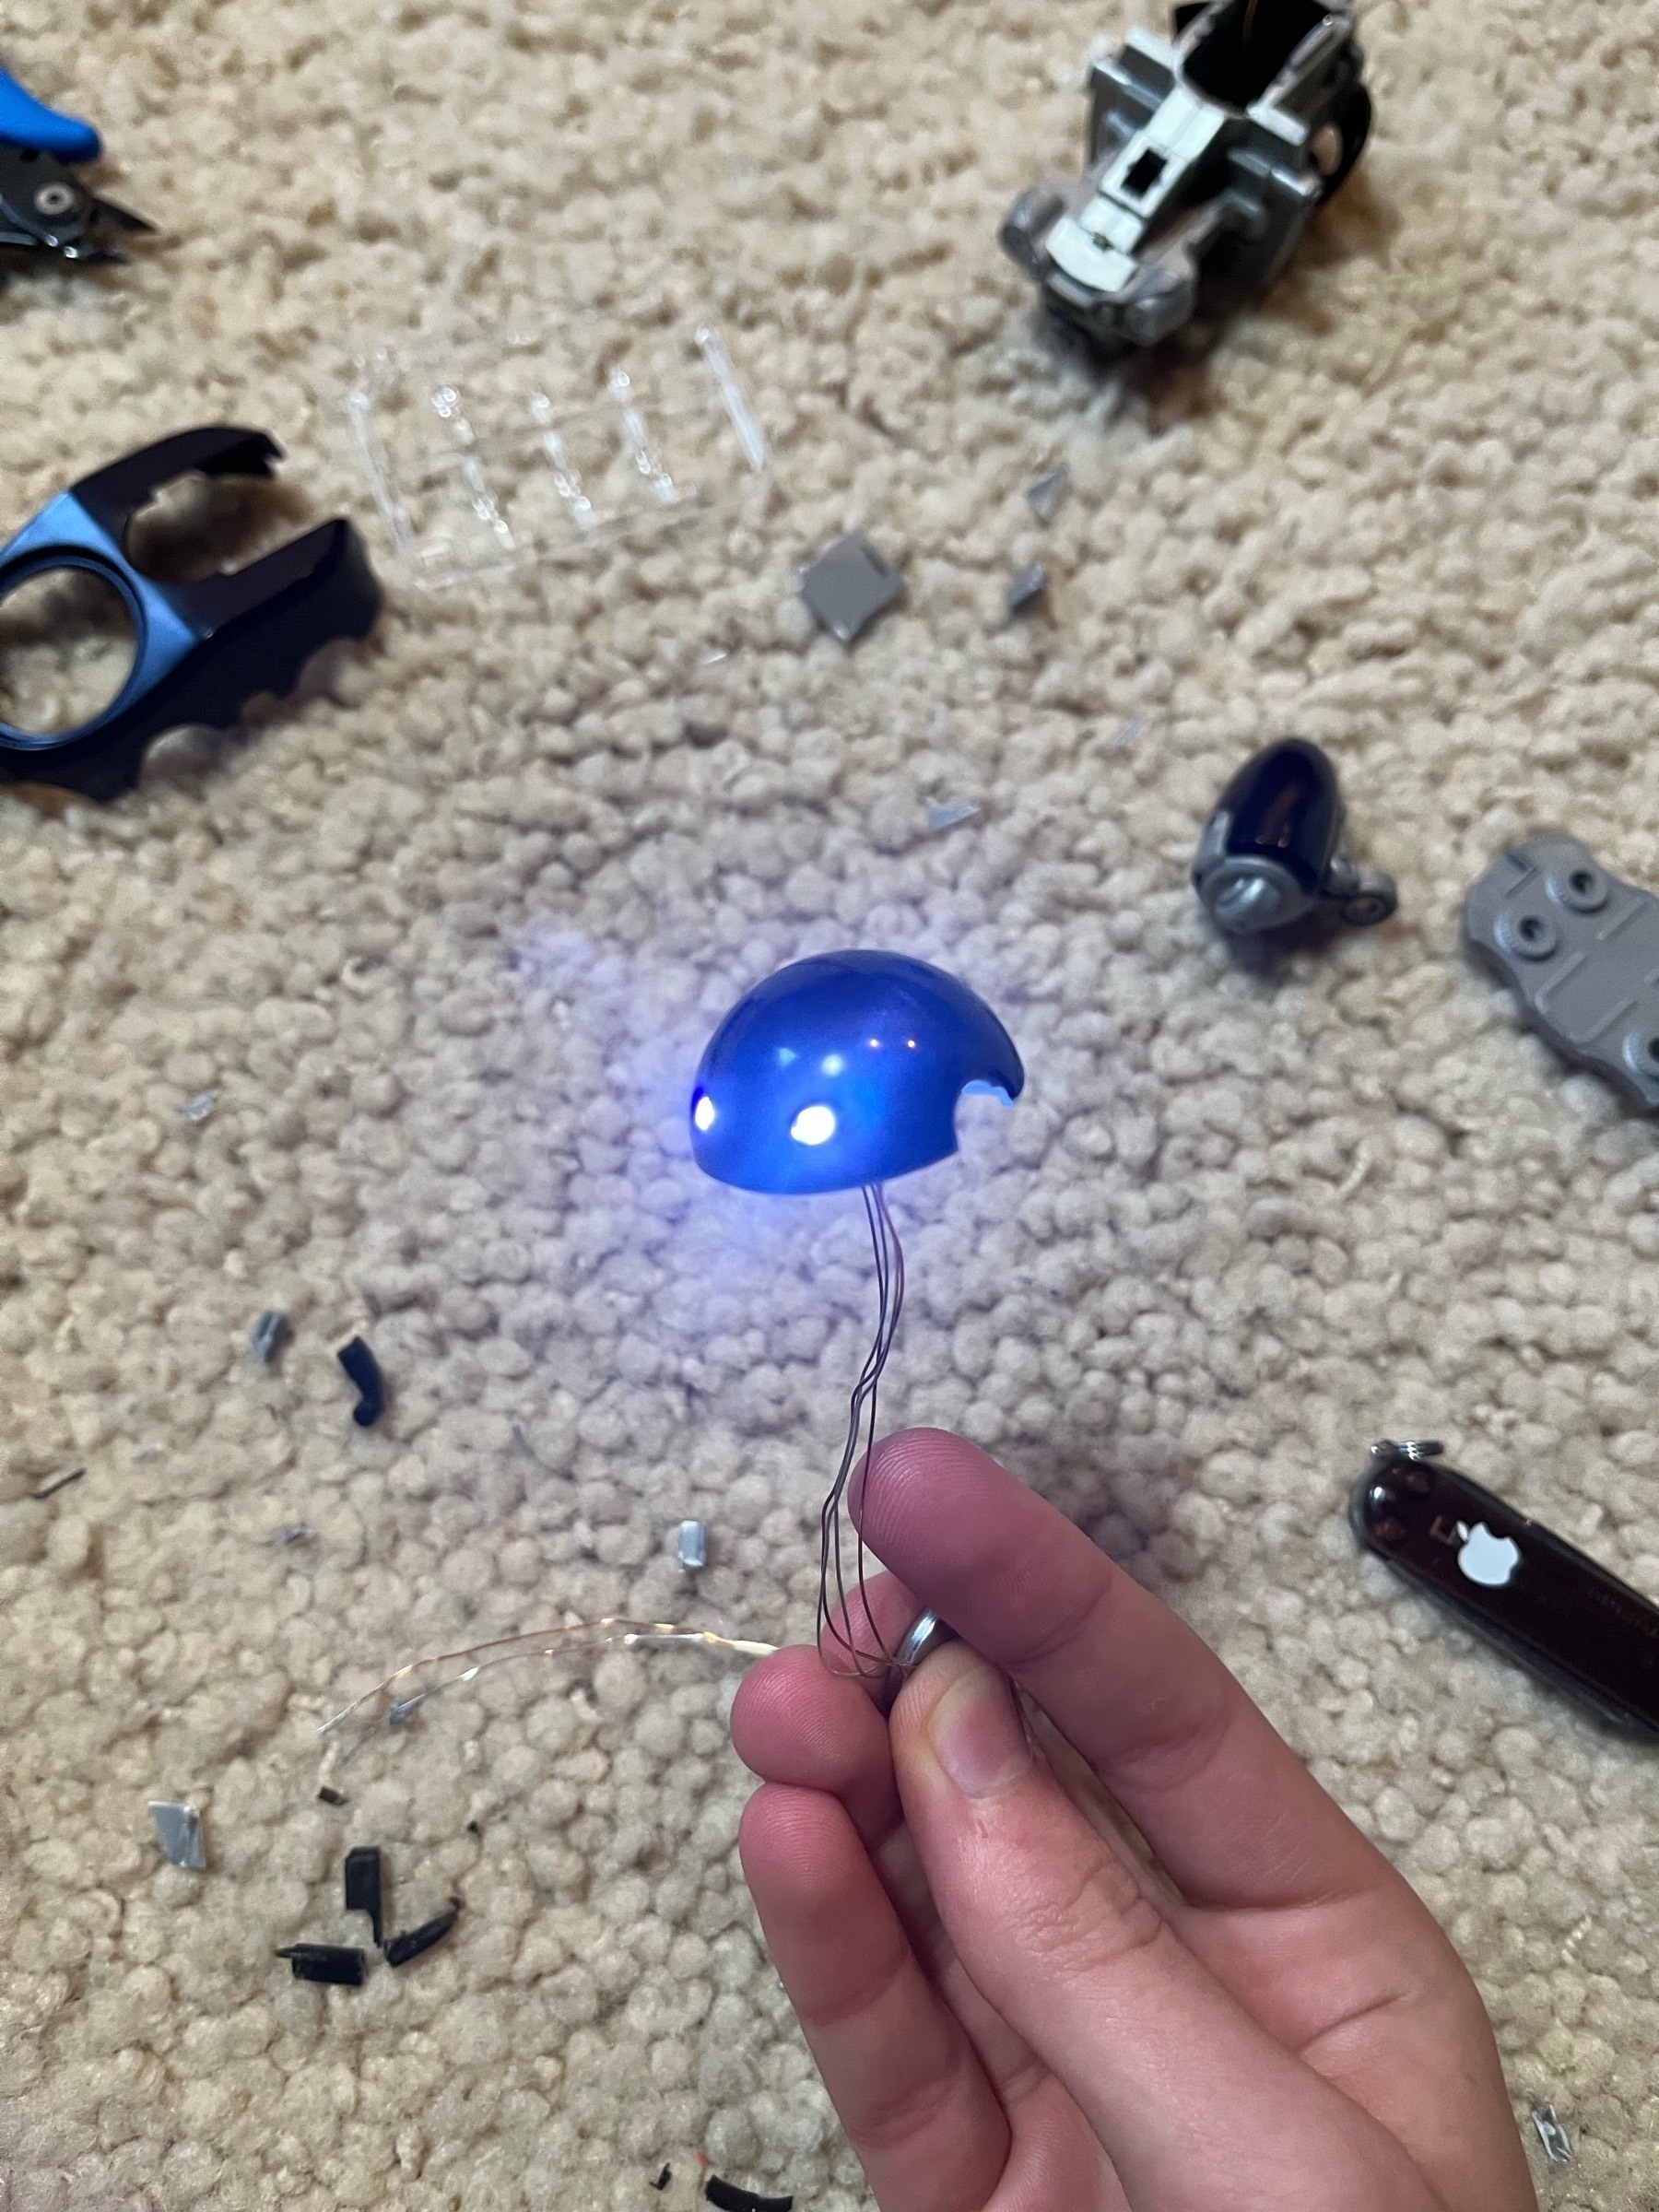
I got some tiny LEDs in different colors as well as some wired cases for button batteries. The cases are unfortunately very large for average 1/144 scale models, but I was able to hide one behind the Epyon’s wings. As for the tamotu, I snipped out several internal walls on the frame and was eventually able to fit all the wires inside its body. For both models, I needed to drill and cut multiple parts, but it worked out in the end.
Mini-Tutorial 3: How to add LEDs
Choose the location. It’s easier to fit small LEDs behind clear parts, but it can work to have them exposed if you want a brighter glow. It’s also important to plan where you’ll fit a battery to power your lights.
Drill your holes. I used an actual drill with a small drill bit, but it’s likely easier to use a dremel or something similar to be more precise. Make sure there is enough room for the LED’s wires.
Install your LEDs. If you planned the locations well. They should slide right into your drill holes. You may need to sand or cut more parts to avoid damage to the kit or the lights. Then, use a soldering iron to weld the wires together. Good luck!
subscribe via RSS